
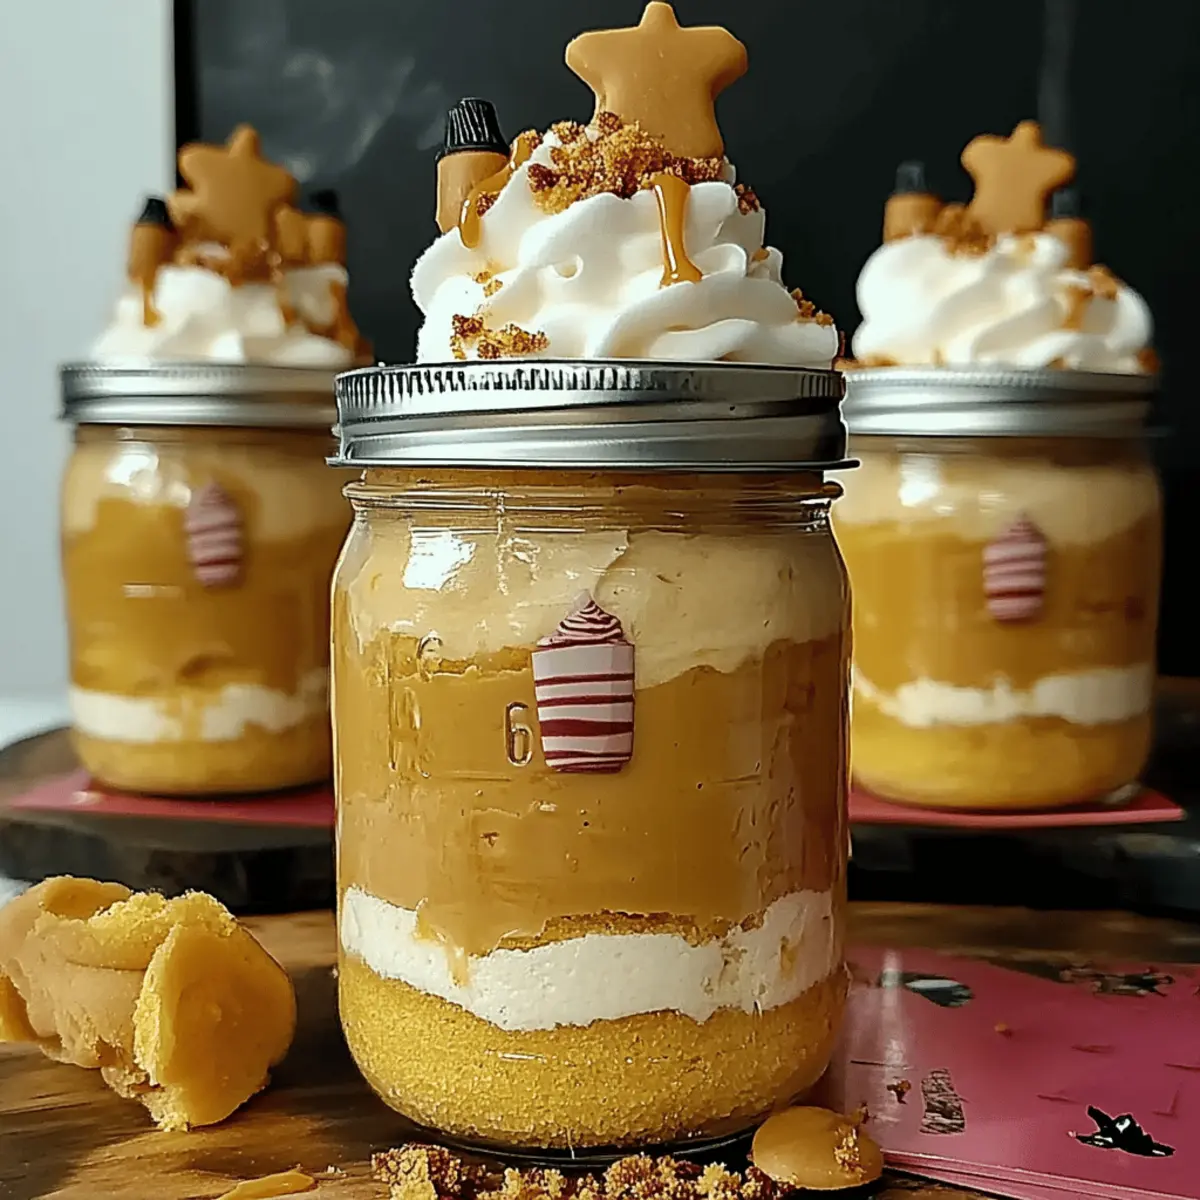
As I stood in my kitchen, the heady aroma of butterscotch wafted through the air, evoking memories of cozy celebrations and laughter with friends. These delightful Butterbeer Cake Jars combine layers of fluffy cake, rich mousse, and creamy frosting, transporting you to a magical world in just a few bites. Not only are they visually enchanting, but these jars are also incredibly simple to whip up, making them a perfect treat for any gathering or themed party. Plus, the best part is that this recipe is highly adaptable—whether you're vegan, gluten-free, or just feeling adventurous with flavors, there’s a version that’s perfect for you. What magical moment will you celebrate with these whimsical treats?
Why Are Butterbeer Cake Jars Special?
Versatile Choices: This recipe is incredibly adaptable, offering vegan and gluten-free options that let everyone indulge in the magic.
Rich and Decadent: The combination of fluffy cake and rich butterscotch mousse creates a luxurious experience in every spoonful.
Perfect for Celebrations: Whether it's a birthday party or a cozy gathering, these jars are sure to steal the spotlight.
Easy to Prepare: With straightforward instructions, making these enchanting treats is a breeze, even for beginner bakers.
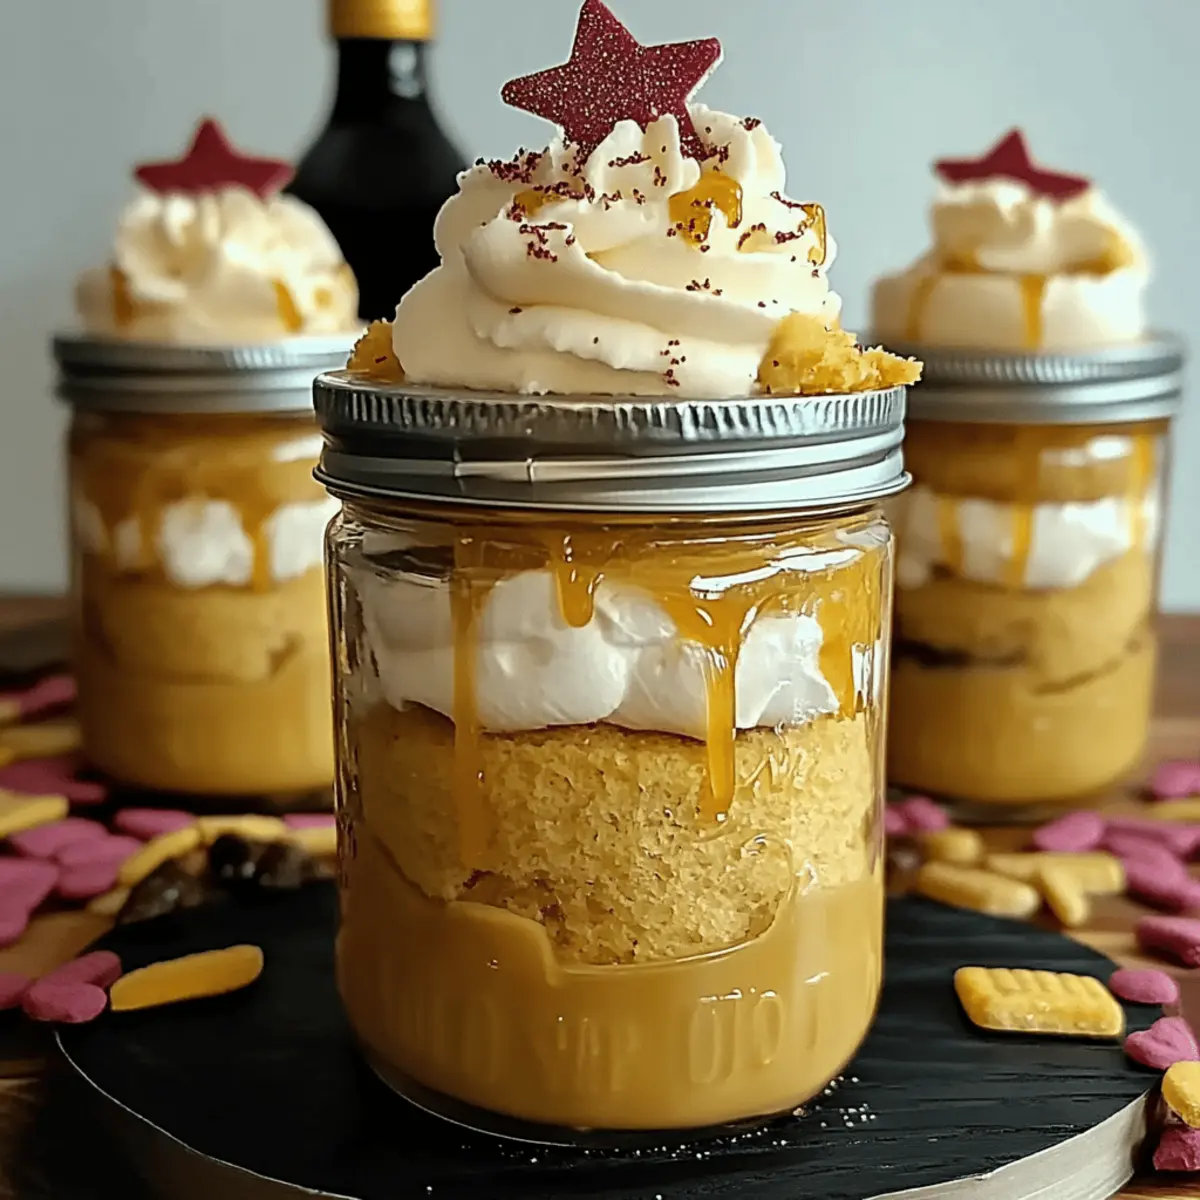
Visually Stunning: The layered presentation in jars adds a charming touch, perfect for impressing your guests! Explore more about how to adapt this recipe to suit your dietary needs and preferences for a truly delightful treat!
Butterbeer Cake Jars Ingredients
For the Cake
- Unsalted Butter – Adds richness and moisture; can substitute with margarine.
- Granulated Sugar – Provides sweetness; coconut sugar can be used for a less refined option.
- Eggs – Essential for structure; substitute with ¼ cup unsweetened applesauce for a vegan alternative.
- Vanilla Extract – Enhances flavor; imitation vanilla can be used in a pinch.
- All-Purpose Flour – Forms the cake structure; whole wheat flour can be substituted for added fiber.
- Baking Powder – Acts as a leavening agent; ensure freshness for best results.
- Instant Butterscotch Pudding Mix – Adds rich flavor and moisture; vanilla pudding mix is an alternative.
- Salt – Enhances flavor; can be omitted for a low-sodium version.
- Cream Soda – Provides moisture and a slight carbonation lift; can substitute with lemon-lime soda.
For the Mousse
- Heavy Cream – Used for the mousse; coconut cream is a suitable non-dairy substitute.
- Cream Cheese – Adds creaminess; can swap with vegan cream cheese.
For the Frosting
- Powdered Sugar – Sweetens the frosting; sugar substitutes can be used for lower sugar content.
- Extra Cream Soda – Adds a delicious flavor to the frosting; helps achieve the perfect consistency.
Each layer of your Butterbeer Cake Jars is designed to create a magical taste experience perfect for any festive occasion!
Step-By-Step Instructions for Butterbeer Cake Jars
Step 1: Preheat and Prepare
Begin by preheating your oven to 350°F (175°C). While it's heating up, grease a 9x13-inch baking pan or line it with parchment paper for easy removal later. This ensures your Butterbeer Cake layers will slide out smoothly once baked, ready for delicious assembly into jars.
Step 2: Soak the Eggs
To ensure your eggs are at room temperature, soak them in warm water for about 10 minutes. This little trick helps the Butterbeer Cake rise better and creates a fluffy texture. After their warm soak, crack the eggs into a mixing bowl and set aside while you prepare the wet ingredients.
Step 3: Cream Butter and Sugar
In a large mixing bowl, cream together 1 cup of unsalted butter and 2 cups of granulated sugar. Mix on medium speed for about 4-5 minutes until the mixture becomes light and fluffy, turning a pale yellow. This step adds air to your mixture, contributing to the delightful texture of your Butterbeer Cake.
Step 4: Incorporate Eggs and Vanilla
Next, beat in the soaked eggs, one at a time, along with 2 teaspoons of vanilla extract. Continue mixing until fully combined, ensuring the batter is smooth and creamy. Watch for a rich aroma—this signals that your Butterbeer Cake layers will have an incredible flavor profile.
Step 5: Combine Dry Ingredients
In a separate bowl, sift together 2 cups of all-purpose flour, 1 tablespoon of baking powder, and ½ teaspoon of salt, then add in 1 package of instant butterscotch pudding mix. Sifting helps mix the ingredients evenly while aerating them, which is crucial for a light cake texture, ready to mingle with your wet ingredients.
Step 6: Mix Wet and Dry Ingredients
Gradually add your dry mixture to the wet mixture, alternating with 1 cup of cream soda. Start and end with the dry ingredients, mixing until just combined. Avoid overmixing to ensure your Butterbeer Cake retains its light, airy quality—this integral weightlessness makes for a perfect treat!
Step 7: Bake the Cake
Pour the prepared batter into your greased baking pan, smoothing the top with a spatula for even baking. Place it in the oven and bake for 40-45 minutes. You’ll know it’s ready when a toothpick inserted in the center comes out clean, revealing golden edges that signal a beautifully baked Butterbeer Cake.
Step 8: Cool the Cake
Once baked, let the cake cool in the pan for about 30 minutes before transferring it to a wire rack to cool completely. This step ensures that the cake firms up and is easy to cut. Take a moment to breathe in the warm, butterscotch scent wafting through your kitchen.
Step 9: Prepare the Mousse
While your cake cools, it’s time to make the butterscotch mousse. In a mixing bowl, whisk 1 package of instant butterscotch pudding mix with 1 cup of heavy cream until thick and fluffy. This should take about 2-3 minutes of vigorous whisking, resulting in a light and airy mousse that layers beautifully in your jars.
Step 10: Make the Frosting
For the frosting, beat together 8 ounces of cream cheese and ½ cup of unsalted butter until smooth and creamy. Gradually mix in 2 cups of powdered sugar and 2 tablespoons of cream soda until well incorporated. This luscious frosting will add a final indulgent touch to your Butterbeer Cake Jars.
Step 11: Cut the Cake Layers
Once the cake is completely cooled, use a cookie cutter to cut out circles from the cake. These will serve as the layers for your jars. You'll want to prepare enough round layers to give each jar a delightful stack of buttery goodness that will complement the mousse and frosting perfectly.
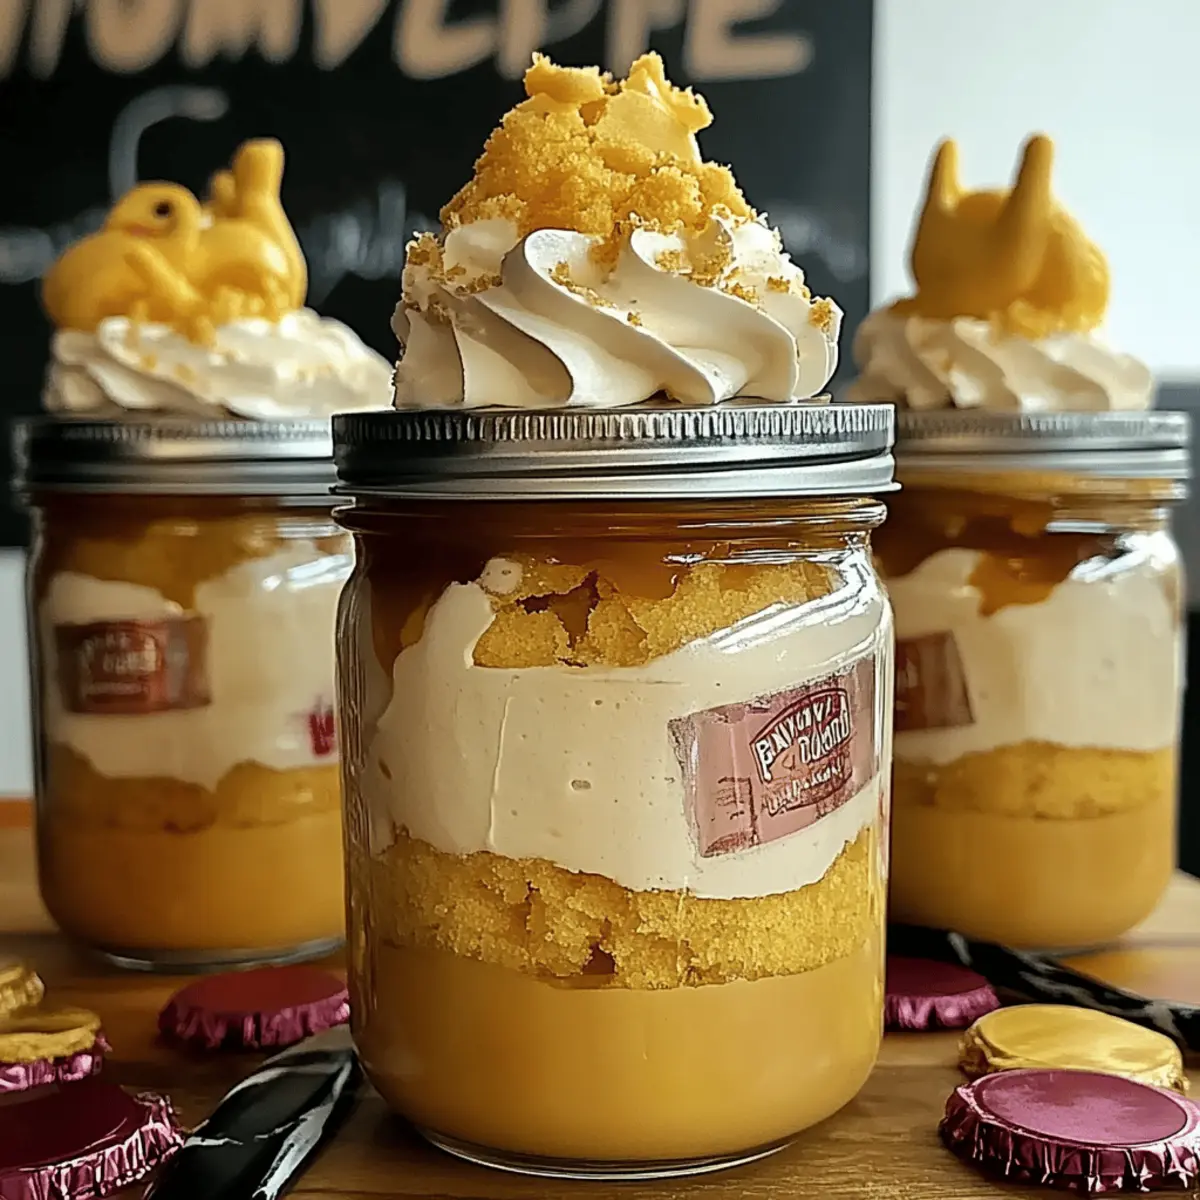
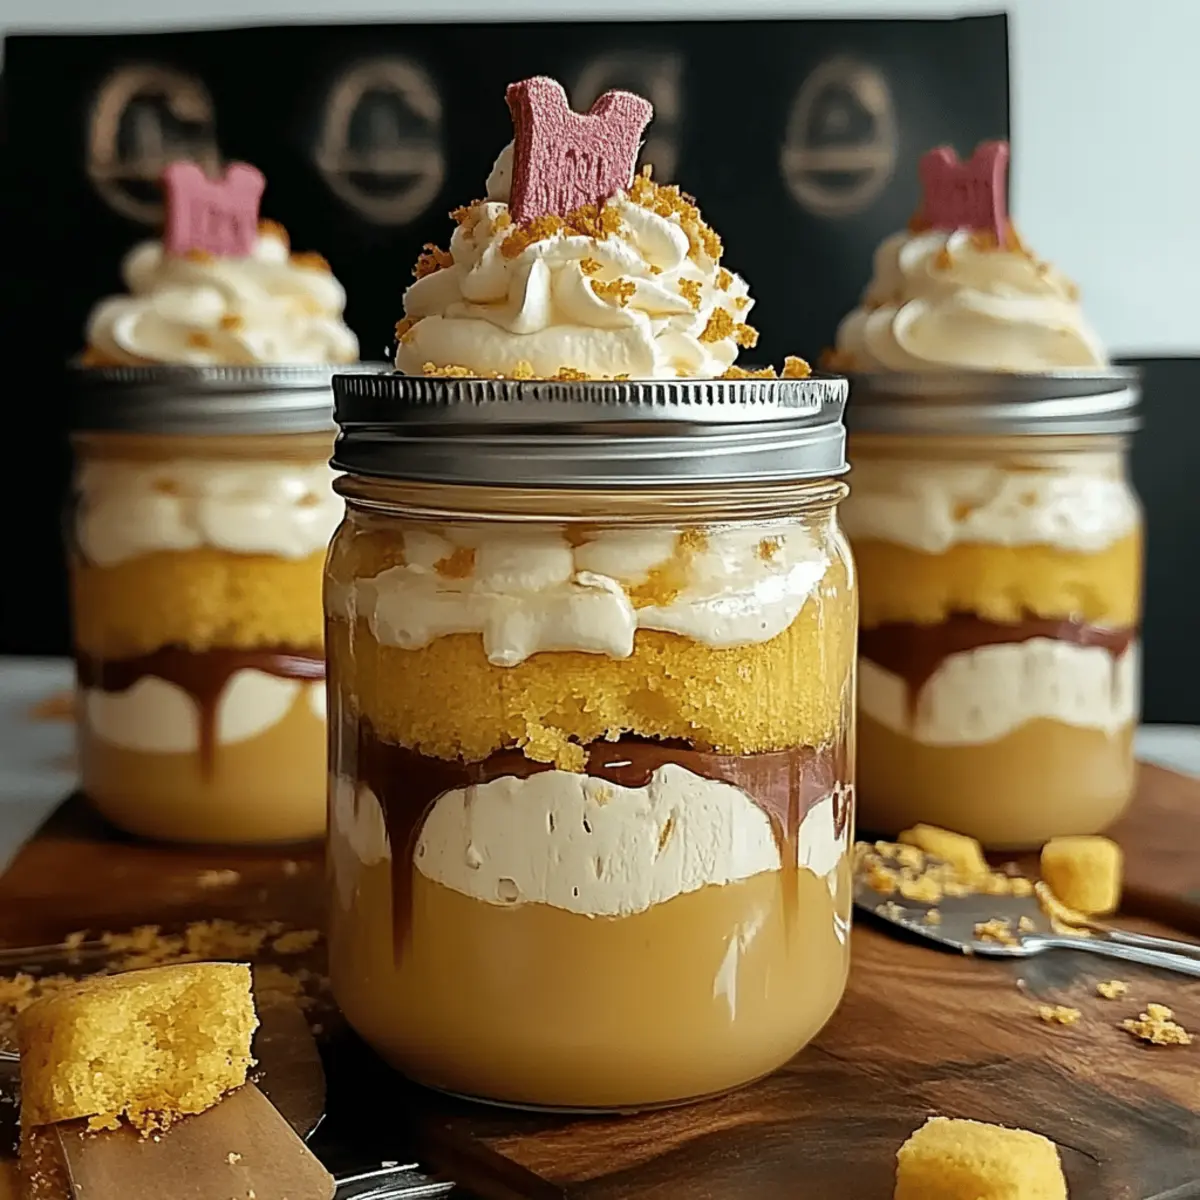
Step 12: Assemble the Cake Jars
Start layering your Butterbeer Cake Jars by placing a circle of cake at the bottom, followed by a generous layer of the butterscotch mousse, and then a layer of frosting. Repeat until the jars are filled, finishing with a swirl of frosting on top. Consider adding a sprinkle of crushed butterscotch candies for an extra touch of magic!
Butterbeer Cake Jars Variations
Feel free to let your creativity shine as you adapt these delightful Butterbeer Cake Jars to suit your taste buds and dietary needs!
- Vegan Swap: Use ¼ cup unsweetened applesauce instead of eggs and coconut cream in place of heavy cream for a completely dairy-free dessert. You won’t miss a thing!
- Gluten-Free Delight: Substitute all-purpose flour with a gluten-free flour blend. It ensures everyone can enjoy a tasty treat without worry.
- Rich Chocolate Twist: Swap butterscotch pudding mix for chocolate to add a decadent twist. Imagine the rich flavors coming together with every spoonful!
- Spiced Flavor Boost: Add a pinch of cinnamon or nutmeg to the batter for a warm, aromatic kick. It’s a simple touch that elevates the overall taste.
- Layered Parfait Style: Alternate the layers by adding fresh fruit such as berries or banana slices. The fruit adds a refreshing contrast to the creamy layers!
- Experiment with Sodas: Replace cream soda with root beer or ginger ale for a unique flavor profile. Each sip will have an exciting new twist!
- Low-Sugar Option: Use a sugar substitute in the frosting to reduce sweetness without sacrificing flavor. It’s perfect if you're watching your sugar intake.
- Nutty Crunch: Sprinkle chopped nuts such as pecans or walnuts between the layers for a delightful crunch. This adds an enticing contrast to the soft textures.
Explore these variations and find the perfect fit for your celebration or cozy gathering. For even more incredible recipes, check out our guide on how to adapt this recipe to your liking or discover additional vegan options in our Vegan Delights section!
What to Serve with Butterbeer Cake Jars
Transform your gathering into a magical experience with delightful pairings that complement every enchanting bite.
-
Creamy Vanilla Ice Cream: The smooth, creamy texture of vanilla ice cream beautifully counterbalances the rich flavors of the Butterbeer Cake Jars, enhancing the overall dessert experience.
-
Spiced Chai Latte: The warm, aromatic spices in a chai latte add a delightful contrast to the rich butterscotch, creating a cozy and inviting beverage pairing.
-
Caramel Sauce Drizzle: A light drizzle of caramel sauce not only adds sweetness but also provides a luxurious flair that matches the whimsical theme of these cake jars.
-
Butterscotch Soda: For the ultimate Butterbeer experience, serve these jars with a chilled butterscotch soda. The effervescence mirrors the whimsical flavor of the cake, making for a truly magical combination.
-
Chocolate Covered Pretzels: The salty-sweet crunch of chocolate-covered pretzels offers a delightful texture contrast to the layers of cake and mousse, making each spoonful a new adventure.
-
Homemade Whipped Cream: Lightly sweetened whipped cream on the side adds an airy and fluffy element, enhancing the creamy layers within the jars while providing a soft richness.
Indulge your senses and create a feast that everyone will remember with these delightful pairings!
Expert Tips for Butterbeer Cake Jars
-
Room Temperature Ingredients: Always use room temperature ingredients for a smoother batter, which helps create fluffy Butterbeer Cake layers.
-
Avoid Overmixing: Be careful not to overmix your batter. Overmixing can lead to a denser cake, which is not the desired outcome for these light, layered jars.
-
Fresh Ingredients Matter: Ensure that your baking powder and instant pudding mix are fresh. Stale ingredients can affect the rise and flavor of your Butterbeer Cake.
-
Chill Before Serving: Allow your assembled jars to chill for at least an hour in the fridge. This helps the layers set, making it easier to enjoy each magical bite.
-
Customize Flavors: Feel free to add different flavor profiles by substituting the butterscotch pudding mix with chocolate or vanilla, tailoring the Butterbeer Cake Jars to your taste preferences.
How to Store and Freeze Butterbeer Cake Jars
Room Temperature: Enjoy these delightful jars at room temperature for up to 2 hours during gatherings to keep flavors fresh and enticing.
Fridge: Store any leftover Butterbeer Cake Jars in airtight containers in the refrigerator for up to 3 days. This keeps the magical flavors intact while preventing moisture loss.
Freezer: If you'd like to keep them longer, freeze the individual cake layers separately for up to 1 month. Just remember to wrap them tightly to avoid freezer burn.
Reheating: When ready to enjoy, simply thaw the jars overnight in the fridge. For a fresh experience, you can add a dollop of mousse or frosting before serving!
Make Ahead Options
These Butterbeer Cake Jars are perfect for meal prep enthusiasts who want to save time without sacrificing flavor! You can prepare the cake layers up to 3 days in advance; simply bake the cake, allow it to cool completely, and store it in an airtight container in the refrigerator to maintain freshness. The butterscotch mousse can also be made up to 24 hours ahead—just whisk and chill it until you're ready to assemble. When you're set to serve, layer the prepped cake and mousse in jars, adding the frosting last to keep it airy and fluffy. This way, you'll enjoy delicious Butterbeer Cake Jars with minimal fuss, perfect for busy weeknights or gatherings!
Butterbeer Cake Jars Recipe FAQs
What kind of butter should I use for Butterbeer Cake Jars?
I recommend using unsalted butter for the richest flavor and moisture. If you’re in a pinch, margarine can be substituted, but it might slightly alter the texture.
How should I store leftover Butterbeer Cake Jars?
Store your remaining jars in airtight containers in the refrigerator for up to 3 days. This preserves the enchanting flavors and keeps them fresh. If they last that long!
Can I freeze the Butterbeer Cake layers?
Absolutely! To freeze the cake layers, wrap them tightly in plastic wrap and then in aluminum foil to prevent freezer burn. They can be stored this way for up to 1 month. When you're ready to use them, thaw overnight in the fridge, and feel free to reassemble the jars fresh with mousse and frosting.
What should I do if my mousse doesn't thicken?
If your mousse doesn't thicken, it could be because your heavy cream wasn't chilled or fresh pudding mix wasn't used. To remedy this, whip the cream until stiff peaks form, and ensure that the pudding mix is fresh. If it's still thin, refrigerate for about 30 minutes to help it set up before assembling the jars.
Are Butterbeer Cake Jars suitable for people with allergies?
While the recipe can be adapted for various dietary needs, be mindful of specific allergies. For a nut-free version, always check the ingredients of any substitutes. I often make the mousse with coconut cream for those avoiding dairy; just ensure that the cream is safe for your guests!
Can I make Butterbeer Cake Jars vegan?
Definitely! To create vegan Butterbeer Cake Jars, substitute eggs with ¼ cup of unsweetened applesauce, and use coconut cream in place of heavy cream and vegan cream cheese for the frosting. Sweeten the mousse and frosting with your choice of sugar alternatives as needed. Enjoy!
Indulgent Butterbeer Cake Jars: A Magical Treat for You
Ingredients
Equipment
Method
- Preheat the oven to 350°F (175°C) and prepare a 9x13-inch baking pan.
- Soak the eggs in warm water for about 10 minutes to ensure they're at room temperature.
- Cream together 1 cup of unsalted butter and 2 cups of granulated sugar until light and fluffy.
- Beat in the soaked eggs one at a time, along with 2 teaspoons of vanilla extract.
- In a separate bowl, sift together 2 cups of flour, 1 tablespoon of baking powder, and ½ teaspoon of salt, then add 1 package of pudding mix.
- Gradually mix the dry ingredients with the wet ingredients, alternating with 1 cup of cream soda.
- Pour the batter into the prepared pan and bake for 40-45 minutes, until a toothpick comes out clean.
- Let the cake cool in the pan for 30 minutes before transferring to a wire rack to cool completely.
- For the mousse, whisk together 1 package of pudding mix and 1 cup of heavy cream until thick and fluffy.
- For the frosting, beat together 8 ounces of cream cheese and ½ cup of unsalted butter until smooth, then mix in 2 cups of powdered sugar and 2 tablespoons of cream soda.
- Cut circles from the cooled cake using a cookie cutter to create layers for the jars.
- Layer the jars with cake, mousse, and frosting, repeating until filled, and finish with a swirl of frosting on top.


Leave a Reply