
As I sifted through my childhood memories the other day, I stumbled upon a recipe that instantly transported me back to simpler times—Parent Trap Cookies. These delightful treats blend rich chocolatey goodness with a deliciously nostalgic vibe, making them an absolute delight for both busy days and special gatherings. With a prep time of just 27 minutes, they’re perfect for anyone craving a quick, homemade dessert that’s sure to spark smiles and fond memories. Plus, the flexibility to swap in peanut butter or white chocolate chips means you can tailor them to your taste. Are you ready to bake something magical? Let’s dive into this sweet journey together!
Why Are Parent Trap Cookies So Irresistible?
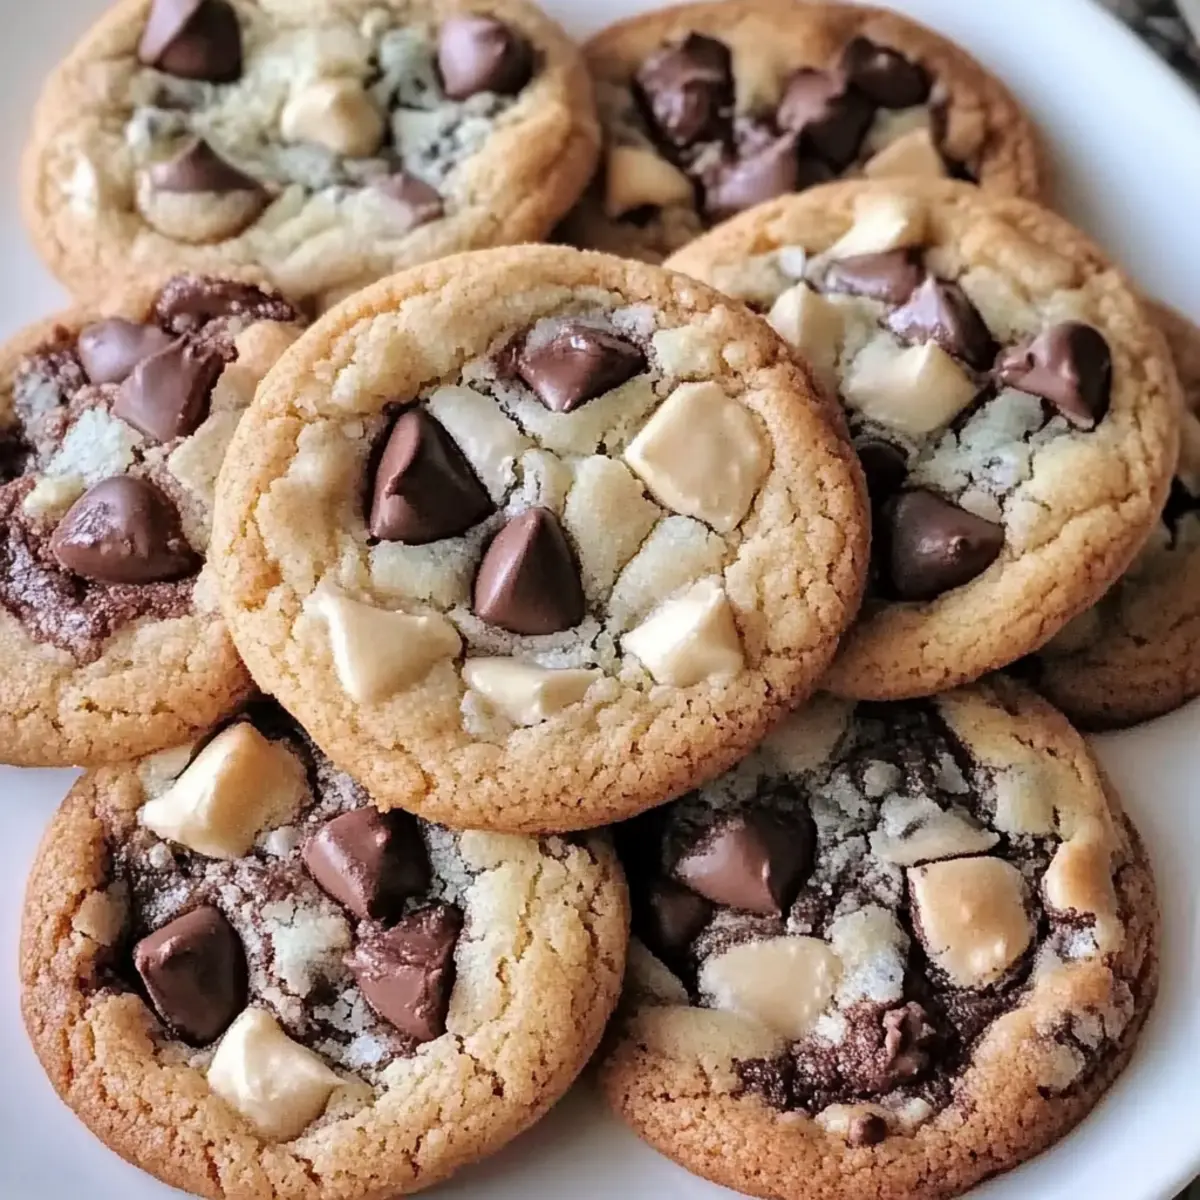
Nostalgic flavors that take you back in time: These cookies evoke the cherished memories of childhood, reminiscent of family gatherings and love-filled kitchens. Quick and easy to whip up, you'll have a delicious treat ready in just 27 minutes, perfect for busy schedules. Customizable, you can easily swap ingredients like semi-sweet chocolate chips for white chocolate or add peanut butter chips for an extra twist! Chewy texture with gooey chocolate pockets keeps everyone coming back for more, making them a definite crowd-pleaser. For tips on creating a perfect batch, check out our expert baking tips. Dive in and create your new favorite cookie!
Parent Trap Cookies Ingredients
• For the Cookie Dough
- Unsalted Butter – Adds richness and fat for a tender texture; be sure it's softened for easy mixing.
- Granulated Sugar – Provides sweetness and helps achieve those crispy edges.
- Brown Sugar – Adds moisture and a deep, caramel-like flavor that enhances the cookie's overall taste.
- Eggs – Act as a binder for structure and moisture, essential for a perfect cookie.
- Vanilla Extract – Enhances flavor and adds a delightful aroma to the cookie dough.
- All-Purpose Flour – The main structural component that holds everything together.
- Baking Soda – Provides leavening to give the cookies their chewy texture.
- Salt – Balances the sweetness, ensuring every bite is full of flavor.
• For the Chocolate Component
- Semi-Sweet Chocolate Chips – Offers rich chocolate flavor and gooey pockets; swap for white chocolate chips if desired.
- Chopped Walnuts (optional) – Brings a lovely crunchy texture; omit for a nut-free version.
Step‑by‑Step Instructions for Parent Trap Cookies
Step 1: Preheat the Oven
Start your baking adventure by preheating your oven to 350°F (175°C). While the oven warms up, line two baking sheets with parchment paper to prevent sticking and make cleanup a breeze. This will set the stage for baking your delicious Parent Trap Cookies, ensuring they're perfectly golden and chewy.
Step 2: Cream the Butter and Sugars
In a large mixing bowl, combine softened unsalted butter, granulated sugar, and brown sugar. Use an electric mixer on medium speed to cream these ingredients together until the mixture is light and fluffy, about 2-3 minutes. The sugars should dissolve into the butter, creating a smooth and creamy base for your cookie dough.
Step 3: Add Eggs and Vanilla
Next, add the eggs to the butter mixture, one at a time. Be sure to mix well after each addition until fully incorporated. Then, stir in the vanilla extract to enhance the flavor. This step brings richness and moisture to your Parent Trap Cookies, making them irresistibly tasty.
Step 4: Combine Dry Ingredients
In a separate bowl, whisk together the all-purpose flour, baking soda, and salt until uniformly mixed. Gradually add the dry ingredients to the wet mixture, stirring gently until just combined. Make sure not to overmix, as this will ensure your cookies remain tender and chewy.
Step 5: Fold in Chocolate Chips and Nuts
Carefully fold in the semi-sweet chocolate chips and chopped walnuts, if using. This will give your Parent Trap Cookies those delightful gooey pockets of chocolate and a satisfying crunch from the walnuts. Be gentle to maintain the dough’s fluffy texture as you mix.
Step 6: Portion the Dough
Using a tablespoon or cookie scoop, drop rounded portions of cookie dough onto the prepared baking sheets, spacing them about 2 inches apart. This allows room for spreading as they bake. You want them to have enough space to puff perfectly without sticking together.
Step 7: Bake the Cookies
Place the baking sheets in the oven and bake for 10-12 minutes, or until the edges are golden brown and the centers appear slightly underbaked. The cookies will continue to cook on the sheets once removed, giving you that perfect chewy texture in every bite.
Step 8: Cool the Cookies
Once baked, let the cookies cool on the baking sheets for about 5 minutes. This allows them to firm up slightly before transferring them to wire racks. Once on the racks, they will cool completely, making them ready to enjoy or store for later.

Parent Trap Cookies Variations & Substitutions
Feel free to get creative with these delightful cookies and let your taste buds guide you!
- Dairy-Free: Replace unsalted butter with a dairy-free alternative like coconut oil or vegan butter for a deliciously creamy texture.
- Nut-Free: Omit the chopped walnuts to cater to nut allergies while keeping the cookies equally delightful.
- Peanut Butter Twist: Add 1 cup of peanut butter chips for a rich, nutty flavor that complements the chocolate beautifully.
- Caramel Surprise: Incorporate caramel bits in addition to chocolate chips for a chewy, gooey experience that surprises with every bite.
- Spicy Heat: Mix in a pinch of cayenne pepper or chili powder for a warm kick that contrasts nicely with the sweet chocolate.
- Coconut Lover’s Delight: Add shredded coconut to the dough for a tropical flair that brings an extra chewy texture and rich flavor.
- Oatmeal Boost: Substitute half the flour with rolled oats for a hearty variation that’s both chewy and fulfilling.
- S'mores Style: Incorporate mini marshmallows and graham cracker crumbs to capture the essence of s'mores in every bite.
Don’t forget that the magic of baking lies in experimenting! If you’re looking for guidance on achieving the best results possible, explore our expert baking tips. Happy baking!
How to Store and Freeze Parent Trap Cookies
Room Temperature: Store leftover cookies in an airtight container at room temperature for up to 1 week. This keeps them soft and delicious.
Fridge: If you prefer them chilled, Parent Trap Cookies can be kept in the fridge for up to 2 weeks. Make sure they're well-wrapped to prevent them from drying out.
Freezer: For longer storage, freeze cookie dough in rounded balls on a baking sheet until firm. Then transfer them to a freezer-safe bag and store for up to 3 months.
Reheating: To enjoy cookies warm, simply reheat directly from the fridge or freezer in the microwave for 10-15 seconds or bake at 350°F (175°C) for a few minutes.
Expert Tips for Parent Trap Cookies
- Chill the Dough: Chilling the dough for at least 30 minutes before baking helps create thicker, chewy cookies that stay soft in the center.
- Butter Temperature: Make sure your butter is at room temperature for easy mixing, which is crucial for ensuring the best texture in your Parent Trap Cookies.
- Mixing Caution: Avoid overmixing once you combine dry and wet ingredients; this will keep your cookies tender and prevent them from becoming tough.
- Uniform Size: Use a cookie scoop or tablespoon to ensure uniform cookie sizes, which helps them bake evenly and look appealing.
- Baking Time: Keep an eye on the baking time; cookies should be golden brown around the edges but slightly underbaked in the center for extra chewiness.
What to Serve with Parent Trap Cookies?
A delightful spread can elevate your Parent Trap Cookies from a simple treat to a heartfelt feast.
- Creamy Milkshake: A classic pairing that cools down the sweetness; its rich creaminess complements the chewy chocolate cookies perfectly. Just imagine sipping a chocolate shake with each bite!
- Vanilla Ice Cream: The creamy, cold experience adds a delightful contrast to the warm cookies, making every mouthful a heavenly blend of textures.
- Fresh Berries: Juicy strawberries or raspberries add a pop of color and a refreshing tartness that balances out the cookie's sweetness, creating a beautiful presentation.
- Chocolate Dipped Fruit: Strawberries or bananas dipped in chocolate harmonize with the cookie’s flavors, turning dessert into a delightful gourmet experience that’s easy to prepare.
- Coffee or Espresso: A warm cup of coffee or a shot of espresso enhances the chocolate flavor while its bitterness contrasts nicely with the sweetness of your cookies. A perfect afternoon treat!
- Caramel Sauce: Drizzling warm caramel over your cookies adds a touch of indulgence. The gooey texture and sweet flavor make each bite unforgettable.
- Cheesecake: A slice of rich, creamy cheesecake offers a luxurious counterpoint to the Parent Trap Cookies, turning your snack time into a special occasion.
- Nutty Trail Mix: For a healthier option, serve a homemade nut and dried fruit mix alongside the cookies—its crunchiness complements the soft, chewy texture beautifully.
Make Ahead Options
These Parent Trap Cookies are perfect for meal prep enthusiasts! You can prepare the cookie dough up to 24 hours in advance by covering it tightly with plastic wrap and refrigerating it, which helps maintain freshness and flavor. Additionally, you can scoop the dough into balls and freeze them for up to 3 months; when you’re ready to bake, just add an extra minute or two to the baking time while they bake straight from the freezer. To serve, simply bake the chilled or frozen dough as per the original instructions, and you'll have warm, chewy cookies ready to uplift any gathering!

Parent Trap Cookies Recipe FAQs
What type of butter should I use?
Absolutely, I recommend using unsalted butter for the best flavor and texture. It should be softened to room temperature—this makes mixing it with sugar effortless and gives your cookies that tender, chewy consistency we all love!
How can I tell when the cookies are done baking?
Very! You'll want to keep an eye on them; take them out when the edges are golden brown and the centers look slightly underbaked. These cookies continue to firm up as they cool on the baking sheet, which will help maintain that perfect chewy texture.
How should I store leftover cookies?
For best results, store your leftover Parent Trap Cookies in an airtight container at room temperature for up to 1 week. If you'd like them a little cooler, they can also be kept in the fridge for up to 2 weeks—just ensure they're well-wrapped to prevent drying out!
Can I freeze the cookie dough?
Absolutely! To freeze, scoop rounded balls of dough onto a baking sheet and freeze until firm. Then, transfer them to a freezer-safe bag. They can be stored this way for up to 3 months. When you're ready to bake, just pop them straight from the freezer into your preheated oven—it’s like having fresh cookies whenever you desire!
Are these cookies safe for people with nut allergies?
Good question! If you're making these cookies for someone with nut allergies, simply omit the chopped walnuts from the recipe. The Parent Trap Cookies will still be delicious without them, ensuring a nut-free version for everyone to enjoy!

Parent Trap Cookies: Easy, Chewy Treats to Fall In Love With
Ingredients
Equipment
Method
- Preheat your oven to 350°F (175°C) and line two baking sheets with parchment paper.
- In a large mixing bowl, cream together softened unsalted butter, granulated sugar, and brown sugar until light and fluffy.
- Add the eggs one at a time and mix well, then stir in the vanilla extract.
- In a separate bowl, whisk together the all-purpose flour, baking soda, and salt, then gradually add to the wet mixture.
- Fold in the semi-sweet chocolate chips and chopped walnuts gently.
- Drop rounded portions of cookie dough onto the prepared baking sheets, spacing them 2 inches apart.
- Bake for 10-12 minutes, until the edges are golden brown and the centers are slightly underbaked.
- Let the cookies cool on the baking sheets for about 5 minutes before transferring them to wire racks to cool completely.


Leave a Reply