
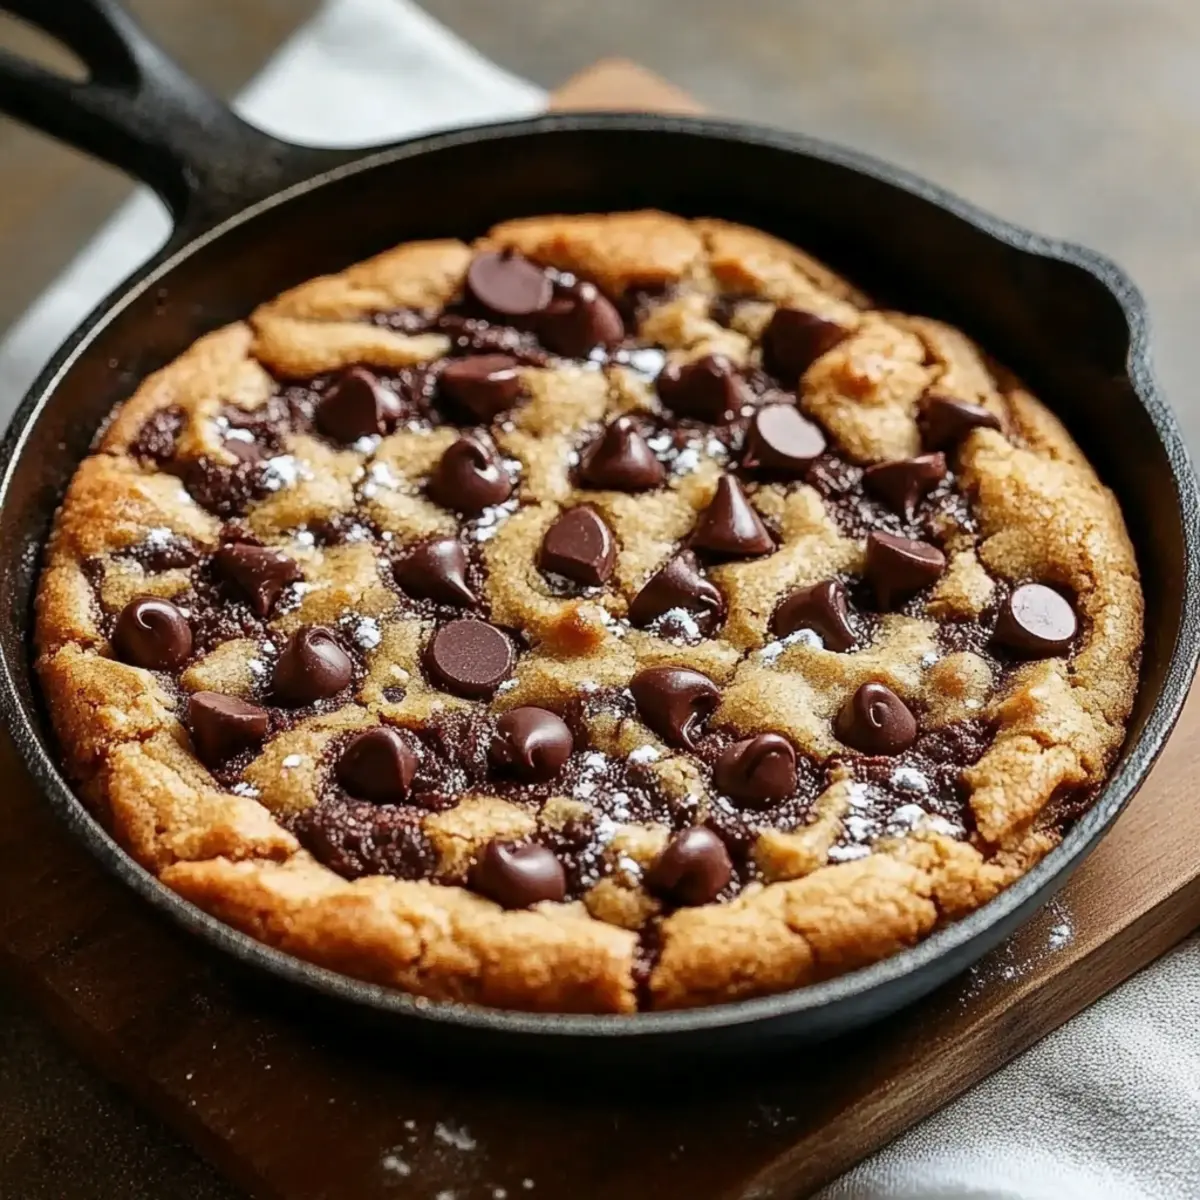
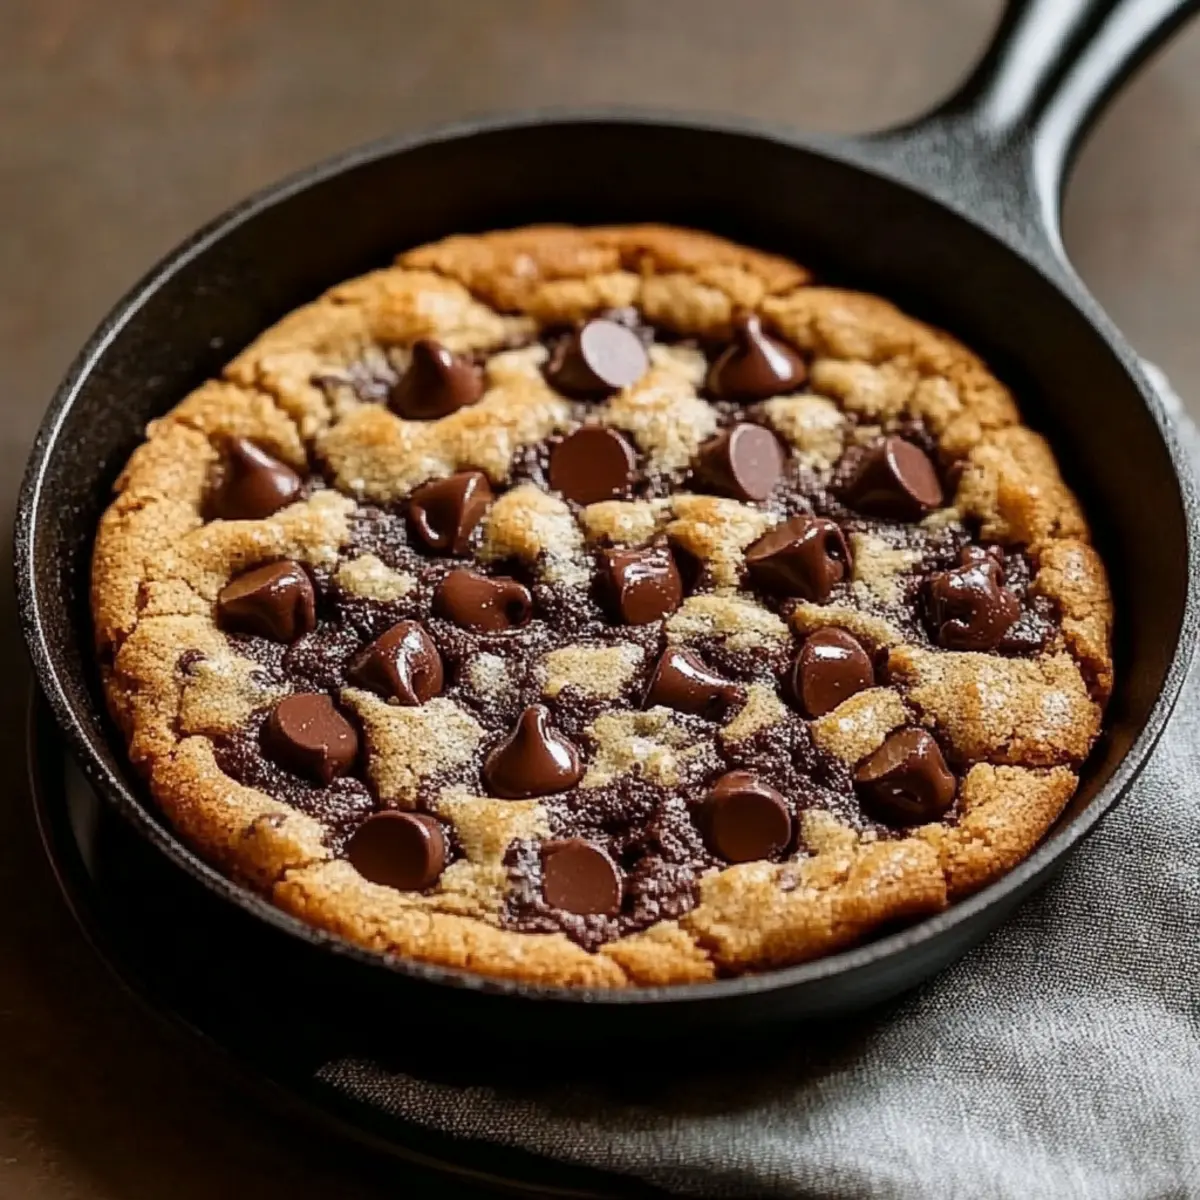
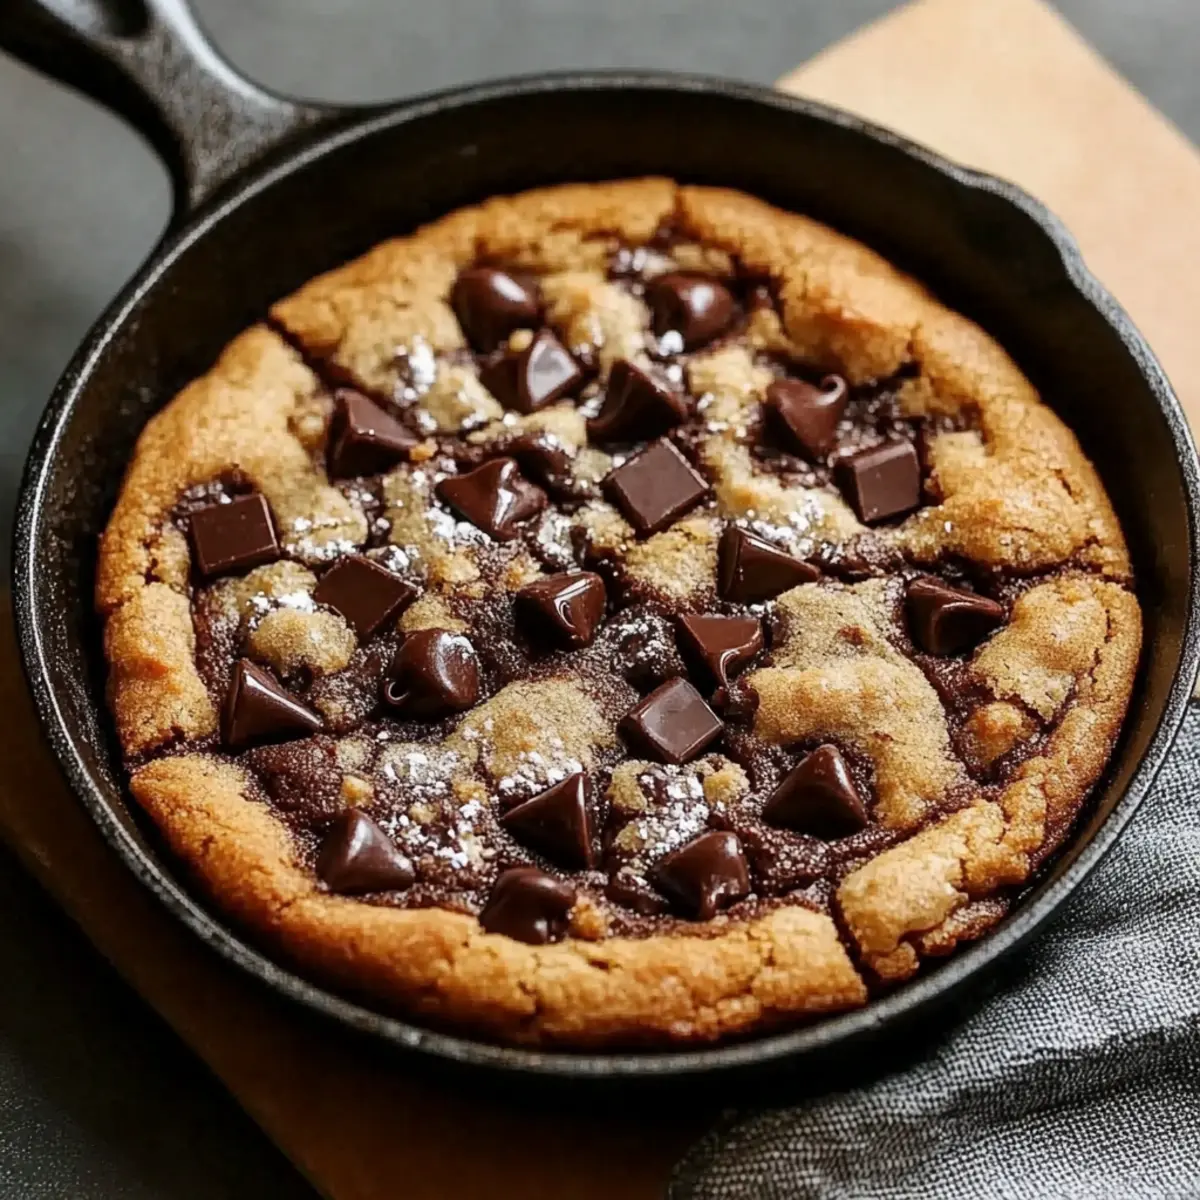
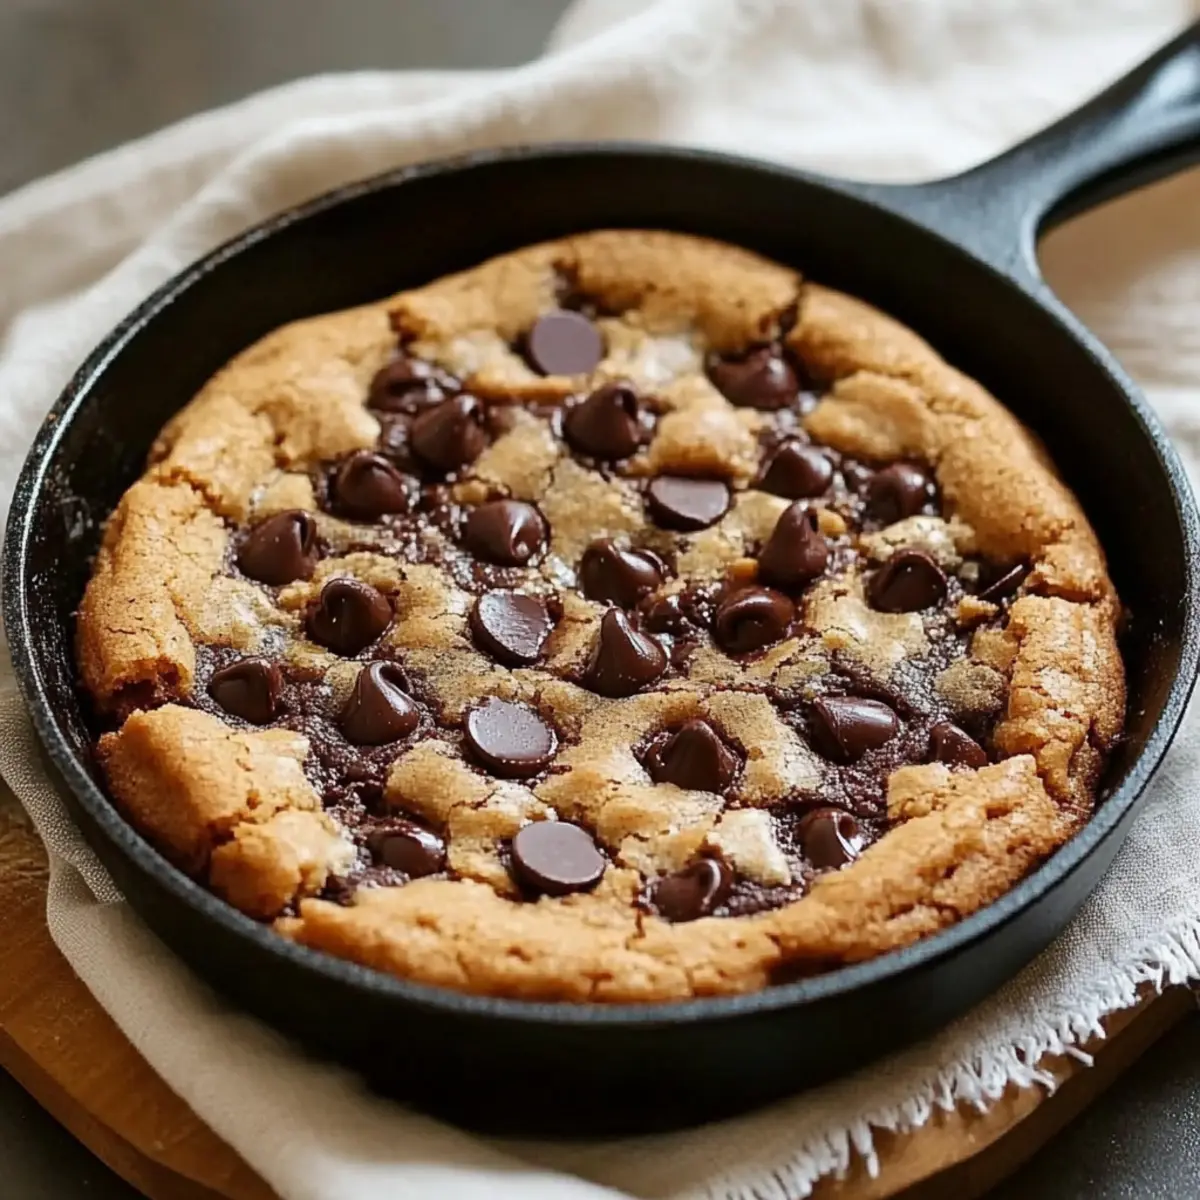
The moment the oven timer dings, the aroma of baked goodness fills my kitchen, drawing me closer to the source of a sweet fantasy – my Chocolate Chip Skillet Cookie. This mouthwatering dessert, with its golden edges and molten chocolate chunks, is the epitome of comfort food, offering the best of both worlds: an incredible one-pan prep that keeps clean-up to a minimum. What I love most about this easy baking recipe is how it transforms a simple night at home into a feel-good celebration, perfect for sharing with loved ones or indulging in solo. Ready to indulge in a slice (or two) of heaven? Let’s dive into this delightful adventure together!
Why is this the ultimate skillet cookie?
Decadent, Melty Goodness: Each bite reveals warm pockets of gooey chocolate that truly elevate this dessert.
One-Pan Convenience: Forget multiple dishes—this recipe bakes beautifully in just a cast iron skillet, making cleanup a breeze.
Crispy Meets Chewy: The delightful contrast of a crispy edge and a chewy center provides an unforgettable texture that'll have you reaching for seconds.
Versatile Flavor Options: Customize to your heart’s content—swap in nuts, different chocolates, or even spices for a unique twist!
Perfect for Sharing: Ideal for gatherings or cozy nights in, this cookie is sure to impress anyone who takes a bite. Trust me, once you treat your loved ones to this sensational dessert, it will be a staple in your recipe collection!
Chocolate Chip Skillet Cookie Ingredients
• Get ready for deliciousness!
For the Cookie Base
• All-Purpose Flour – Forms the cookie’s structure; you can use gluten-free all-purpose flour for a gluten-free version.
• Baking Soda – Provides lift and lightness; no substitutions recommended here.
• Salt – Enhances flavor and balances sweetness; essential for a well-tasting cookie.
• Unsalted Butter – Adds richness and depth; browning it first elevates the nutty flavor. Substitute with coconut oil for a dairy-free option.
• Brown Sugar – Contributes moisture and a caramel-like sweetness; dark brown sugar can intensify the flavor.
• Granulated Sugar – Gives you those crisp edges and balanced sweetness; no substitutions needed for that perfect texture.
• Vanilla Extract – Infuses warmth and depth; using pure vanilla extract is the way to go for the best flavor.
• Egg & Egg Yolk – Binds the dough, and the extra yolk adds richness; an egg substitute can work for a vegan option.
For the Chocolate Filling
• Chocolate Chunks or Chips – The star ingredient, delivering melty pockets of chocolate; consider substituting with white chocolate or nuts if you’re feeling adventurous.
For the Finishing Touch
• Flaky Sea Salt (optional) – A sprinkle enhances flavor and adds texture; can be omitted if you prefer.
Now you have all the building blocks of your decadent Chocolate Chip Skillet Cookie! Get ready to whip up a delightful dessert that is sure to charm your taste buds.
Step‑by‑Step Instructions for Chocolate Chip Skillet Cookie
Step 1: Brown the Butter
In a 10-inch cast iron skillet, melt the unsalted butter over medium heat. Stir frequently for about 5-7 minutes until the butter turns golden brown and develops a nutty aroma. Remove the skillet from heat and allow the butter to cool slightly for a few minutes, preserving that delicious flavor for your Chocolate Chip Skillet Cookie.
Step 2: Prepare Wet Ingredients
In a large mixing bowl, combine the browned butter with brown sugar and granulated sugar. Mix together until smooth and creamy, which should take about 2 minutes. Next, stir in the vanilla extract, followed by the egg and egg yolk, blending everything well until glossy and unified. This mixture will form the luscious base of your cookie.
Step 3: Mix Dry Ingredients
In a separate bowl, whisk together the all-purpose flour, baking soda, and salt. Gradually add this dry mixture into the wet ingredients, mixing gently with a spatula until just incorporated. Be cautious not to overmix; the key to a perfect Chocolate Chip Skillet Cookie is maintaining a lovely, soft dough that comes together beautifully.
Step 4: Add Chocolate
Carefully fold in most of the chocolate chunks, leaving some aside for topping. This will create delightful pockets of melting chocolate throughout your dough. Mix until the chunks are evenly distributed, ensuring every bite of your skillet cookie will be bursting with rich, gooey goodness.
Step 5: Prepare for Baking
Transfer the cookie dough into the same cast iron skillet, pressing it evenly across the bottom and up the sides slightly. Make sure the dough is spread out without any gaps. Top the surface with the reserved chocolate chunks, giving your cookie a beautiful, decadent finish.
Step 6: Bake
Preheat your oven to 350°F (175°C) and place the skillet in the center rack. Bake for 20-25 minutes, watching for the edges to turn golden brown while the center looks just set. It should start pulling away from the sides of the skillet, hinting at that perfect chewy texture awaiting you in your Chocolate Chip Skillet Cookie.
Step 7: Cool & Serve
Once baked, carefully remove the skillet from the oven, and let the cookie cool for about 5-10 minutes. This cooling time will help it set slightly, making it easier to slice. Serve warm, optionally topped with a scoop of ice cream and a sprinkle of flaky sea salt if desired, for an indulgent experience that’s hard to resist.
Tips for the Best Chocolate Chip Skillet Cookie
-
Brown the Butter: Ensure you brown the butter properly to bring out a rich, nutty flavor that enhances the entire cookie.
-
Mix Gently: When incorporating dry ingredients, mix just until combined to avoid a tough texture in your Chocolate Chip Skillet Cookie.
-
Watch the Bake Time: Keep an eye on your cookie while it bakes; overbaking can lead to a dry texture instead of that perfect chewy center.
-
Cool Before Serving: Allowing the cookie to cool slightly will help it set and make it easier to slice while still enjoying that warm gooeyness.
-
Use Quality Chocolate: Choose high-quality chocolate chunks or chips for the best melt and flavor—it's worth the extra effort!
Chocolate Chip Skillet Cookie Variations
Customize your Chocolate Chip Skillet Cookie to match your taste buds! With a few simple tweaks, you can create endless delicious possibilities.
- Dairy-Free: Replace unsalted butter with coconut oil for a dairy-free delight. You won’t miss the creaminess!
- Gluten-Free: Swap all-purpose flour with gluten-free all-purpose flour to make this cookie suitable for gluten-sensitive friends.
- Nutty Crunch: Fold in half a cup of chopped nuts, like walnuts or pecans, for added crunch and depth in flavor. It adds a delightful surprise in every bite!
- Spicy Kick: Add a dash of cinnamon or a teaspoon of cayenne pepper for a warm, spicy twist that beautifully complements the chocolate.
- Different Chocolates: Use a mix of dark, milk, and white chocolate chips for a layered sweetness that will leave everyone guessing what’s in the mix. It’s like a chocolate treasure hunt!
- Caramel Drizzle: Drizzle melted caramel over the top right before serving to enhance the dessert with gooey, sweet goodness. Who can resist that combo?
- Extra Richness: Add an extra egg yolk for a richer, even more decadent center. The result will melt in your mouth!
- Add-Ins Galore: Get creative with add-ins like toffee bits or dried fruit to make your cookie unique. Imagine every bite bursting with flavor surprises.
These variations will give you the chance to make the recipe your own, keeping each baking session exciting. If you're interested in more ways to elevate your baking experience, check out my favorite tips for creating the ultimate dessert—a delicious treat every time!
Make Ahead Options
These Chocolate Chip Skillet Cookies are perfect for those who want to save time during busy weeknights! You can prepare the cookie dough up to 24 hours in advance. Simply follow the recipe instructions up to step 5, then cover the skillet with plastic wrap and refrigerate. This helps maintain the cookie's delicious flavors and ensures the dough stays fresh. When you're ready to bake, just remove the plastic wrap, let the dough sit at room temperature for 15-20 minutes, then proceed to step 6 and bake as directed. This way, you can enjoy a warm, gooey Chocolate Chip Skillet Cookie with minimal effort!
Storage Tips for Chocolate Chip Skillet Cookie
-
Room Temperature: Store any leftover Chocolate Chip Skillet Cookie in an airtight container at room temperature for up to 3 days. This keeps it fresh and delicious while preserving its chewy texture.
-
Fridge: If you prefer a firmer texture, you can refrigerate the cookie in a sealed container for up to a week. Just let it come to room temperature before enjoying.
-
Freezer: For longer storage, wrap individual slices tightly in plastic wrap and freeze for up to 2 months. This allows you to enjoy a slice of chocolatey goodness anytime you desire.
-
Reheating: When ready to indulge, simply reheat in the microwave for 10-15 seconds to restore that gooey texture. Enjoy it warm for the best experience!
What to Serve with Ultimate Chocolate Chip Skillet Cookie
Warm and inviting, this decadent dessert is perfect for cozy gatherings and sweet indulgence.
- Vanilla Ice Cream: The creamy coldness creates a delightful contrast with the warm cookie, elevating the whole experience. Scoop a generous amount on top, letting it melt slightly into the gooey chocolate.
- Chocolate Sauce: Drizzling warm chocolate sauce over your skillet cookie enhances the chocolatey goodness and adds an extra layer of decadence. It’s a chocolate lover’s dream come true!
- Caramel Drizzle: For a delightful twist, a sweet drizzle of caramel sauce brings a rich, buttery flavor that pairs beautifully with the chocolate. It’s a match made in dessert heaven!
- Fresh Berries: The tartness of fresh raspberries or strawberries cuts through the sweetness of the cookie and adds a refreshing element to each bite. Consider serving them on the side for an eye-popping contrast!
- Coffee or Latte: A warm cup of coffee or a frothy latte creates a cozy coffee-shop vibe, enhancing the comforting nature of this indulgent dessert. It’s perfect for those evening gatherings!
- Milk: There's nothing quite like a tall glass of cold milk to wash down that chocolaty delight. The classic combination never fails to evoke nostalgia and enjoyment.
- Whipped Cream: Add a dollop of fluffy whipped cream on top for an airy texture that balances the dense cookie. This light addition elevates the entire dessert experience.
- Nutty Brownies: For a dessert platter, pair your skillet cookie with fudgy brownies that introduce another layer of texture and flavor, delighting those lucky enough to share!
Chocolate Chip Skillet Cookie Recipe FAQs
How do I select the perfect chocolate chunks or chips for my cookie?
Absolutely! Look for high-quality chocolate with a cocoa content of 60% or higher for a rich flavor. You can use semi-sweet, dark, or even milk chocolate depending on your taste preferences. If you're feeling adventurous, consider using a mix! The chocolate should be in good condition, free from bloom or cracks, which can indicate it has been improperly stored.
How should I store my leftover Chocolate Chip Skillet Cookie?
For best results, store any leftover Chocolate Chip Skillet Cookie in an airtight container at room temperature for up to 3 days. This will keep it fresh and maintain the chewy texture. If you need longer storage, you can wrap slices tightly in plastic wrap and freeze them for up to 2 months. Just remember to reheat in the microwave for 10-15 seconds before indulging to bring back that gooey goodness!
Can I freeze the cookie dough before baking? How do I do it?
Absolutely! Freezing the dough is a great way to have a fresh skillet cookie ready whenever you want. After mixing your dough, scoop it into portions or press it into ваш skillet lined with parchment paper. Wrap it tightly in plastic wrap or freeze it in an airtight container. It will be good for up to 3 months. When you’re ready to bake, simply let it thaw in the fridge overnight and bake as directed, adding a few extra minutes if necessary.
What should I do if my cookie turns out too dry?
Very! If your Chocolate Chip Skillet Cookie turns out dry, it may be due to overbaking or using too much flour. Keep an eye on the baking time; the edges should be golden while the center appears just set. To avoid this in the future, gently spoon flour into your measuring cup, leveling it off without packing it down. If you find yourself with a dry cookie, serving it warm with vanilla ice cream can help bring back some moisture!
Can I make this Chocolate Chip Skillet Cookie dairy-free or vegan?
Absolutely! To make it dairy-free, simply substitute the unsalted butter with coconut oil or a plant-based butter alternative. For a vegan version, you can replace the egg and yolk with a flax egg by mixing 1 tablespoon of ground flaxseed with 2.5 tablespoons of water. Let it sit for about 5 minutes until it thickens. This way, you can still enjoy the incredible flavors of this skillet cookie while accommodating dietary needs!
Is it safe for pets to consume any of the ingredients?
Very! It's essential to keep in mind that chocolate is toxic to dogs and other pets. So, while you enjoy your scrumptious Chocolate Chip Skillet Cookie, be sure to keep it away from them. If you're looking to indulge your furry friend, consider making a pet-friendly treat specifically designed for their dietary needs. Safety first, always!
Indulgent Chocolate Chip Skillet Cookie You'll Love to Share
Ingredients
Equipment
Method
- Brown the butter by melting unsalted butter over medium heat for about 5-7 minutes until golden brown.
- In a large bowl, combine browned butter, brown sugar, and granulated sugar. Mix until smooth and creamy, then add vanilla, egg, and egg yolk.
- In another bowl, whisk together flour, baking soda, and salt. Gradually add to the wet mixture, mixing gently until just combined.
- Fold in most of the chocolate chunks, leaving some aside for topping. Ensure even distribution.
- Transfer dough to the skillet, pressing evenly. Top with reserved chocolate chunks.
- Preheat oven to 350°F (175°C) and bake for 20-25 minutes until edges are golden and center is just set.
- Let the cookie cool for 5-10 minutes before slicing. Serve warm, optionally topped with ice cream and flaky sea salt.


Leave a Reply