
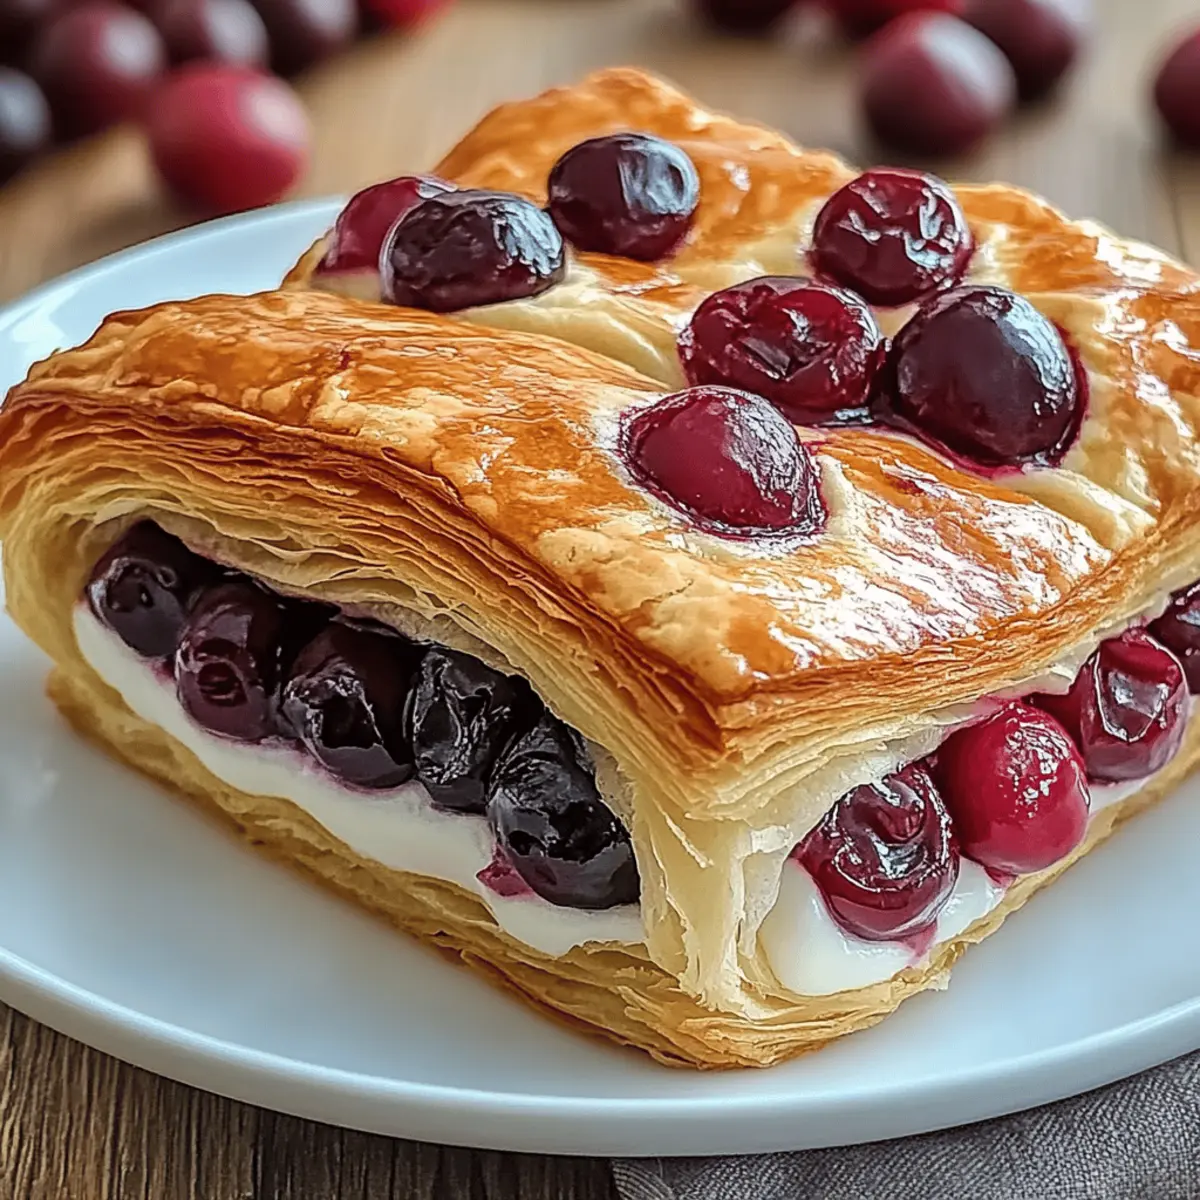
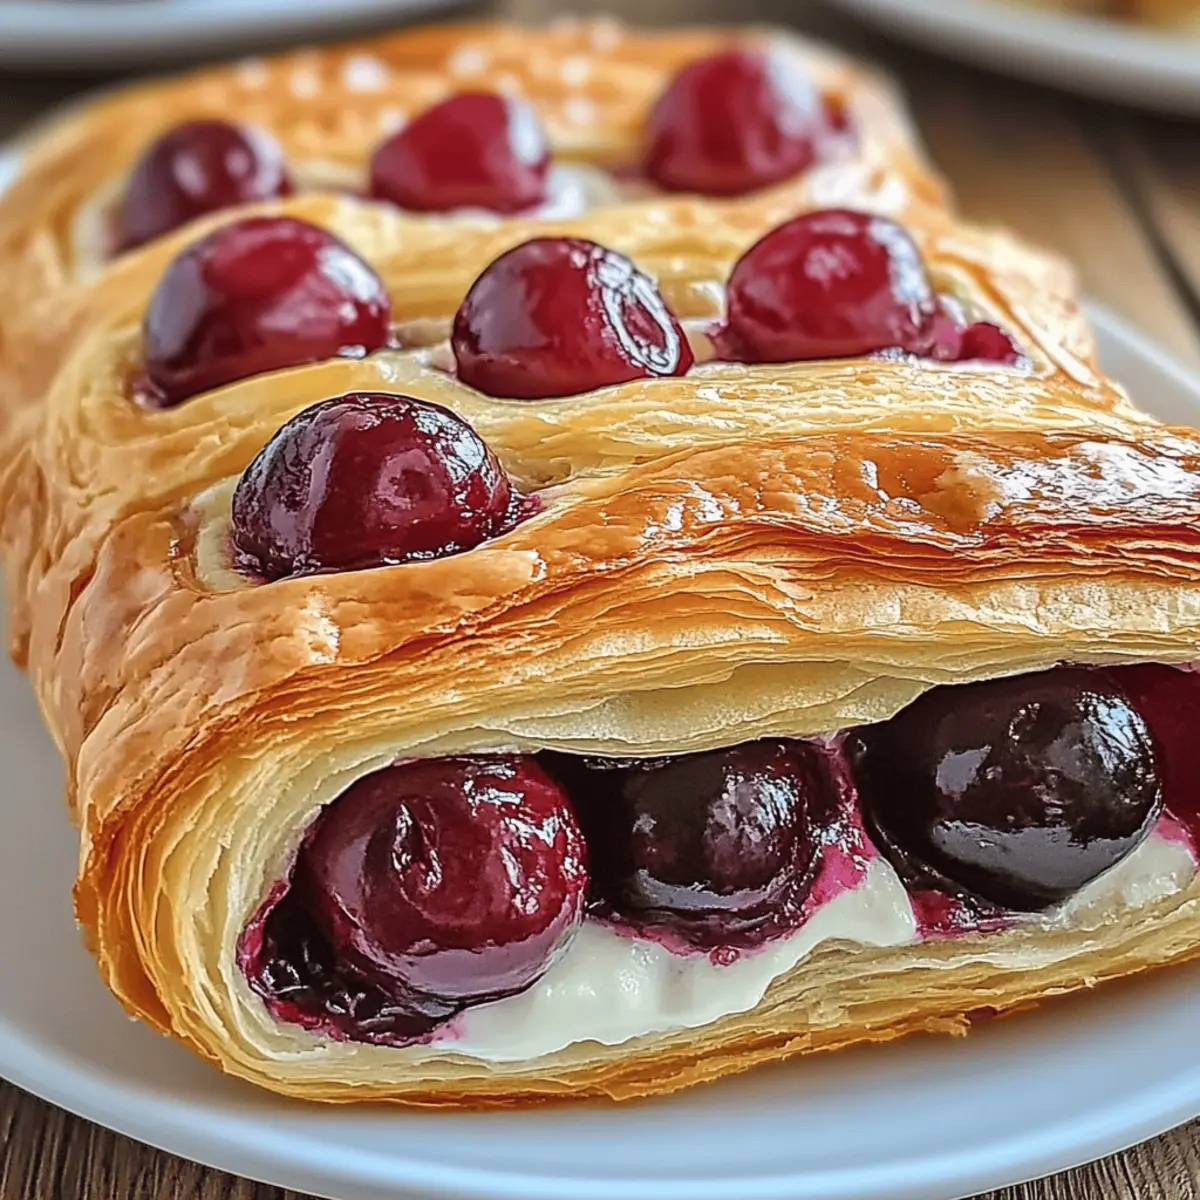
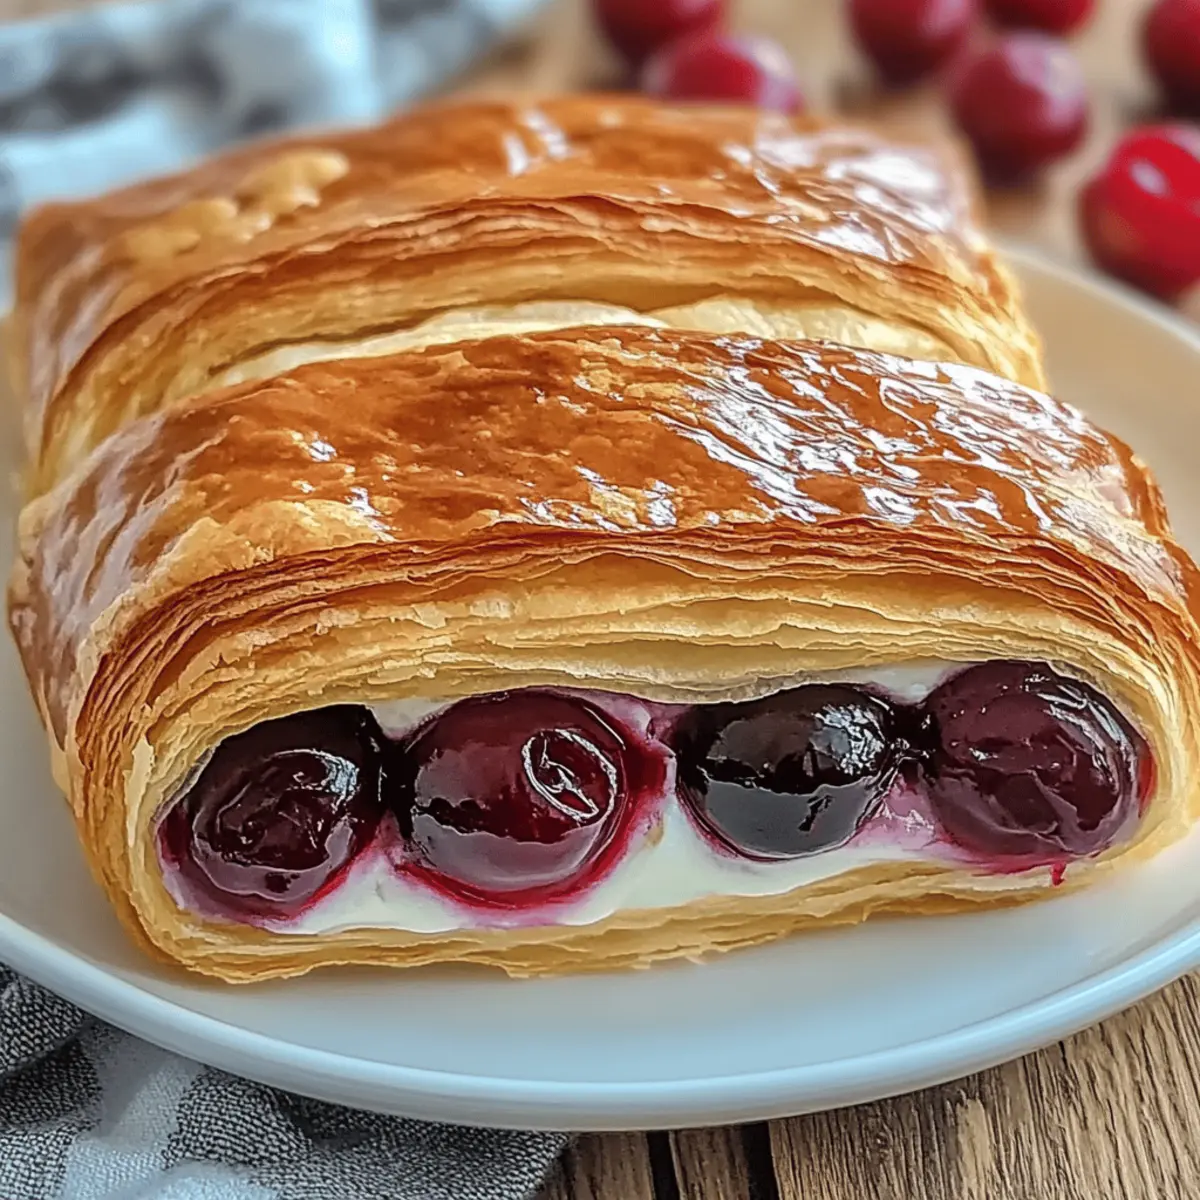
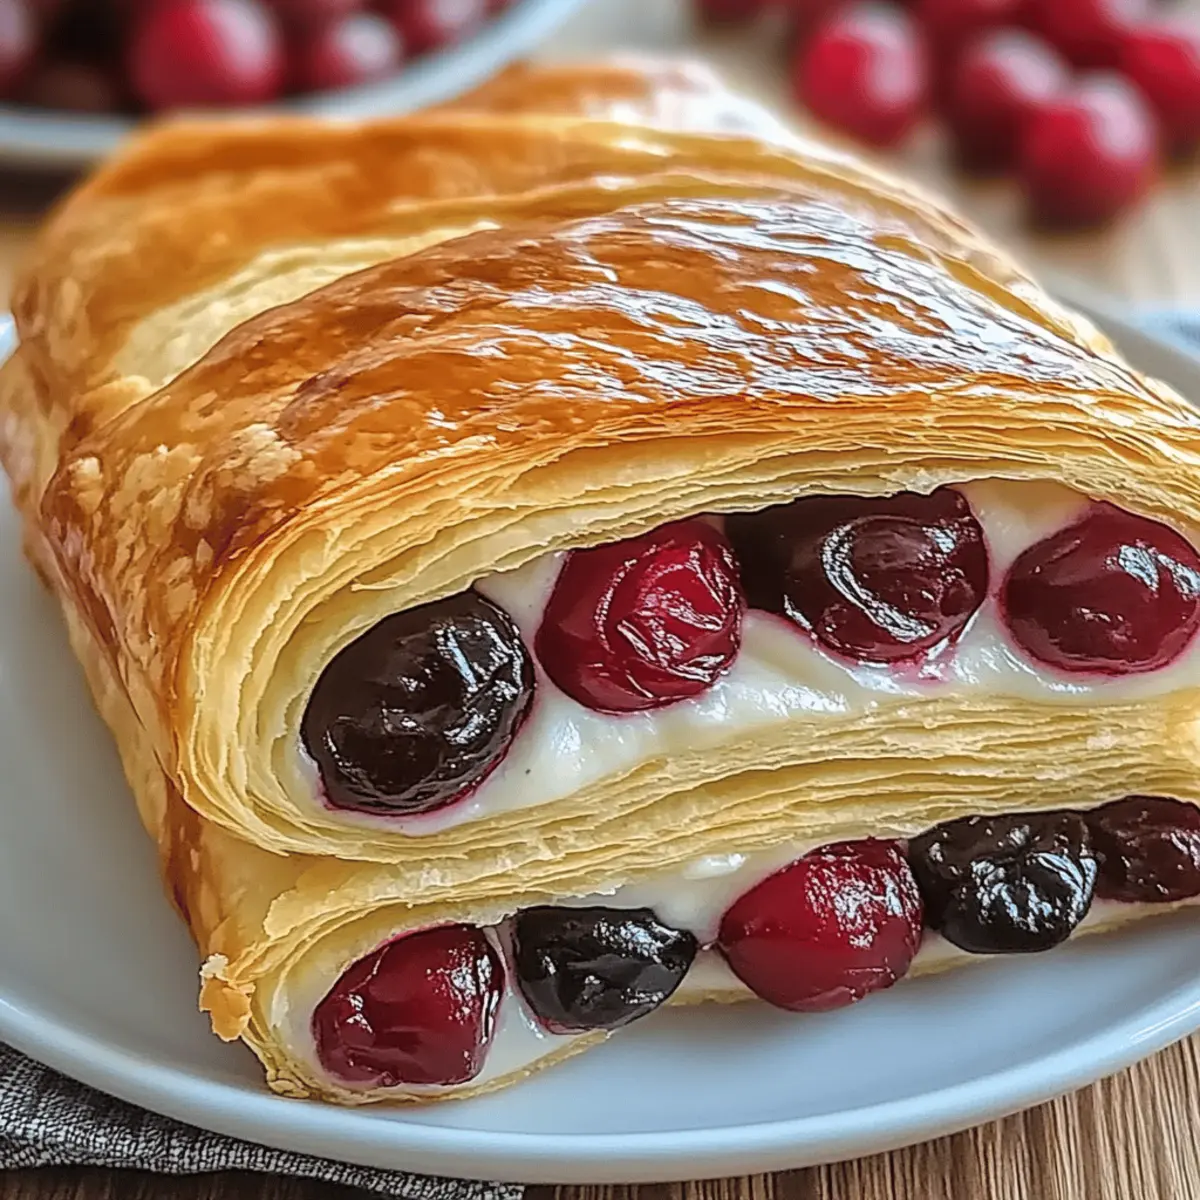
As I stood in my kitchen, the enticing scent of baking pastries wafted through the air, bringing back warm memories of cozy brunches and sweet mornings. This is the magic of making an Easy Cherry Cheese Danish! With layers of flaky puff pastry and a velvety cream cheese filling crowned with luscious cherries, it’s an irresistible treat that’s both simple and satisfying. What’s even better? You can whip this beauty up in no time using store-bought puff pastry, making it perfect for those busy mornings or spontaneous gatherings. Plus, the recipe is incredibly customizable: switch in your favorite fruit filling or try different cream cheese flavors for a delightful twist! Are you ready to dive into pastry perfection? Let’s get baking!
Why is This Cherry Cheese Danish A Must-Try?
Irresistible Flavor: This recipe combines sweet cherries and creamy cheese in a flaky pastry, creating a taste sensation that will impress everyone at your table.
Quick and Easy: With store-bought puff pastry, you can achieve bakery-quality pastries without spending hours in the kitchen. Perfect for busy mornings or surprise guests!
Customizable Delight: Whether you prefer cherry, blueberry, or peach, you can adapt this recipe to suit your taste. Try adding a hint of cinnamon or even a drizzle of chocolate for a unique twist.
Crowd-Pleasing Treat: This Danish is sure to be a hit at brunch or dessert gatherings; everyone will be asking for the recipe!
Nostalgic Charm: Every bite will evoke fond memories of cozy breakfasts and delightful pastries, making it a wonderful addition to any occasion. For more delicious pastry recipes, check out my Lemon Cream Cheese or the mouthwatering Velvet Oreo Cheesecake!
Cherry Cheese Danish Ingredients
• This recipe highlights simple yet essential components that create a stunning pastry.
For the Pastry
- Puff Pastry – This store-bought essential gives you a flaky, light base with minimal effort.
For the Filling
- Cream Cheese – Provides a rich and creamy filling; feel free to swap it out for mascarpone or ricotta for a different taste.
- Granulated Sugar – Sweetens the cream cheese and enhances flavor; don’t skimp on this!
- Vanilla Extract – Adds warmth and depth to the filling; essential for balancing the creaminess.
For the Topping
- Cherry Pie Filling – The star of the show! Use homemade for extra love or canned for convenience; it's perfect for a Cherry Cheese Danish.
For the Egg Wash
- Egg – Gives the Danish a beautiful golden finish when brushed on top; substitute with milk for a vegan option.
Step‑by‑Step Instructions for Cherry Cheese Danish
Step 1: Preheat the Oven
Begin by preheating your oven to 375°F (190°C). This ensures your Cherry Cheese Danish bakes evenly and achieves that perfect golden crust. For best results, set your oven early so it's ready when you finish assembling the pastry.
Step 2: Prepare the Puff Pastry
While the oven heats, roll out the thawed puff pastry on a lightly floured surface. Using a sharp knife or pastry cutter, slice it into four 4x4-inch squares. This will be the base for your delicious cherry cheese filling, so be careful to keep the squares as even as possible.
Step 3: Make the Cream Cheese Filling
In a mixing bowl, combine softened cream cheese, granulated sugar, and vanilla extract. Use a hand mixer or spatula to blend until smooth and creamy. This filling will add a rich, delightful flavor to your Cherry Cheese Danish, so mix until it’s beautifully combined with no lumps.
Step 4: Assemble the Pastries
Place a generous scoop of the cream cheese mixture in the center of each pastry square, followed by a dollop of cherry pie filling. Carefully fold the corners of each square towards the center and pinch to seal, creating a lovely pocket for the filling to stay put during baking.
Step 5: Brush with Egg Wash
To achieve a golden and shiny finish, whisk an egg in a small bowl, then brush the mixture over the tops of each assembled Danish. If you prefer a vegan option, you can use milk instead. This egg wash will help your pastries develop that irresistible golden hue as they bake.
Step 6: Bake the Danish
Carefully place the sealed pastries on a lined baking sheet, ensuring they are spaced apart to allow for puffing. Bake in the preheated oven for about 20-25 minutes, or until they are puffed and golden brown. Keep an eye on them to prevent over-browning!
Step 7: Cool and Serve
Once baked, remove the Cherry Cheese Danish from the oven and let them cool for about 5 minutes on the baking sheet. This resting time allows the filling to set slightly, making it easier to enjoy. Serve warm and relish the delightful flavors!
What to Serve with Easy Cherry Cheese Danish?
There’s something magical about pairing fresh pastries with complementary sides, enhancing the delightful experience of every bite.
-
Fresh Berries: Add a vibrant, refreshing burst of flavor that beautifully balances the sweetness of the Danish. Toss them with a sprinkle of sugar for an extra touch.
-
Greek Yogurt: A smooth, creamy side that adds protein and a slight tang—perfect for contrasting the richness of the cream cheese filling.
-
Coffee: The warm, robust flavor of coffee creates a cozy atmosphere, making it an ideal beverage choice for enjoying your Danish.
-
Herbal Tea: Mild flavors like chamomile or peppermint offer a soothing pairing, enhancing the sweet aroma and making for a comforting treat.
-
Citrus Salad: A medley of oranges and grapefruits brings a bright, zesty contrast that complements the sweeter notes of the Danish while adding a delightful crunch.
-
Vanilla Ice Cream: A scoop of creamy vanilla ice cream melts beautifully over a warm Danish, creating a rich and indulgent dessert experience.
-
Chocolate Drizzle: For the chocolate lovers, a warm drizzle of melted chocolate elevates the sweetness and offers an exquisite touch of decadence to each bite.
Indulging in a well-balanced meal that includes your Cherry Cheese Danish will elevate your brunch or breakfast experience, leaving everyone craving more!
Storage Tips for Cherry Cheese Danish
-
Room Temperature: Keep leftover Cherry Cheese Danish in an airtight container at room temperature for up to 2 days to maintain their flaky texture.
-
Fridge: For longer freshness, store in the refrigerator for up to 4 days. Make sure they are well-wrapped to prevent drying out.
-
Freezer: To extend shelf life, freeze unbaked or baked Danishes wrapped securely for up to 2 months. Bake from frozen without thawing for a quick treat!
-
Reheating: Reheat leftovers in the oven at 350°F (175°C) for about 10 minutes to restore their flaky crust and warm filling.
Cherry Cheese Danish Variations & Substitutions
Unlock the full potential of your Cherry Cheese Danish with these fun and delightful twists that will make your taste buds dance!
-
Fruit Swap: Replace cherry filling with blueberries, peaches, or apples for a different fruity delight. Go wild with whatever fresh fruits you love most!
-
Cream Cheese Alternatives: Use mascarpone or ricotta for a richer, creamier filling that adds a luxurious touch to each bite. You’ll be pleasantly surprised by the variation in flavor!
-
Spice It Up: Stir in a teaspoon of cinnamon or nutmeg into your cream cheese mixture to give your Danish a cozy, spiced flavor that will remind you of fall gatherings. Your kitchen will smell heavenly!
-
Citrus Brightening: Add a teaspoon of lemon or orange zest to the cream cheese for a zesty, refreshing kick that nicely complements the sweetness of your fruit topping.
-
Vegan Option: Substitute regular cream cheese with dairy-free options and brush the pastry with a plant-based milk for an equally delicious vegan Cherry Cheese Danish.
-
Chocolate Drizzle: Elevate your treat by adding a drizzle of melted dark or white chocolate on top after baking for an indulgent touch that chocolate lovers will adore.
-
Nutty Goodness: Sprinkle chopped walnuts or almonds atop the filling before sealing the pastries for an added crunch and nutty flavor that takes the Danish to a new level.
-
Heat It Up: Add a pinch of cayenne or a few slices of fresh jalapeño to the filling for a surprising sweet-and-spicy combination that will awaken your palate.
Each of these variations allows you to tailor your Cherry Cheese Danish just the way you like it, ensuring that every bite is a delightful adventure! And if you’re in the mood for more delicious treats, don’t miss out on my comforting Spinach Goat Cheese Hasselback Chicken or indulgent Balsamic Blackberry Grilled Cheese!
Expert Tips for Cherry Cheese Danish
-
Thaw Puff Pastry: Ensure your puff pastry is completely thawed before working with it. This prevents tearing and helps achieve that flaky texture that's essential for a perfect Cherry Cheese Danish.
-
Chill Before Baking: For maximum flakiness, chill the assembled Danish in the fridge for about 15 minutes before baking. This helps keep the layers distinct and airy.
-
Watch the Baking Time: Keep a close eye on your pastries as they bake. Ovens vary, and it's easy to over-bake. Aim for a golden brown color without burning.
-
Use a Preheated Sheet: Baking on a preheated sheet can enhance crispiness. Just place the baking sheet in the oven while it preheats, then add your pastries when you're ready.
-
Customize Your Filling: Don’t be afraid to experiment! Swap out cherry filling for your favorite fruits, or add spices like cinnamon to the cream cheese mixture for a unique twist on this delightful treat.
Make Ahead Options
These Easy Cherry Cheese Danish are perfect for meal prep enthusiasts! You can assemble the Danish up to 24 hours in advance by layering the cream cheese filling and cherry pie filling inside the puff pastry squares, then sealing them as instructed. To maintain their flaky texture, refrigerate the assembled pastries prior to baking. When you're ready to enjoy these delightful treats, simply brush them with the egg wash and bake them directly from the fridge, adding a couple of extra minutes to the baking time to ensure they are perfectly golden and puffed. This method allows you to serve warm, homemade pastries with minimal effort, making them ideal for busy mornings or unexpected guests!
Cherry Cheese Danish Recipe FAQs
How do I select the right cherries for my filling?
Absolutely! When choosing cherries, look for ones that are plump, firm, and have a bright color. Avoid any that have dark spots or appear shriveled, as these may affect the overall taste of your Cherry Cheese Danish. If using canned cherry pie filling, check the label for added sugars and ingredients that suit your preference.
What’s the best way to store leftover Cherry Cheese Danish?
Very! To maintain their flaky texture, store leftover Cherry Cheese Danish in an airtight container at room temperature for up to 2 days. If you need to keep them longer, refrigerate for up to 4 days. Remember to wrap them well to prevent them from drying out!
Can I freeze leftover Cherry Cheese Danish?
Absolutely! You can freeze them unbaked or baked. To freeze unbaked, wrap the assembled Danishes tightly in plastic wrap, then in foil, and place them in a freezer bag. They can be stored for up to 2 months. When you’re ready to enjoy, bake them from frozen at 375°F (190°C) for about 25-30 minutes without thawing.
What should I do if my puff pastry tears when rolling or cutting?
No worries! If your puff pastry tears, simply use a bit of cold water or a scrap piece of pastry to patch it up. Make sure to handle the dough gently, as too much warmth from your hands can cause it to become soft. It's essential to keep the dough as cold as possible for a tender and flaky texture.
Are there any dietary considerations for my pets regarding the ingredients?
Yes! While the Cherry Cheese Danish is a delightful treat for humans, many ingredients, like cream cheese and sugar, aren’t suitable for pets. Always keep baked goods, especially those containing sugar or dairy, away from pets, as they can cause digestive issues. For pets, it’s best to stick to treats specifically made for them.
What can I substitute for cream cheese?
Great question! If you want to switch it up, you can use mascarpone or ricotta cheese for a different flavor profile. For a dairy-free version, opt for vegan cream cheese alternatives available at most grocery stores. This makes your Cherry Cheese Danish more inclusive for those with dietary restrictions!
Indulgent Cherry Cheese Danish: Flaky, Creamy Perfection
Ingredients
Equipment
Method
- Preheat your oven to 375°F (190°C) to ensure even baking.
- Roll out the thawed puff pastry on a lightly floured surface and slice it into four 4x4-inch squares.
- In a mixing bowl, combine softened cream cheese, granulated sugar, and vanilla extract until smooth.
- Place a scoop of cream cheese mixture in the center of each pastry square, followed by cherry pie filling. Fold corners towards the center and pinch to seal.
- Whisk an egg and brush it over the tops of each assembled Danish for a golden finish.
- Bake in the preheated oven for about 20-25 minutes until puffed and golden brown.
- Let cool on the baking sheet for about 5 minutes before serving warm.


Leave a Reply