
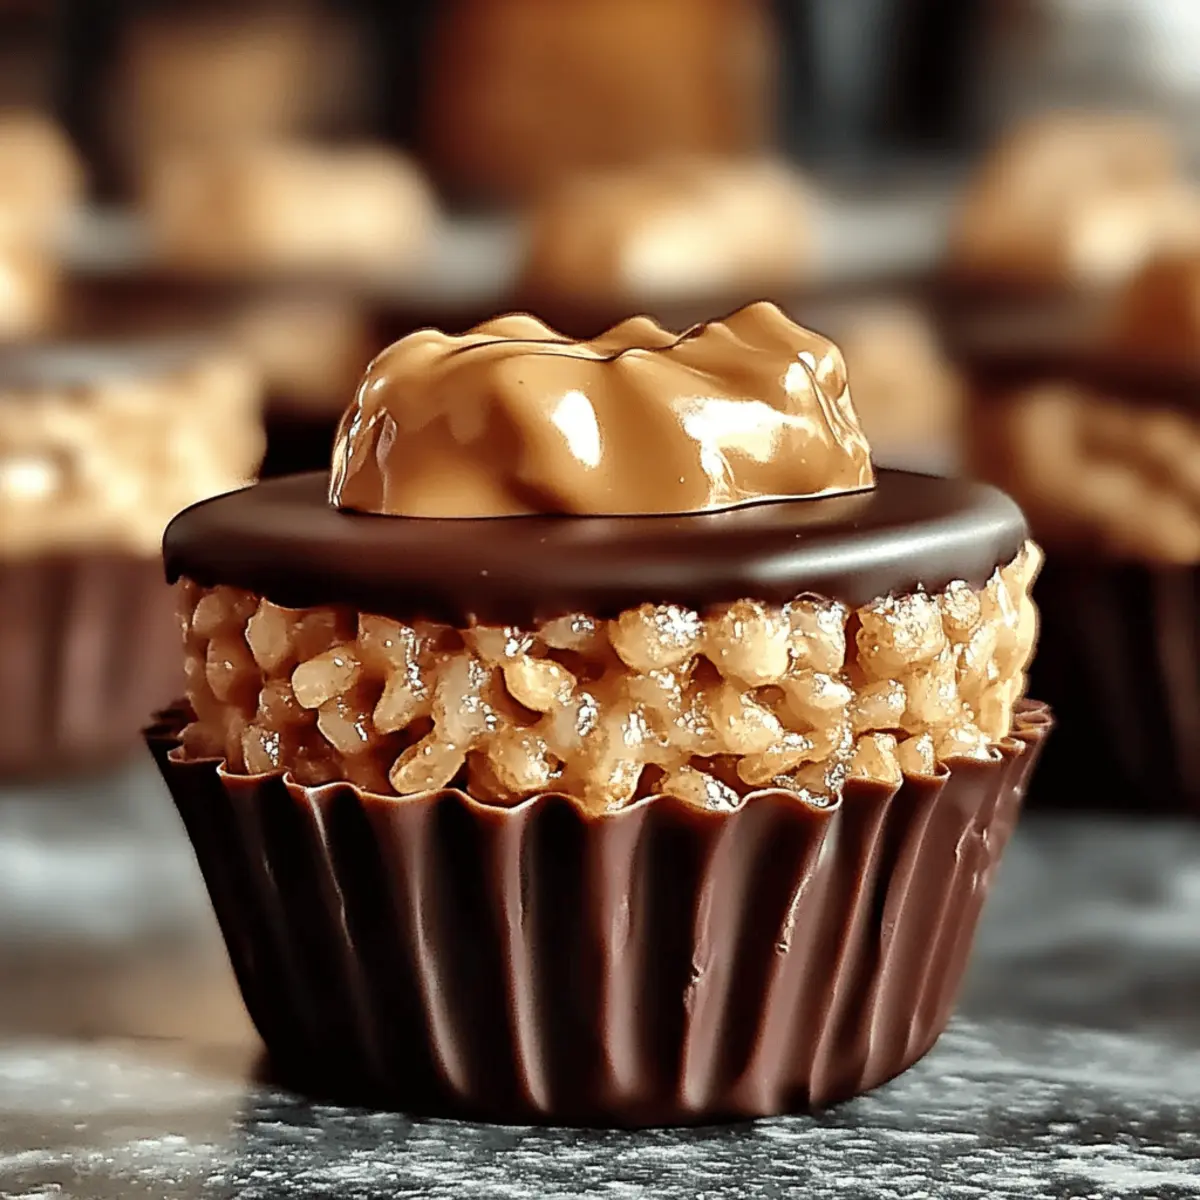
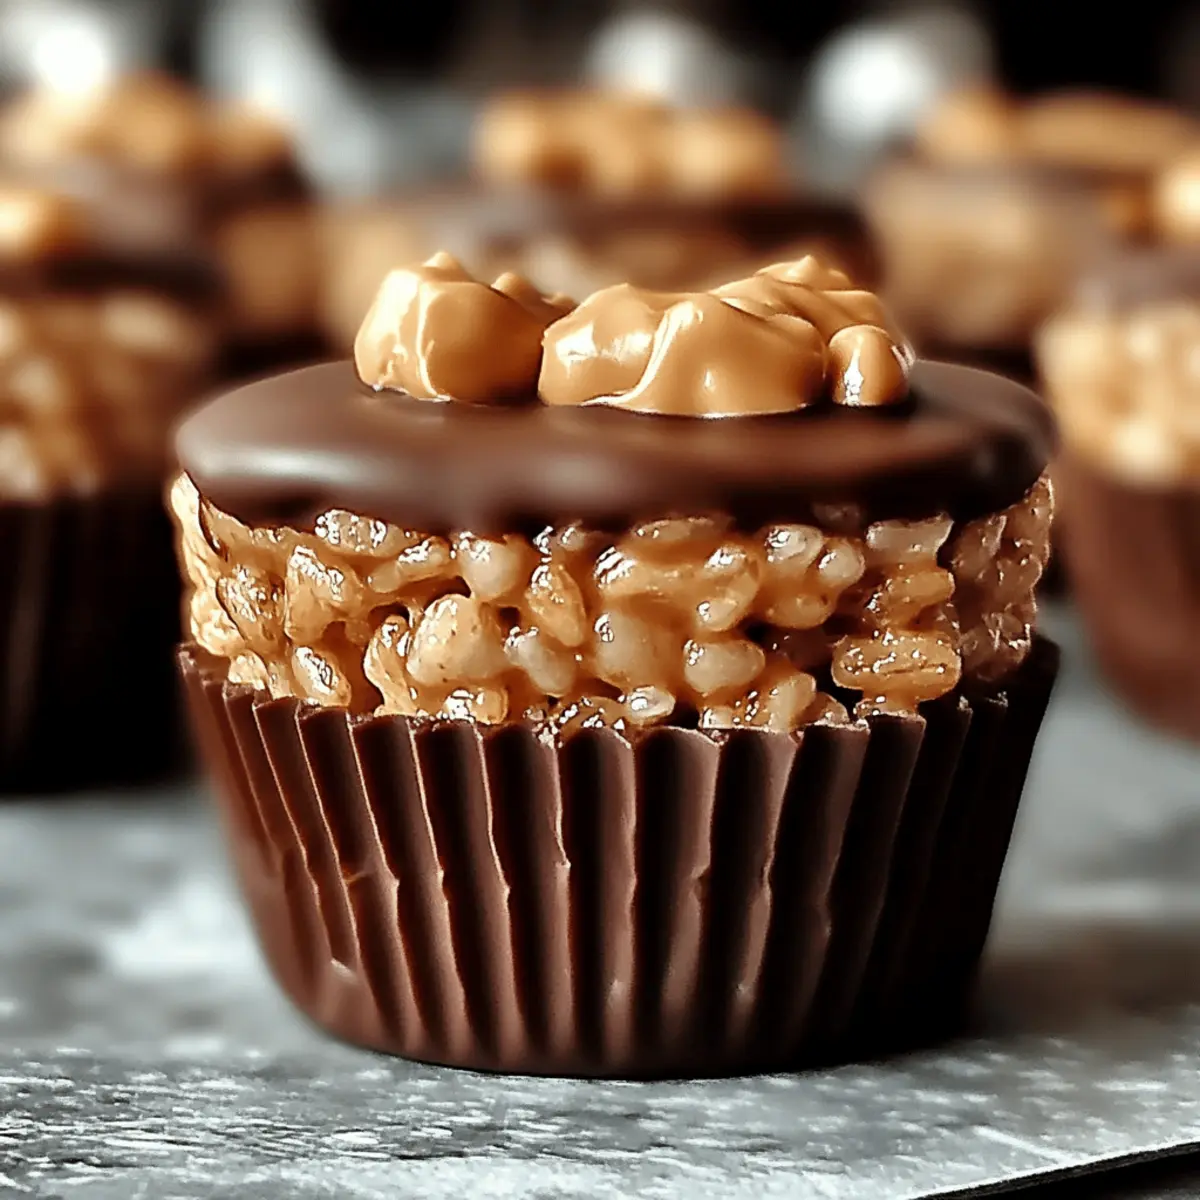
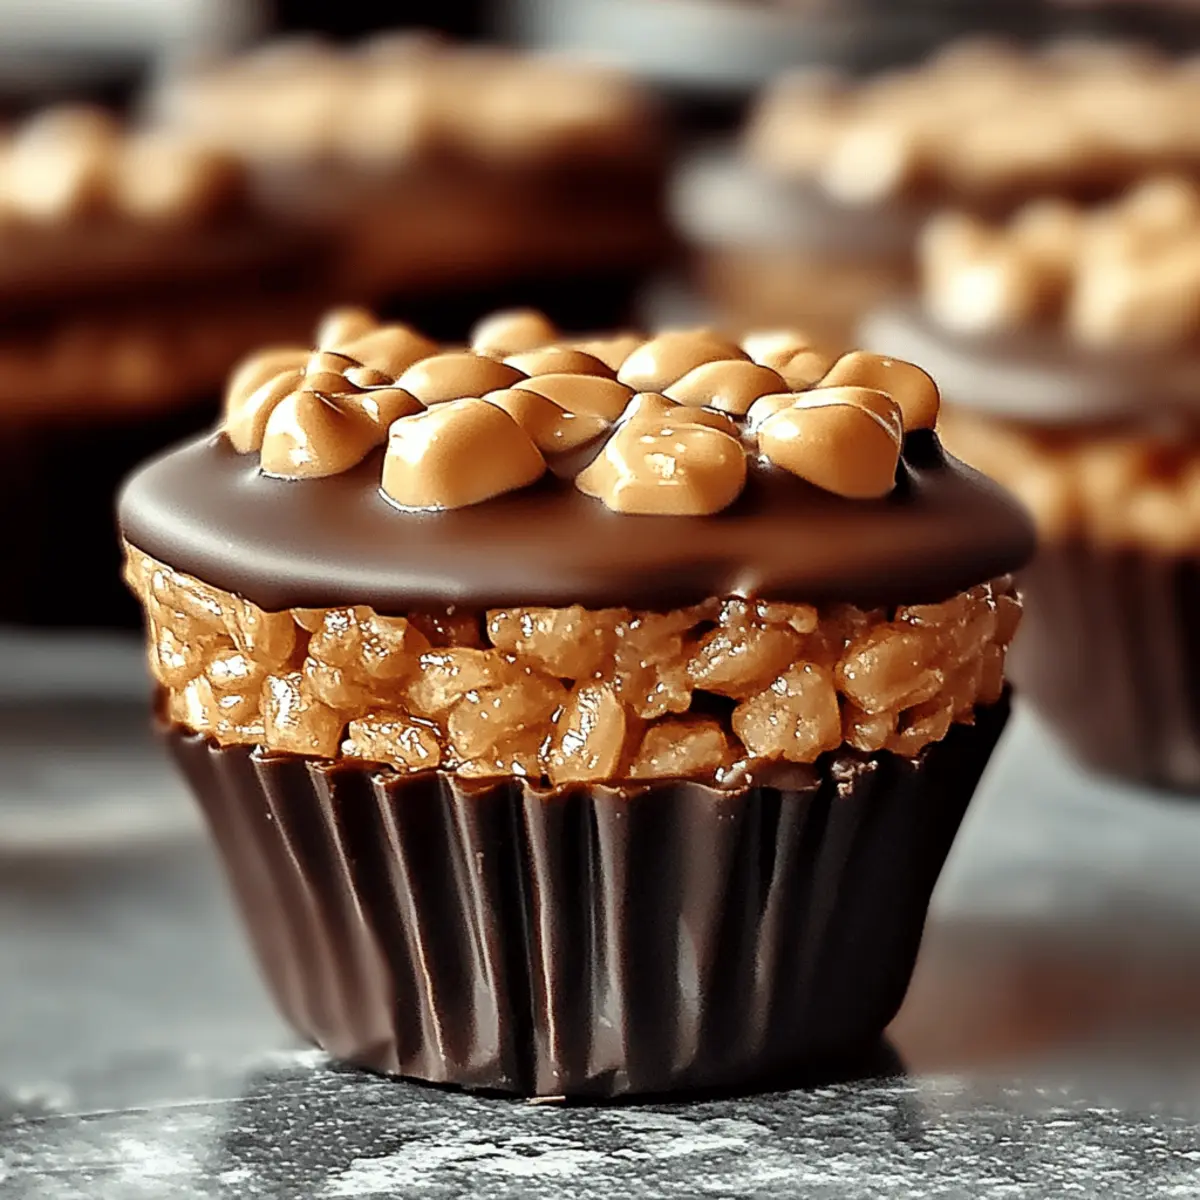
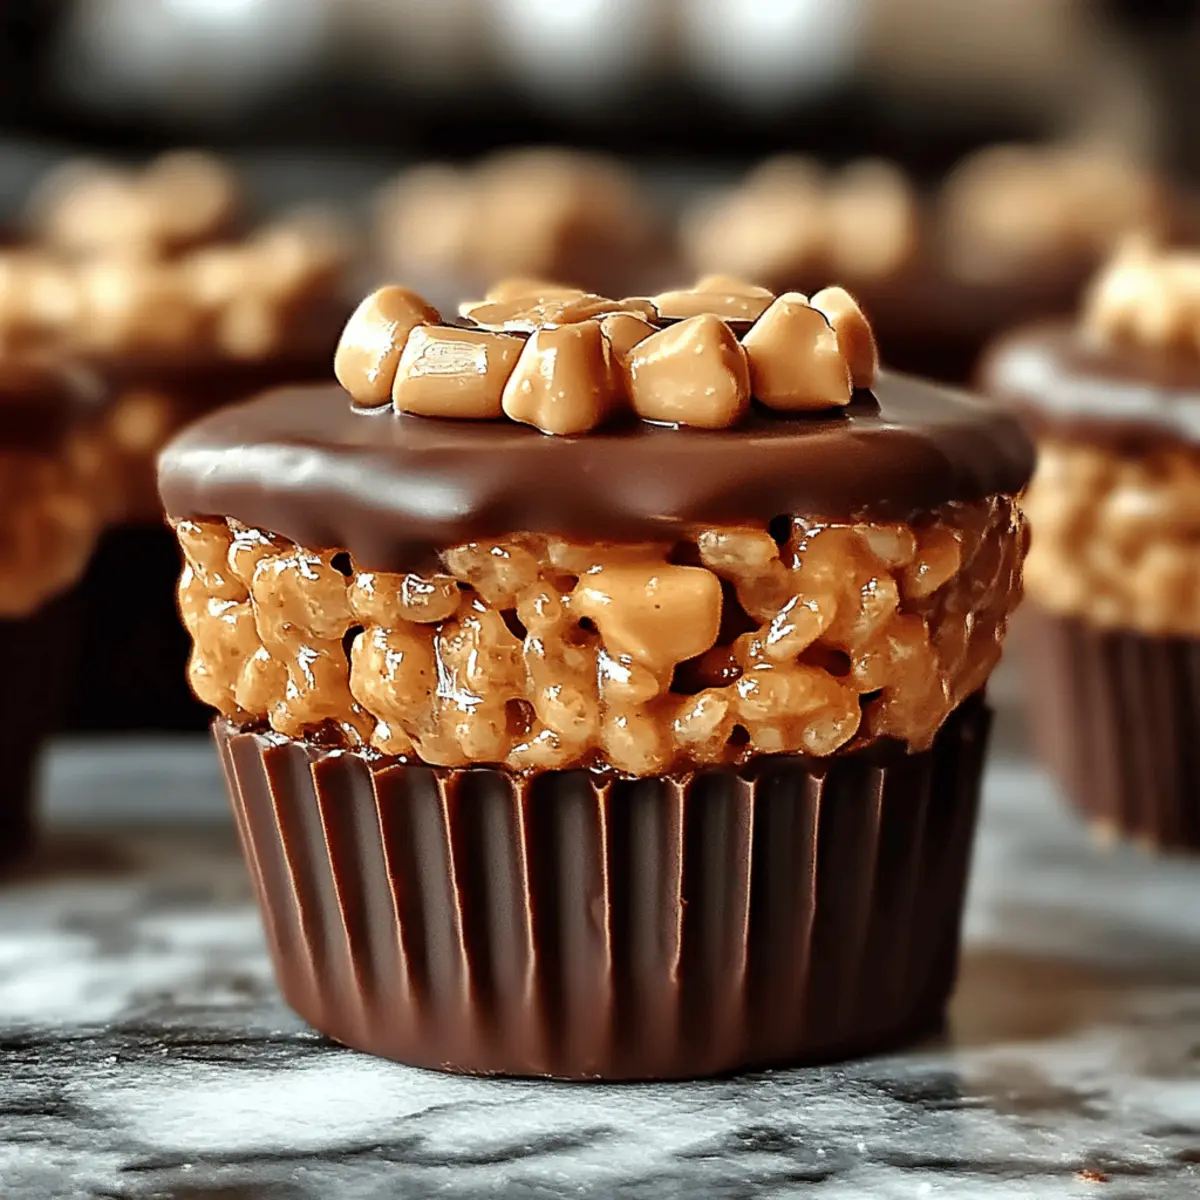
The aroma of melted chocolate mingling with rich peanut butter can whisk me back to childhood in an instant. Today, I’m excited to share a delightful treat that captures that nostalgic essence: Easy No-Bake Chocolate Peanut Butter Rice Krispie Cups. This quick dessert not only satisfies sweet cravings in under 30 minutes, but it also doubles as a crowd-pleaser, perfect for both kids and adults alike. With endless customization options—like creamy or crunchy peanut butter and a variety of chocolate types—these cups can be tailored to your taste. Whether you're hosting a gathering or simply looking for a reliable snack, these delectable cups are just what you need. Ready to whip up something oh-so-sweet?
Why are these Rice Krispie Cups irresistible?
Quick and Easy: These no-bake treats come together in under 30 minutes, making them a go-to option when you need a sweet fix without the fuss.
Customizable Delight: Choose between creamy or crunchy peanut butter and experiment with different chocolate types for a tailored taste everyone will enjoy.
Kid-Friendly Fun: Perfectly suited for children, these cups are an excellent way to get little hands involved in the kitchen, making them a delightful family activity.
Crowd-Pleasing Treat: Whether it's a party or a casual snack, these treats are sure to impress guests and family alike with their sweet and salty flavor combo.
Storage-Friendly: Keep a batch on hand in an airtight container, and you'll have a delicious snack ready for any sudden cravings. These Serving Suggestions or Storage Tips can ensure that your homemade treats stay fresh and ready to enjoy!
Chocolate Peanut Butter Rice Krispie Cups Ingredients
Get ready to whip up these delightful treats!
For the Base
- Unsalted Butter – Binds the mixture and adds moisture; swap with margarine or coconut oil for a dairy-free option.
- Mini Marshmallows – Creates a sweet and chewy base; use vegan marshmallows for a plant-based version.
- Creamy Peanut Butter – Provides richness and smooth texture; switch for crunchy peanut butter for an extra crunchy bite.
- Rice Krispies Cereal – Adds crunch and structure; can be substituted with any crispy cereal for texture variations.
For the Topping
- Chocolate Chips – Adds sweetness and richness as a topping; use dark or vegan chocolate for a healthier twist on your Chocolate Peanut Butter Rice Krispie Cups.
- Vanilla Extract (optional) – Enhances the flavor depth; omit for a simpler taste.
- Sea Salt (optional) – Balances sweetness and enhances flavor; a pinch can elevate the overall taste.
Step‑by‑Step Instructions for Chocolate Peanut Butter Rice Krispie Cups
Step 1: Melt the Base
In a medium saucepan, over low heat, combine 4 tablespoon of unsalted butter and 2 cups of mini marshmallows. Stir continuously for about 5 minutes, ensuring the mixture becomes smooth and fully melted without burning. This rich combination will be the crunchy base of your Chocolate Peanut Butter Rice Krispie Cups.
Step 2: Add Peanut Butter
Once your butter and marshmallows are well blended, mix in 1 cup of creamy peanut butter, along with the optional vanilla extract if desired. Stir the mixture until completely combined and creamy, about 2-3 minutes. The aroma will be delightful as you create a rich, flavorful base for your no-bake cups.
Step 3: Combine with Cereal
With your peanut butter mixture ready, gently fold in 4 cups of Rice Krispies cereal using a spatula. Continue until each piece is evenly coated in the sticky mixture, ensuring a perfect crunch for your Chocolate Peanut Butter Rice Krispie Cups. This should take about 2 minutes of careful folding.
Step 4: Shape the Cups
Prepare a muffin tin by lining it with paper liners or greasing it lightly. Spoon the cereal mixture into each cup, pressing the mixture down firmly to ensure they hold their shape. Aim for an even distribution across the cups, which will take about 5 minutes. This step is essential for achieving the perfect cup form.
Step 5: Add Chocolate Layer
Next, melt 1 cup of chocolate chips in a microwave-safe bowl. Heat in 30-second intervals, stirring in between, until fully melted and smooth—this usually takes about 1-2 minutes. Once ready, spoon the melted chocolate over each Rice Krispie cup, covering them completely for that rich, decadent finish.
Step 6: Chill & Serve
Finally, place your muffin tin in the refrigerator for about 20 minutes to allow the chocolate to set. As it chills, the ingredients meld together beautifully. Once the chocolate is firm, remove the cups from the muffin tin and enjoy your delightful Chocolate Peanut Butter Rice Krispie Cups!
Expert Tips for Chocolate Peanut Butter Rice Krispie Cups
-
Low Heat Matters: Keep your heat on low while melting butter and marshmallows to avoid burning, ensuring a smooth and silky base for your Chocolate Peanut Butter Rice Krispie Cups.
-
Firm Pressing: When shaping the cups, press the mixture firmly into the muffin tin. This helps maintain their shape and prevents them from crumbling when served.
-
Freezer Trick: For a quicker setting option, use the freezer instead of the refrigerator. Just be sure to check frequently to avoid freezing them completely!
-
Customize Wisely: Don’t hesitate to experiment with different nut butters or chocolate types. Tinkering with flavors can lead to delightful new versions of these beloved Chocolate Peanut Butter Rice Krispie Cups.
-
Quality Ingredients: Opt for high-quality chocolate chips and peanut butter—this can elevate the overall taste of your treats, making them even more irresistible!
Make Ahead Options
These Easy No-Bake Chocolate Peanut Butter Rice Krispie Cups are perfect for meal prep enthusiasts! You can prepare the base mixture—combining butter, marshmallows, and peanut butter—up to 24 hours in advance and store it in an airtight container in the refrigerator. Alternatively, you can shape the cups and refrigerate them without the chocolate layer to ensure they remain perfectly formed. When you're ready to finish them off, simply melt the chocolate (this takes just a couple of minutes), spoon it over the cups, and chill for another 20 minutes. This method retains their delightful crunch and ensures they're just as delicious when serving, providing a sweet treat effortlessly ready to enjoy!
What to Serve with Easy No-Bake Chocolate Peanut Butter Rice Krispie Cups
Elevate your dessert experience with delightful accompaniments that enhance the joy of these sweet, crunchy cups.
- Fresh Fruit Salad: Combining berries, melons, and citrus creates a refreshing contrast, cutting through the sweetness and adding a burst of flavor.
- Creamy Vanilla Ice Cream: A scoop of smooth vanilla ice cream adds a nice contrast in texture, melting softly alongside the rich chocolate cups.
- Whipped Cream: Light and airy, whipped cream serves as a perfect topping, offering a fluffy balance to the chewy rice krispie base.
- Chocolate Dipped Strawberries: Intensify the chocolate experience! Fresh strawberries dipped in chocolate provide a delightful sweetness and elegance.
- Hot Chocolate: A warm cup of hot chocolate can complement the textures while keeping your dessert theme going strong; it’s a perfect cozy pairing.
- Coffee or Espresso: Enhance the flavors with a cup of rich coffee or espresso. The bitterness perfectly balances the sweetness of the chocolate cups.
- Nutty Trail Mix: Serving a side of nutty trail mix adds crunch and extra nutrients, giving a satisfying snack that pairs delightfully with the dessert.
- Salted Caramel Sauce: Drizzle some salted caramel over the cups for an indulgent flavor explosion. It adds a luxurious touch and sophisticated flair.
- Coconut Macaroons: These chewy treats provide a tropical vibe, blending tasty coconut with the rich flavors of chocolate and peanut butter for a harmonious bite.
Chocolate Peanut Butter Rice Krispie Cups Variations
Feel free to jazz up these delightful cups with these tasty twists, perfect for customizing to your heart's content!
-
Crunchy Peanut Butter: Swap creamy peanut butter for crunchy varieties to add a satisfying texture and extra nutty flavor.
-
Nutty Crunch: Stir in chopped nuts, such as almonds or pecans, for an added crunch and a boost of nutrition. They not only enrich the flavor but also lend a beautiful contrast against the soft base.
-
Caramel Drizzle: For a sweet and gooey finish, drizzle melted caramel on top of the chocolate layer. This sweet addition will have everyone reaching for seconds!
-
Fresh Fruit: Top with chopped strawberries, bananas, or even blueberries for a fresh and fruity twist. The brightness of the fruit contrasts wonderfully with the richness of the peanut butter.
-
Spicy Kick: Elevate the flavor profile by adding a pinch of cayenne or chili powder. This surprising twist brings a delightful heat that will intrigue your taste buds.
-
Vegan Delight: Use vegan marshmallows, chocolate chips, and coconut oil to create a completely plant-based version of these irresistibly tasty cups. They’re just as delightful without the dairy!
-
Cocoa Dusting: Dust the tops with cocoa powder or powdered sugar for an elegant finish, adding a mild sweetness and visual appeal.
-
Coconut Flakes: Incorporate shredded coconut into the base mixture for a tropical flair. Not only does it enhance the flavor, but it also adds a chewy texture that complements the crunch beautifully.
Don't forget to check out these Serving Suggestions for more delightful ways to enjoy your creations, alongside our Storage Tips to keep your treats perfectly fresh!
Storage Tips for Chocolate Peanut Butter Rice Krispie Cups
-
Room Temperature: Store your Chocolate Peanut Butter Rice Krispie Cups in an airtight container at room temperature for up to 1 week to keep them fresh and tasty.
-
Fridge: For added longevity, refrigerate the cups for up to 2 weeks. This not only helps to maintain their texture but also enhances the flavors as they meld together over time.
-
Freezer: To maximize storage, individually wrap the cups in plastic wrap and freeze them. They can be kept for up to 1 month, making them a quick grab-and-go treat when cravings strike.
-
Reheating: If stored in the refrigerator, simply let the cups sit at room temperature for a few minutes before enjoying. Avoid microwaving, as it may alter the texture of the chocolate.
Chocolate Peanut Butter Rice Krispie Cups Recipe FAQs
What should I look for when selecting ingredients?
For the best results, choose unsalted butter that’s fresh and has a creamy texture, mini marshmallows that are soft and fluffy (without any hard areas), and a creamy peanut butter that easily spreads. When selecting chocolate chips, look for high-quality brands with the cocoa percentage you prefer for flavor. Fresh ingredients will elevate the overall taste of your Chocolate Peanut Butter Rice Krispie Cups.
How long can I store my Rice Krispie Cups?
You can store your Chocolate Peanut Butter Rice Krispie Cups in an airtight container at room temperature for up to 1 week. If you want to extend their shelf life, refrigeration is a great option, and they will stay fresh for up to 2 weeks. Just remember, flavors might meld together and improve, making these cups even more delightful to enjoy.
Can I freeze my Chocolate Peanut Butter Rice Krispie Cups?
Absolutely! To freeze, individually wrap each cup in plastic wrap and place them in a freezer-safe container or bag. This method helps them retain their taste and texture, allowing you to enjoy them for up to 1 month. When you’re ready to enjoy, simply let them sit at room temperature for a few minutes—it’s that easy!
What if my Rice Krispie mixture is too sticky or crumbly?
If your mixture feels too sticky, it may be due to not enough Rice Krispies or too much marshmallow. You can simply fold in more Rice Krispies to balance the consistency. On the other hand, if it’s crumbly, try adding a little more melted butter or marshmallow mixture to bring it together. Remember to press the mixture firmly into the muffin tin, ensuring they hold their shape well.
Are there any dietary considerations for this recipe?
Yes, if you have allergies, be cautious with peanut butter—try using almond or sunflower seed butter as alternatives. Also, opt for vegan marshmallows and chocolate chips if you want to create a completely plant-based treat. Always check ingredient labels for potential allergens, and feel free to customize further based on dietary needs.
Indulgent Chocolate Peanut Butter Rice Krispie Cups Recipe
Ingredients
Equipment
Method
- In a medium saucepan, melt 4 tablespoon unsalted butter with 2 cups mini marshmallows over low heat, stirring continuously for about 5 minutes until smooth.
- Mix in 1 cup creamy peanut butter and optional vanilla extract. Stir for 2-3 minutes until creamy.
- Gently fold in 4 cups Rice Krispies cereal until evenly coated, about 2 minutes.
- Spoon the mixture into a lined muffin tin and press down firmly to shape.
- Melt 1 cup chocolate chips in a microwave-safe bowl, heating in 30-second intervals till smooth. Spoon over each cup.
- Refrigerate for 20 minutes to set chocolate, then enjoy.


Leave a Reply