
As I stood over the sizzling oil, the intoxicating scent of garlic and soy sauce filled my kitchen, transporting me to bustling street corners in Asia where crispy delights are around every turn. My adventure into making Crispy Salt and Pepper Chicken reflects the joy of crafting a beloved takeout dish right at home. This flavorful recipe not only elevates your weeknight dinners with its quick prep and easy steps, but it also brings a satisfying crunch that’s perfect for the whole family. Trust me; once you taste that golden-brown exterior and tender chicken within, fast food will seem a distant memory. Are you ready to transform your dinner routine and impress your loved ones? Let’s dive into this scrumptious dish!
Why is this chicken recipe a must-try?
Crispy Texture: Every bite of this Crispy Salt and Pepper Chicken boasts an irresistible crunch, making your taste buds sing with delight.
Quick & Easy: In under an hour, you can whip up this family-friendly dish, saving time on busy weeknights.
Flavor Explosion: The simple yet bold combination of garlic and soy sauce infuses your chicken with rich flavor, leaving you wanting more.
Customizable: Want to make it gluten-free? No problem! Just swap in tamari for soy sauce.
Crowd-Pleaser: Whether it’s a family dinner or a gathering with friends, this dish is sure to impress and satisfy everyone at the table.
For tips on how to pair it, check out my thoughts on serving it with steamed jasmine rice or stir-fried vegetables for a complete meal.
Crispy Salt and Pepper Chicken Ingredients
-
For the Marinade
-
Chicken Breast – The star of this recipe provides juiciness; cut into bite-sized pieces for quick cooking.
-
Egg – Serves as a binder for the cornstarch coating, ensuring that every piece is perfectly crispy.
-
Garlic – Freshly minced, it adds an aromatic punch; feel free to adjust the amount based on your garlic love!
-
Salt – Elevates flavor; consider using sea salt for a more robust taste.
-
Brown Sugar – Balances the savory components wonderfully; white sugar or honey can work in a pinch.
-
Water – Just tap water to mix the marinade; no fancy stuff is needed!
-
Rice Wine – Adds depth to the marinade; dry sherry is a suitable alternative if you’re out.
-
Baking Soda – Naturally tenderizes the chicken, ensuring a juicy bite.
-
Soy Sauce – Infuses umami richness into the dish—substitute with tamari for gluten-free Crispy Salt and Pepper Chicken.
-
For the Coating
-
Cornstarch – The secret to achieving that coveted crispy texture; for a different take, substitute with all-purpose flour.
-
For Frying
-
Vegetable Oil – Essential for frying; canola or peanut oil are great alternatives that help achieve crispy perfection.
-
For Garnish
-
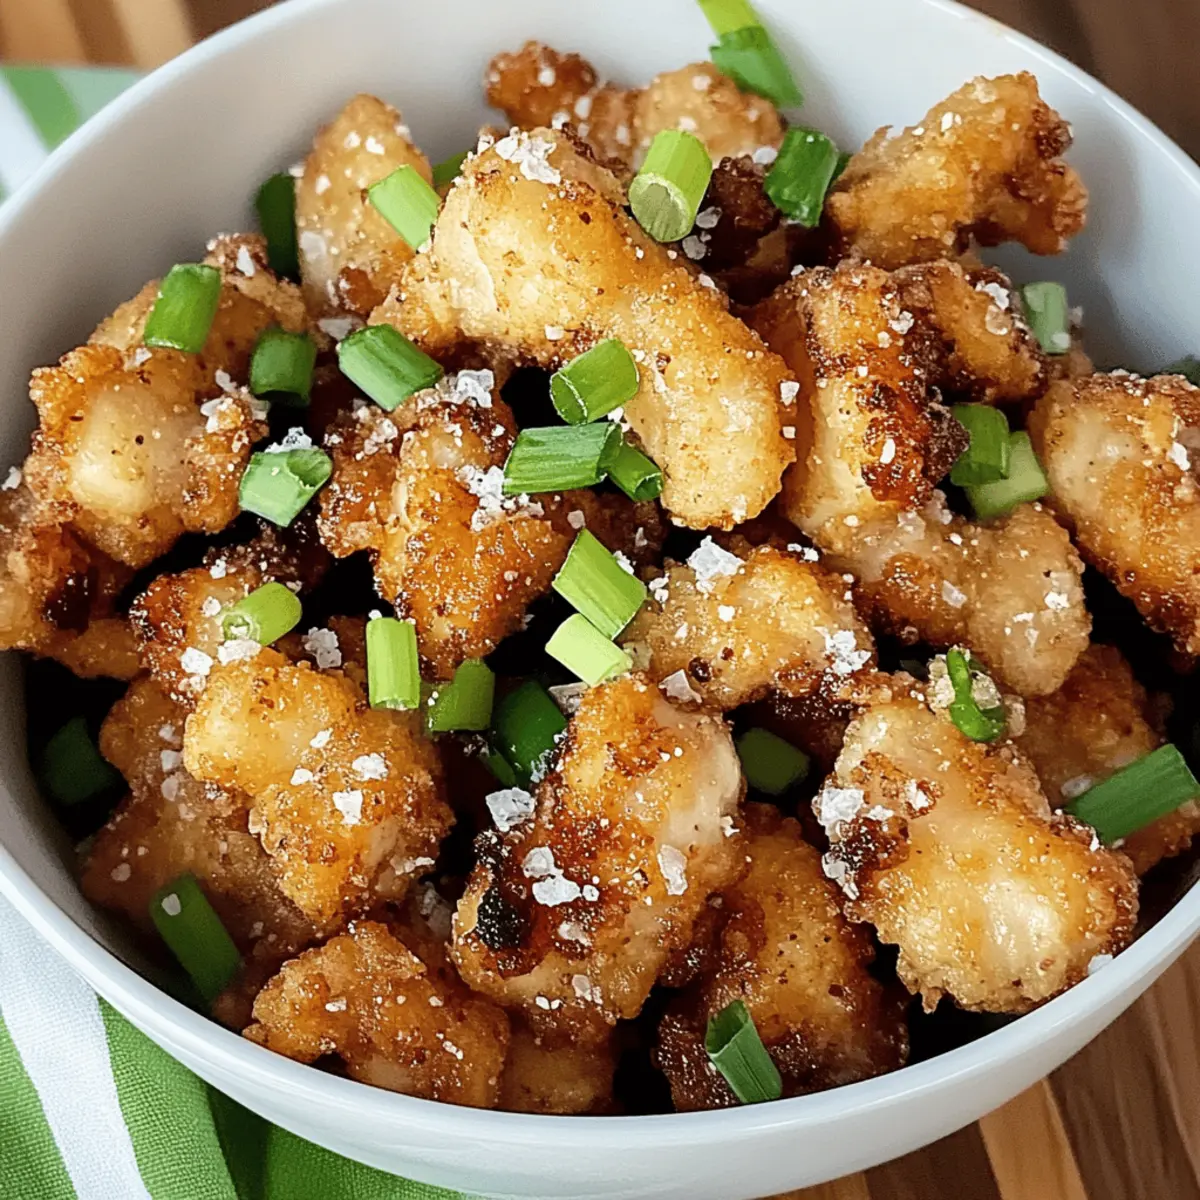
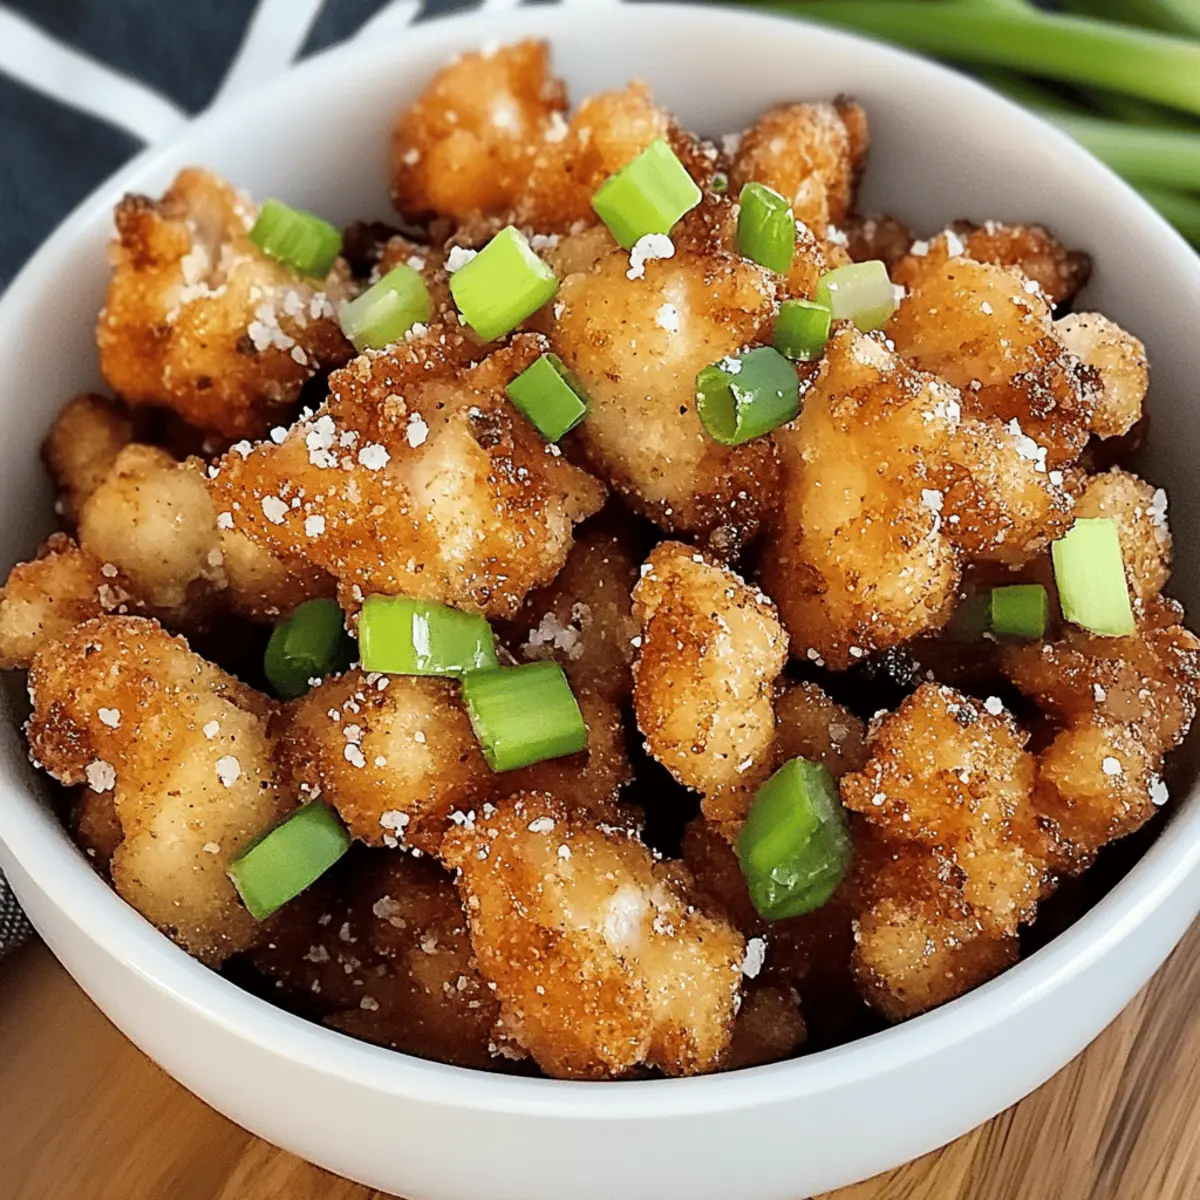
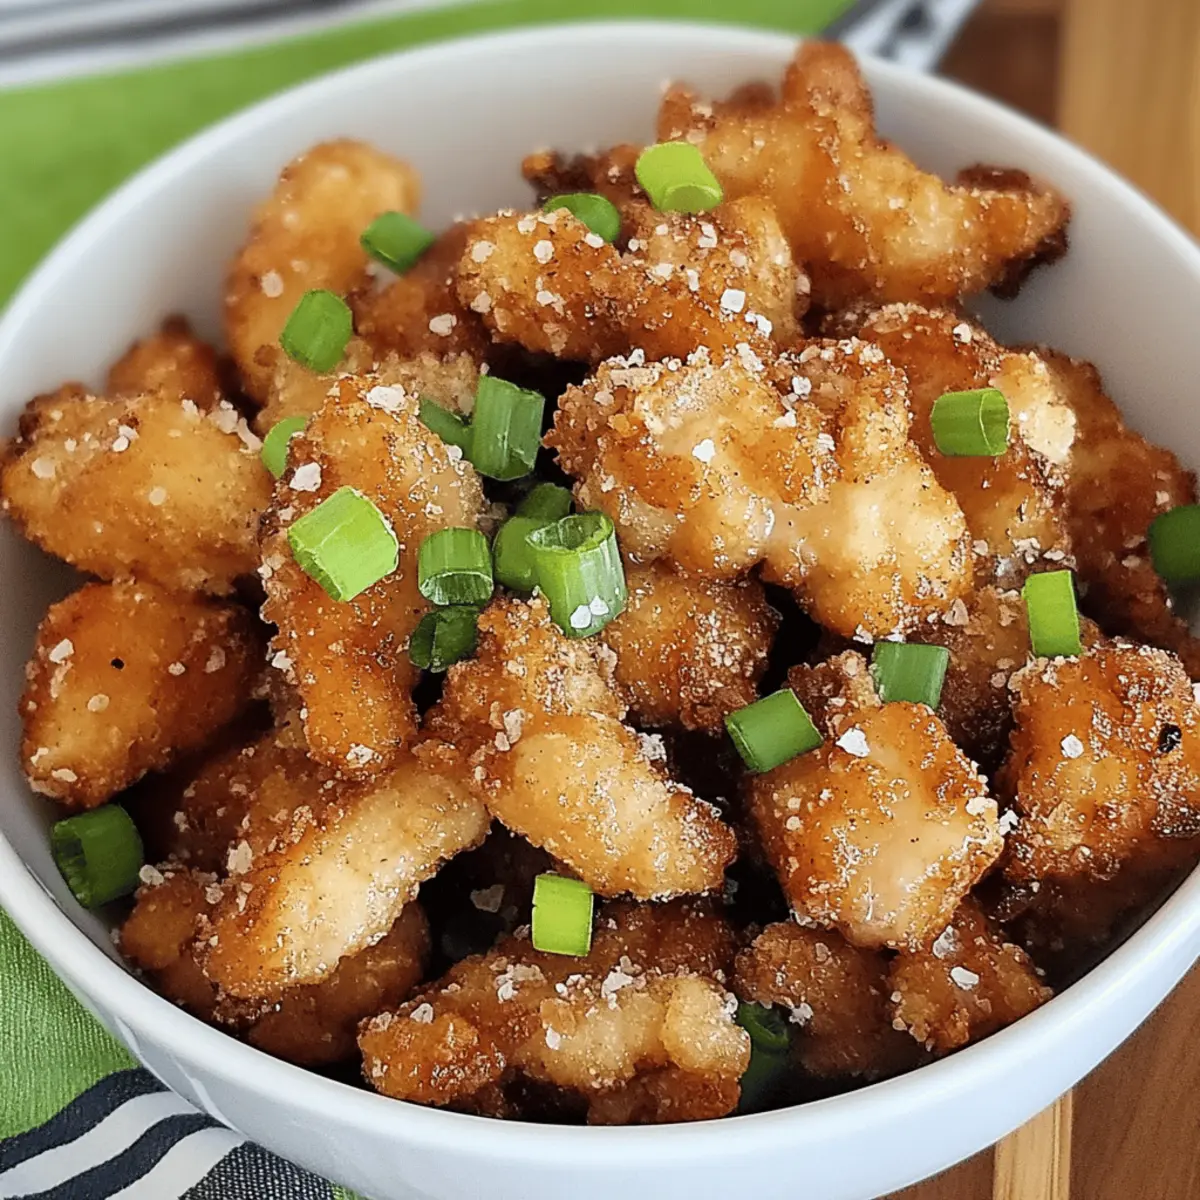
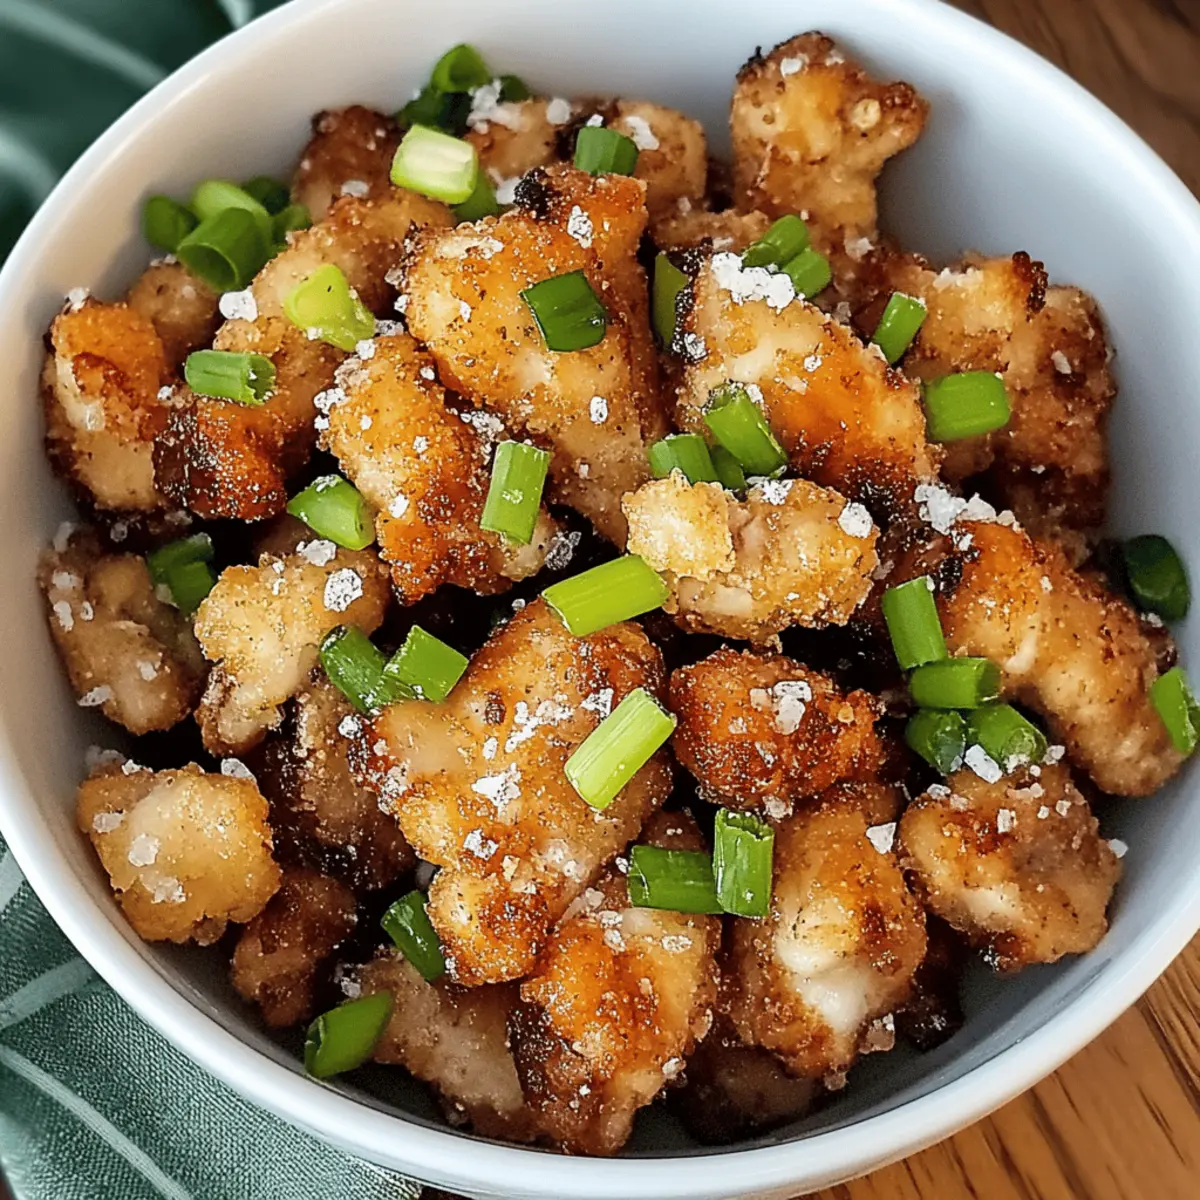
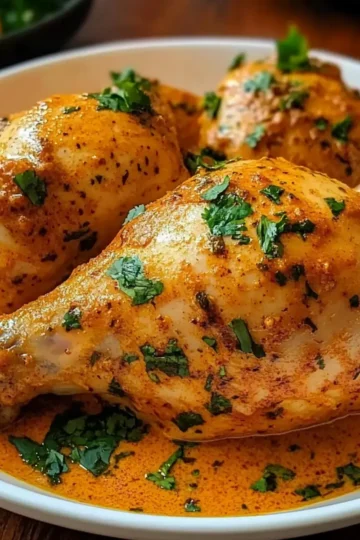
Green Onions – Chopped, they add a pop of color and subtly fresh flavor to your dish.
Step‑by‑Step Instructions for Crispy Salt and Pepper Chicken
Step 1: Marinate the Chicken
In a mixing bowl, combine minced garlic, salt, brown sugar, water, rice wine, baking soda, and soy sauce. Add the bite-sized chicken pieces and stir until well-coated. Cover the bowl with plastic wrap and let it marinate for 30 minutes at room temperature, allowing all those delicious flavors to meld while the chicken becomes tender.
Step 2: Prepare the Egg Wash
In a separate bowl, crack an egg and beat it thoroughly to create a smooth egg wash that will act as a binder for the coating. This step is crucial for achieving that crispy texture later on. Keep the egg wash nearby as you'll immerse the marinated chicken in it shortly.
Step 3: Coat the Chicken
After marinating, drain any excess marinade from the chicken. Dip each piece into the egg wash to ensure a thorough coating, then toss the chicken in cornstarch. Make sure each piece is evenly coated, as this will give your Crispy Salt and Pepper Chicken its signature crunch when fried.
Step 4: Heat the Oil
In a wok or deep pan, pour enough vegetable oil to reach about ½ inch deep and heat it over medium-high heat until it reaches 350°F (175°C). You can test the oil's readiness by dropping a small bit of cornstarch into the oil; it should sizzle immediately if the temperature is right.
Step 5: Fry the Chicken
Carefully add the coated chicken pieces to the hot oil in batches, ensuring not to overcrowd the pan. Fry for about 4-5 minutes or until the chicken turns a beautiful golden brown and is crispy on the outside. Use a slotted spoon to carefully remove the chicken, allowing excess oil to drain onto paper towels.
Step 6: Finish & Serve
Once the chicken has finished frying, toss it in a bowl with salt and pepper to enhance the flavor. Garnish with chopped green onions for a fresh touch. Serve your Crispy Salt and Pepper Chicken hot, paired with your favorite sides like steamed jasmine rice or stir-fried vegetables for a delightful meal.
Expert Tips for Crispy Salt and Pepper Chicken
- Oil Temperature: It's crucial to maintain oil at 350°F to ensure your chicken is crispy, not soggy. Use a thermometer for accuracy.
- Small Batches: Fry your chicken in small batches to maintain oil temperature, preventing overcrowding and enhancing crispiness.
- Marinating Time: Allowing the chicken to marinate for the full 30 minutes not only adds flavor but also improves tenderness.
- Cornstarch Coating: Make sure each piece of chicken is thoroughly coated in cornstarch to achieve that signature crunch in your Crispy Salt and Pepper Chicken.
- Post-Frying Seasoning: Wait to sprinkle salt and pepper until after frying to keep the crispy coating intact and maximize flavor.
What to Serve with Crispy Salt and Pepper Chicken
Pair your meal with delightful sides that enhance the flavors and textures of this crispy dish, creating a balanced dining experience.
- Steamed Jasmine Rice: The soft, fluffy rice perfectly absorbs savory juices, balancing the crunch of the chicken.
- Stir-Fried Vegetables: Fresh veggies add color and crunch, complementing the chicken's texture and bringing a refreshing touch to each bite.
- Garlic Broccoli: This dish imparts a savory garlic flavor that harmonizes beautifully with the chicken, making every mouthful a taste sensation.
- Asian Slaw: A tangy, crunchy slaw adds brightness and acidity, cutting through the richness of the chicken for an inviting contrast.
- Sweet and Sour Sauce: Drizzling this vibrant sauce introduces a playful sweetness that elevates the savory flavors of the chicken.
- Cucumber Salad: Crisp cucumbers tossed in sesame oil provide a cool, refreshing palate cleanser that complements the dish perfectly, making it a delightful pairing.
- Chilled Sake: This smooth, slightly sweet drink provides a unique, aromatic contrast that enhances the overall meal experience.
Make Ahead Options
Crispy Salt and Pepper Chicken is a fantastic option for meal prep enthusiasts looking to save time during busy weeknights! You can marinate the chicken for up to 24 hours in advance, allowing the flavors to fully penetrate the meat. To maintain quality, refrigerate the marinated chicken in an airtight container. The cornstarch coating can also be prepared ahead; simply toss the marinated chicken in the cornstarch just before frying. When you're ready to serve, heat the oil and fry the chicken according to the recipe instructions for perfectly crispy results with minimal effort. Enjoy this homemade delight without the last-minute rush!
Crispy Salt and Pepper Chicken Variations
Feel free to unleash your culinary creativity and customize this crispy delight to match your family's tastes!
-
Thighs instead of Breasts: Swap chicken breasts for thighs to enjoy a richer, juicier flavor that everyone will love. The extra fat brings a succulent quality that's hard to resist.
-
Gluten-Free Option: Use tamari instead of soy sauce to make this dish gluten-free. This simple swap ensures everyone can enjoy the crispy goodness without worry.
-
Add Some Heat: Toss in a pinch of crushed red pepper flakes to the seasoning mix for a little kick. It’s a delightful twist that adds warmth without overpowering the original flavor.
-
Herb Infusion: Integrate fresh herbs, like cilantro or basil, into the marinade for an aromatic boost. This will elevate your dish with herbaceous notes that brighten each bite.
-
Sweet & Spicy: Mix a tablespoon of honey or chili paste into the marinade for a sweet-spicy combo. This contrasting flavor enhances the savory chicken beautifully and keeps things interesting.
-
Sesame Crunch: Add toasted sesame seeds to the frying oil or as a garnish. They not only amplify the crunch factor but also bring a nutty flavor that pairs wonderfully with salt and pepper.
-
Veggie Boost: For a more colorful presentation, toss in some bell pepper strips or snap peas while frying. This adds vibrant color and a crunch that perfectly complements the chicken.
-
Zesty Citrus: A splash of fresh lemon or lime juice at the end brightens up the flavors. This zesty finish will keep your dish lively and refreshing on the palate.
Once you pick a variation to try, don't forget to pair it with sides like steamed jasmine rice and stir-fried vegetables to create a truly memorable meal!
How to Store and Freeze Crispy Salt and Pepper Chicken
Fridge: Store leftovers in an airtight container for up to 2 days. This helps preserve the crispy texture for as long as possible while keeping the chicken fresh.
Freezer: For longer storage, freeze the Crispy Salt and Pepper Chicken for up to 3 months. Ensure it's well-wrapped to avoid freezer burn and preserve flavor.
Reheating: To maintain the crunchiness, reheat in an air fryer or skillet over medium heat until warmed through, about 5-7 minutes. Avoid microwaving, as this can make the coating soggy.
Preparation Tip: If planning to freeze, consider frying the chicken a little less so that it doesn't overcook when reheating later.
Crispy Salt and Pepper Chicken Recipe FAQs
How do I choose the best chicken for this recipe?
Absolutely! For the Crispy Salt and Pepper Chicken, I recommend using fresh boneless, skinless chicken breasts. Look for those that are firm, with a light pink color and no dark spots. If you're a chicken thigh fan, they also add a richer flavor, so feel free to substitute!
How should I store leftovers?
Very! Leftovers can be kept in an airtight container in the fridge for up to 2 days. Make sure to let the chicken cool completely before sealing it up. To keep the texture crisp, store each piece without stacking them on top of each other.
Can I freeze Crispy Salt and Pepper Chicken?
Absolutely! You can freeze the chicken for up to 3 months. To do this, place the cooled, fried chicken in an airtight freezer-safe bag or container. I recommend wrapping it in parchment paper before placing it in the container to help preserve the crunch.
What’s the best way to reheat the chicken while keeping it crispy?
Great question! To reheat, I suggest using an air fryer or a skillet over medium heat. Simply heat for about 5-7 minutes until warmed through and crispy again. Avoid the microwave, as it can make the coating soggy and less appealing.
Are there any dietary considerations I should know?
Very! If you're modifying this Crispy Salt and Pepper Chicken for gluten-free diets, simply swap out regular soy sauce for gluten-free tamari. Additionally, always double-check any other packaged ingredients for potential allergens, depending on personal dietary needs.
What if my chicken turns out soggy?
I understand the frustration! If your chicken ends up soggy, double-check that the oil temperature was maintained at 350°F (175°C) while frying. Also, remember to only add a few pieces at a time to prevent overcrowding, which can cause the temperature to drop. If all else fails, make sure to drain the cooked chicken well on paper towels prior to serving!
Crispy Salt and Pepper Chicken: Quick, Easy Homemade Delight
Ingredients
Equipment
Method
- In a mixing bowl, combine minced garlic, salt, brown sugar, water, rice wine, baking soda, and soy sauce. Add chicken and stir until coated. Cover and marinate for 30 minutes.
- In a separate bowl, beat the egg to prepare the egg wash.
- After marinating, drain excess marinade. Dip each piece in egg wash and coat with cornstarch.
- Heat vegetable oil in a wok or deep pan to 350°F. Test readiness with cornstarch.
- Fry coated chicken pieces in batches for 4-5 minutes until golden brown and crispy.
- Toss the fried chicken in a bowl with salt and pepper, garnish with chopped green onions, and serve hot.
Leave a Reply