
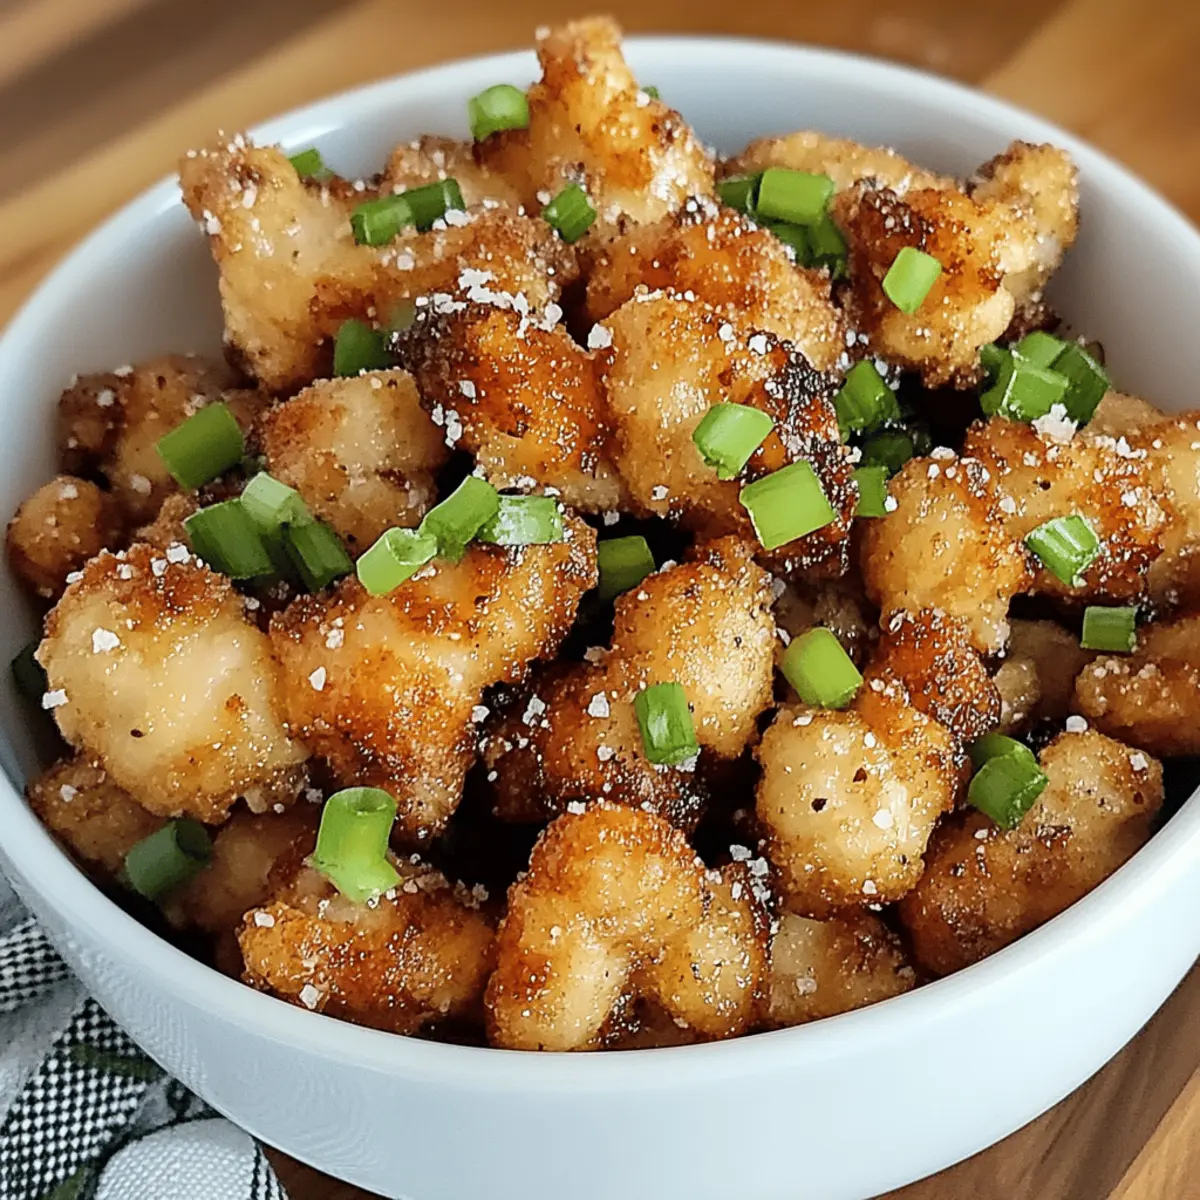
Every crunch tells a story, and with my Crispy Salt and Pepper Chicken, you're about to embark on a mouthwatering journey right from your kitchen. This quick dinner option transforms the flavors of a beloved Chinese takeout classic into a homemade delight, perfect for those busy evenings when you crave something satisfying yet uncomplicated. Not only is it a fantastic crowd-pleaser, but the recipe is also flexible—swapping soy sauce for tamari makes it a gluten-free treat! With minimal prep and the promise of juicy, tender meat enveloped in a crispy coating, you’ll wonder why you ever thought takeout was the only option. So, are you ready to elevate your dinner game? Let’s get cooking!
Why is this chicken recipe a must-try?
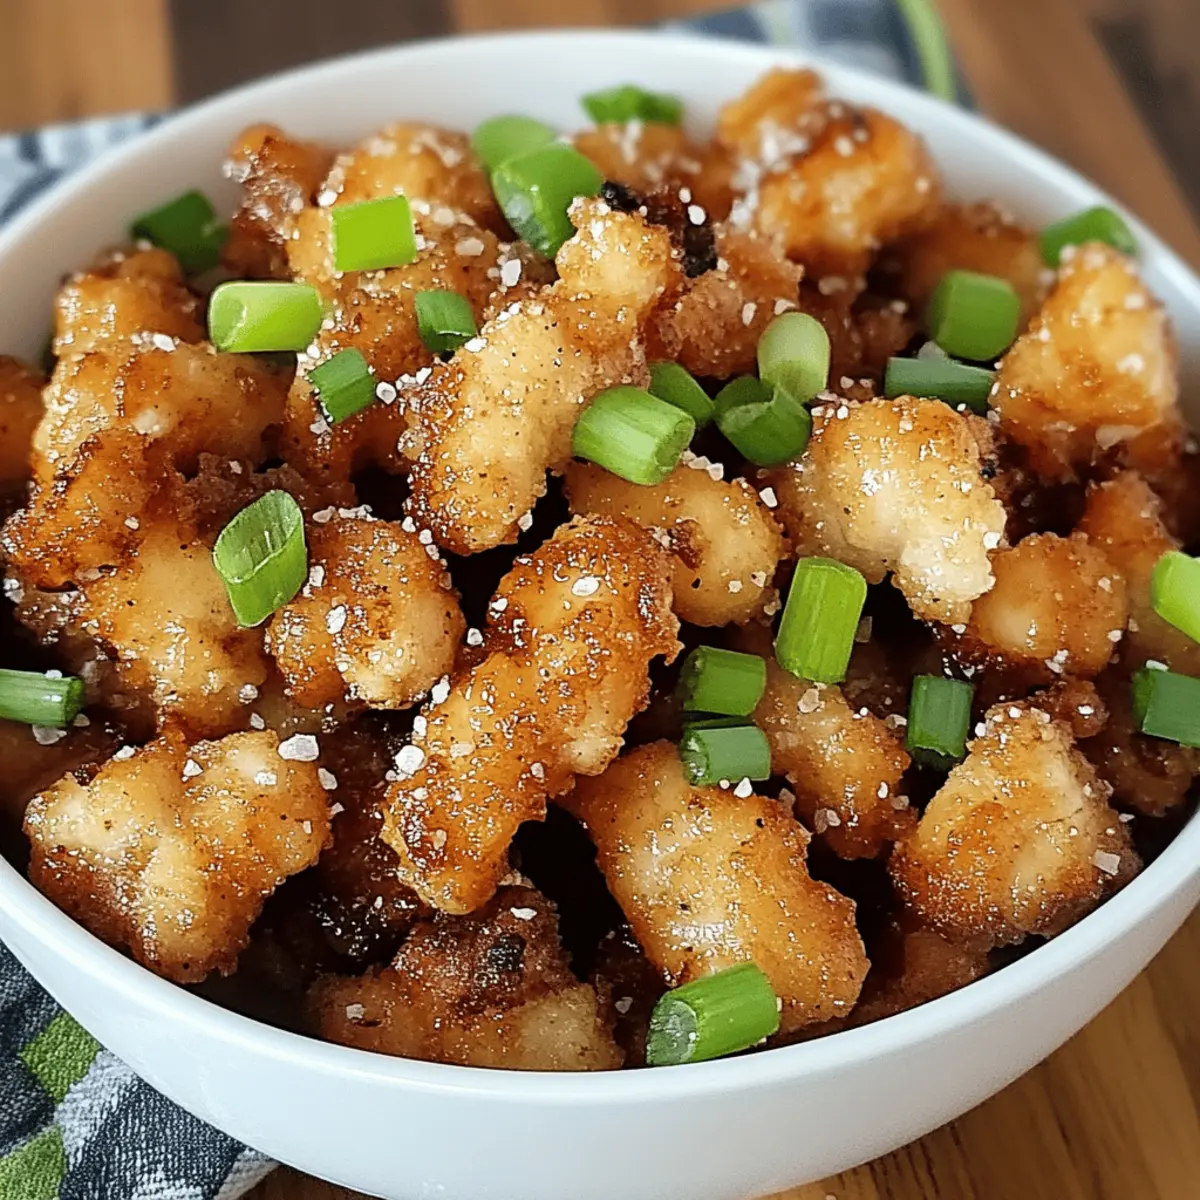
Crispy Perfection: Each bite of this Crispy Salt and Pepper Chicken offers an irresistible crunch that will delight your taste buds.
Quick Prep: In under an hour, you can whip up this delicious meal, making it perfect for those busy weeknights.
Flavor Versatility: Whether you enjoy it spicy with a dash of chili oil or traditional, this dish allows for easy customization for any palate.
Crowd-Pleasing: Ideal for family dinners or gatherings, you’ll impress your guests with a restaurant-quality dish made at home.
Gluten-Free Option: Just swap soy sauce for tamari to cater to gluten-free diets without compromising flavor.
Are you looking for more easy dinner recipes? Check out my homemade cuisine section for more delicious ideas!
Crispy Salt and Pepper Chicken Ingredients
• Discover what you need for this delightful dish!
For the Chicken Marinade
- Chicken Breast – Tender and juicy protein; use fresh, boneless pieces for the best results.
- Garlic – Freshly minced for an aromatic flavor; more finely minced enhances the taste.
- Salt – Enhances flavor; adjust to low-sodium preferences if needed.
- Brown Sugar – Balances savory notes; substitute with white sugar or honey if desired.
- Water – Used to mix the marinade; tap water is sufficient.
- Rice Wine – Adds depth; dry sherry can be used as an alternative.
- Baking Soda – Tenderizes chicken for juiciness.
- Soy Sauce – Infuses umami flavor; use tamari for a gluten-free option.
For Coating and Frying
- Egg – Acts as a binding agent for the coating; ensure the egg is well-beaten.
- Cornstarch – Provides a crispy texture; substitute with all-purpose flour for a different crust.
- Vegetable Oil – Essential for frying; can substitute with canola or peanut oil for different flavors.
For Garnishing
- Green Onions – Freshly chopped, adding color and flavor.
With these ingredients ready, you’re just steps away from creating your very own Crispy Salt and Pepper Chicken!
Step‑by‑Step Instructions for Crispy Salt and Pepper Chicken
Step 1: Marinate Chicken
In a large bowl, combine minced garlic, salt, brown sugar, water, rice wine, baking soda, and soy sauce to create a flavorful marinade. Add the chicken breast pieces, ensuring they are evenly coated. Cover the bowl and let the chicken marinate for 30 minutes in the refrigerator, allowing the flavors to infuse and the meat to become tender.
Step 2: Prepare Egg Wash
While the chicken marinates, crack an egg in a separate bowl and beat it until the yolk and whites are fully combined. This egg wash will act as a binder for the crispy coating. Set the bowl aside, ready to dip the marinated chicken later, ensuring a crunchy texture in your Crispy Salt and Pepper Chicken.
Step 3: Coat Chicken
Once the chicken has marinated, drain it from the marinade. Dip each piece into the prepared egg wash, ensuring a thorough coating, then toss them individually in cornstarch. This step will create a delightful crispy coating when fried, bringing the perfect crunch to your dish.
Step 4: Heat Oil
In a wok or a deep frying pan, pour enough vegetable oil to cover the bottom and heat it to 350°F (175°C). Use a thermometer for accuracy, as maintaining this temperature is crucial for achieving that golden-brown crispiness. The right heat ensures the chicken doesn’t become greasy during frying.
Step 5: Fry Chicken
Carefully place the coated chicken pieces into the hot oil in batches, avoiding overcrowding. Fry for about 4-5 minutes, turning occasionally with a slotted spoon, until they turn a gorgeous golden brown. The crispiness should be apparent as you watch each piece bubble away in the hot oil, bringing your Crispy Salt and Pepper Chicken to life.
Step 6: Finish Dish
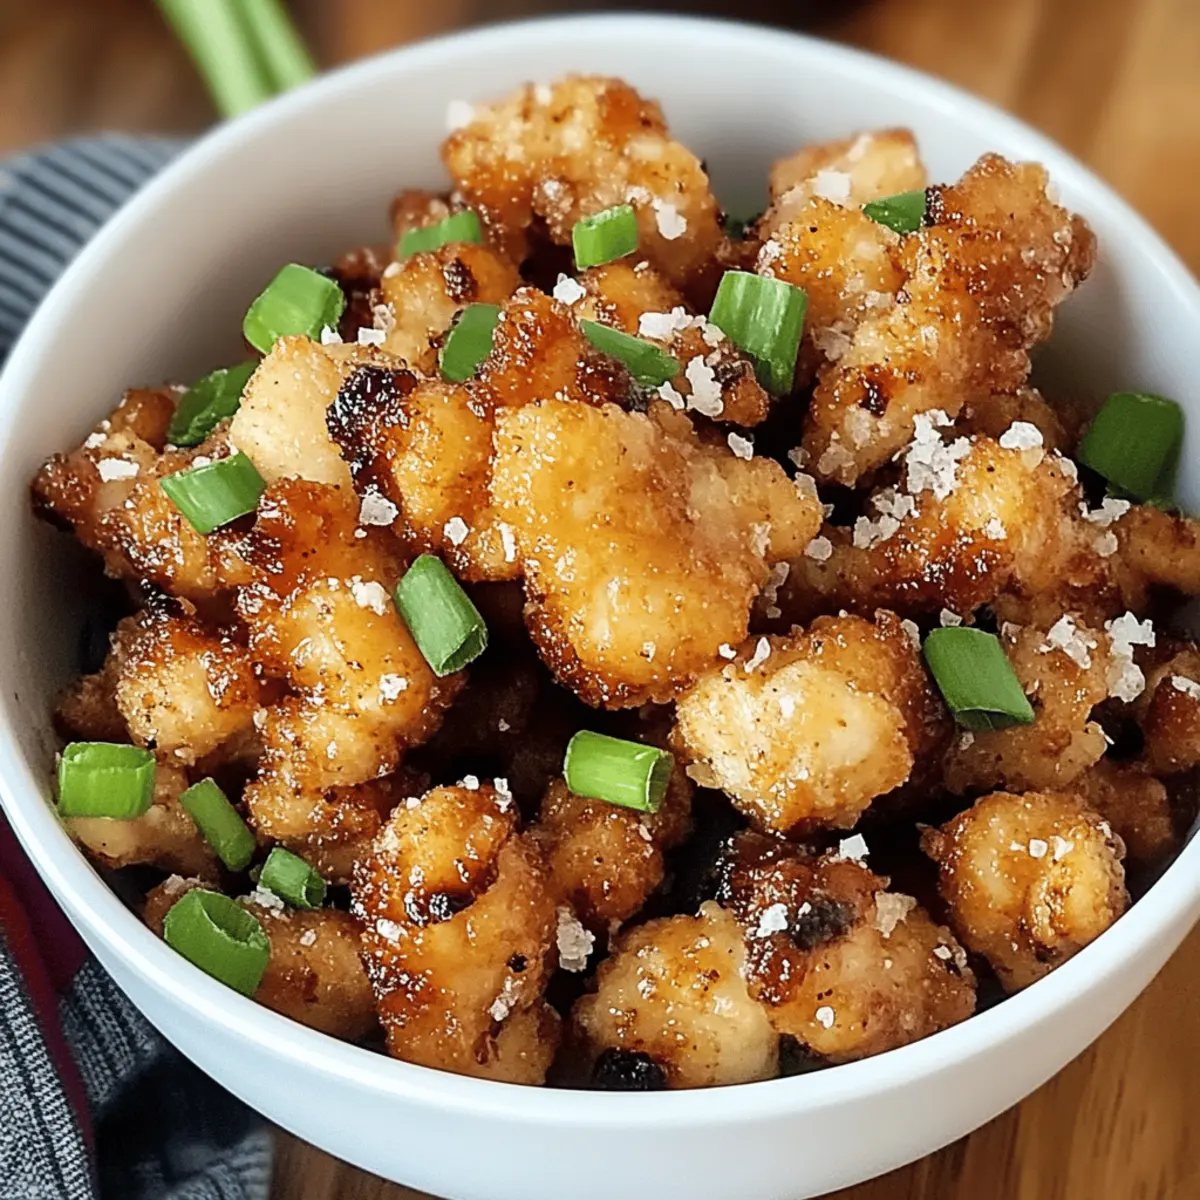
Once all chicken pieces are fried, place them in the wok briefly with a sprinkle of additional salt and freshly cracked pepper. Toss gently to coat the chicken evenly. Finally, garnish with chopped green onions for added color and flavor, making your Crispy Salt and Pepper Chicken ready to serve with a smile.
Expert Tips for Crispy Salt and Pepper Chicken
-
Oil Temperature: Keep the oil at 350°F (175°C) for that perfect crispy texture; too low will make the chicken soggy.
-
Batch Frying: Fry the chicken in small batches to avoid overcrowding; this keeps the oil temperature consistent and ensures even cooking.
-
Rest Before Frying: Allow the coated chicken to rest for a few minutes before frying to enhance the crunchiness of your Crispy Salt and Pepper Chicken.
-
Prevent Early Salting: Avoid adding salt to the coating mix too early; it can draw out moisture and impact crispness.
-
Flavor Substitutions: Feel free to experiment with ginger instead of garlic or add chili oil for an extra kick to your marinade!
What to Serve with Crispy Salt and Pepper Chicken
Create a memorable meal experience by complementing your dish with perfect pairings that bring balance and flavor.
- Steamed Jasmine Rice: This fluffy rice absorbs the savory juices, providing a comforting base to your flavorful chicken.
- Stir-Fried Vegetables: A colorful medley of broccoli, bell peppers, and snow peas adds a fresh crunch and vibrant colors to your plate.
- Cucumber Salad: Refreshing and crisp, this salad balances the richness of the chicken with a light, tangy dressing.
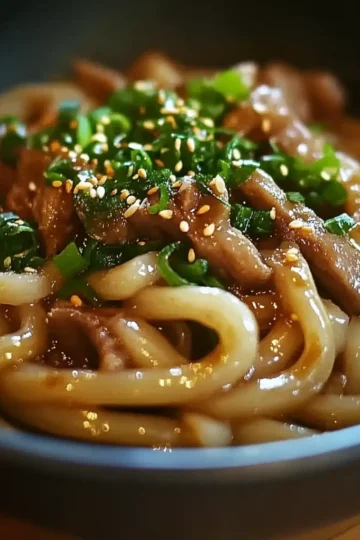
- Garlic Noodles: Their savory, garlicky flavor harmonizes well with the chicken, making every bite a delightful experience.
- Hot and Sour Soup: Its contrasting flavors will tantalize your taste buds, creating a satisfying starter before the main event.
- Chilled Green Tea: This light beverage aids digestion and offers a refreshing sip between bites, enhancing the overall dining experience.
- Peach Iced Tea: Sweet and fruity, this drink provides a lovely contrast to the savory elements of your crispy chicken.
- Chocolate Mousse: For dessert, this creamy treat adds a decadent finish, balancing flavors with its rich charm.
Crispy Salt and Pepper Chicken Variations
Feel free to let your creativity shine as you adapt this recipe to your taste preferences and dietary needs!
-
Ginger Swap: Replace garlic with ginger for a warm, spicy flavor that adds depth to the marinade. This twist brings a delightful zest that pairs beautifully with the crispy chicken.
-
Chili Oil Kick: Add a splash of chili oil to the marinade for a hint of heat that will awaken your taste buds. It’s a wonderful way to elevate your crunchy chicken, giving it an unexpected and exciting twist.
-
Coconut Milk Marinade: For a unique flavor profile, try marinating the chicken in coconut milk. This will add a subtle sweetness and richness that complements the salt and pepper beautifully.
-
Baked Version: If you're looking for a healthier option, bake the coated chicken at 400°F (200°C) for 20 minutes instead of frying. It may not be as crispy, but you’ll still enjoy a deliciously flavored dish.
-
Spicy Breadcrumbs: Mix in some crushed red pepper with your cornstarch for an extra spicy layer of flavor in the coating. Each bite will be a crunchy experience with a fiery kick!
-
Vegetable Substitution: Instead of chicken, try using cauliflower or tofu for a vegetarian option. Coat just like the chicken, and you’ll have a delicious, crispy bite perfect for any occasion!
-
Citrus Zest: Kind of like a burst of sunshine! Zest a lemon or lime into your marinade or sprinkle some on before serving for a refreshing pop of flavor that lightens the dish beautifully.
-
Peanut Sauce Dip: Enhance the dish with a side of peanut sauce for dipping. The rich, nutty flavor will balance the spiciness perfectly and make each bite irresistible!
Looking for more inspiration? Don't miss my homemade cuisine section where you'll uncover light and flavorful options that'll make dinner exciting again. Whether you're in the mood for something hearty or refreshing, there’s something for everyone!
Storage Tips for Crispy Salt and Pepper Chicken
Room Temperature: Enjoy leftover crispy salt and pepper chicken within 2 hours if left out; otherwise, refrigerate to maintain freshness.
Fridge: Store leftovers in an airtight container for up to 2 days. For the best taste, reheat in an air fryer or skillet to restore crispiness.
Freezer: Freeze individual pieces in a single layer on a baking sheet, then transfer to a freezer-safe bag for up to 3 months.
Reheating: When ready to enjoy, reheat the chicken in the air fryer for 5-7 minutes at 350°F (175°C) for that irresistible crunch!
Make Ahead Options
These Crispy Salt and Pepper Chicken pieces are perfect for meal prep! You can marinate the chicken in the flavorful mix of garlic, salt, brown sugar, water, rice wine, baking soda, and soy sauce up to 24 hours in advance. Just cover it and refrigerate to infuse those delightful flavors. Additionally, you can coat the chicken in egg wash and cornstarch up to 3 hours before frying; simply store it in the refrigerator until you're ready to cook. When it's time to enjoy your dish, heat your oil to 350°F (175°C) and fry the chicken for about 4-5 minutes. This way, you'll have a homemade dinner that's just as delicious with minimal prep time!
Crispy Salt and Pepper Chicken Recipe FAQs
What is the best way to select chicken breast for this recipe?
Always opt for fresh, boneless chicken breast for the best taste and texture. Look for pieces that are pink and firm, avoiding any that have dark spots or a slimy texture. If possible, buy organic or free-range chicken for a more flavorful bite.
How long can I store leftover Crispy Salt and Pepper Chicken?
Leftover chicken can be stored in an airtight container in the fridge for up to 2 days. For maximum freshness, I recommend reheating in an air fryer or skillet, as this will help restore the crispy texture that makes this dish so delicious!
Can I freeze Crispy Salt and Pepper Chicken, and if so, how?
Absolutely! To freeze, first arrange the cooked chicken pieces on a baking sheet in a single layer. Freeze them for about 1-2 hours until solid, then transfer the pieces to a freezer-safe bag or container. This method prevents them from sticking together and keeps them fresh for up to 3 months. When you're ready to eat, simply reheat them in an air fryer at 350°F (175°C) for 5-7 minutes for that delightful crunch!
What should I do if my chicken is soggy after frying?
If your chicken turns out soggy, it’s likely due to cooking at low temperatures or overcrowding the pan. Make sure to maintain oil at 350°F (175°C) for optimal crispiness, and fry in small batches to allow the temperature to stay consistent. If it’s already fried, you can try reheating in an air fryer to crisp it up again, which works wonders!
Are there any dietary concerns regarding the ingredients?
Yes, keep in mind that some individuals may have gluten sensitivities; in this case, substitute soy sauce with tamari to create a gluten-free version of your Crispy Salt and Pepper Chicken. Always check the labels of your ingredients, especially sauces, for hidden allergens. Enjoy this dish with confidence, knowing you can tailor it to fit dietary needs!

Crispy Salt and Pepper Chicken: Easy Dinner with a Crunch
Ingredients
Equipment
Method
- In a large bowl, combine minced garlic, salt, brown sugar, water, rice wine, baking soda, and soy sauce to create a flavorful marinade. Add the chicken breast pieces, ensuring they are evenly coated. Cover the bowl and let the chicken marinate for 30 minutes in the refrigerator.
- While the chicken marinates, crack an egg in a separate bowl and beat it until the yolk and whites are fully combined. Set the bowl aside.
- Once the chicken has marinated, drain it from the marinade. Dip each piece into the prepared egg wash, then toss them individually in cornstarch.
- Pour enough vegetable oil into a wok or a deep frying pan to cover the bottom and heat it to 350°F (175°C).
- Carefully place the coated chicken pieces into the hot oil in batches, frying for about 4-5 minutes until they turn a golden brown.
- Once all chicken pieces are fried, place them in the wok briefly with a sprinkle of additional salt and freshly cracked pepper. Toss gently to coat the chicken evenly and garnish with chopped green onions.
Leave a Reply