
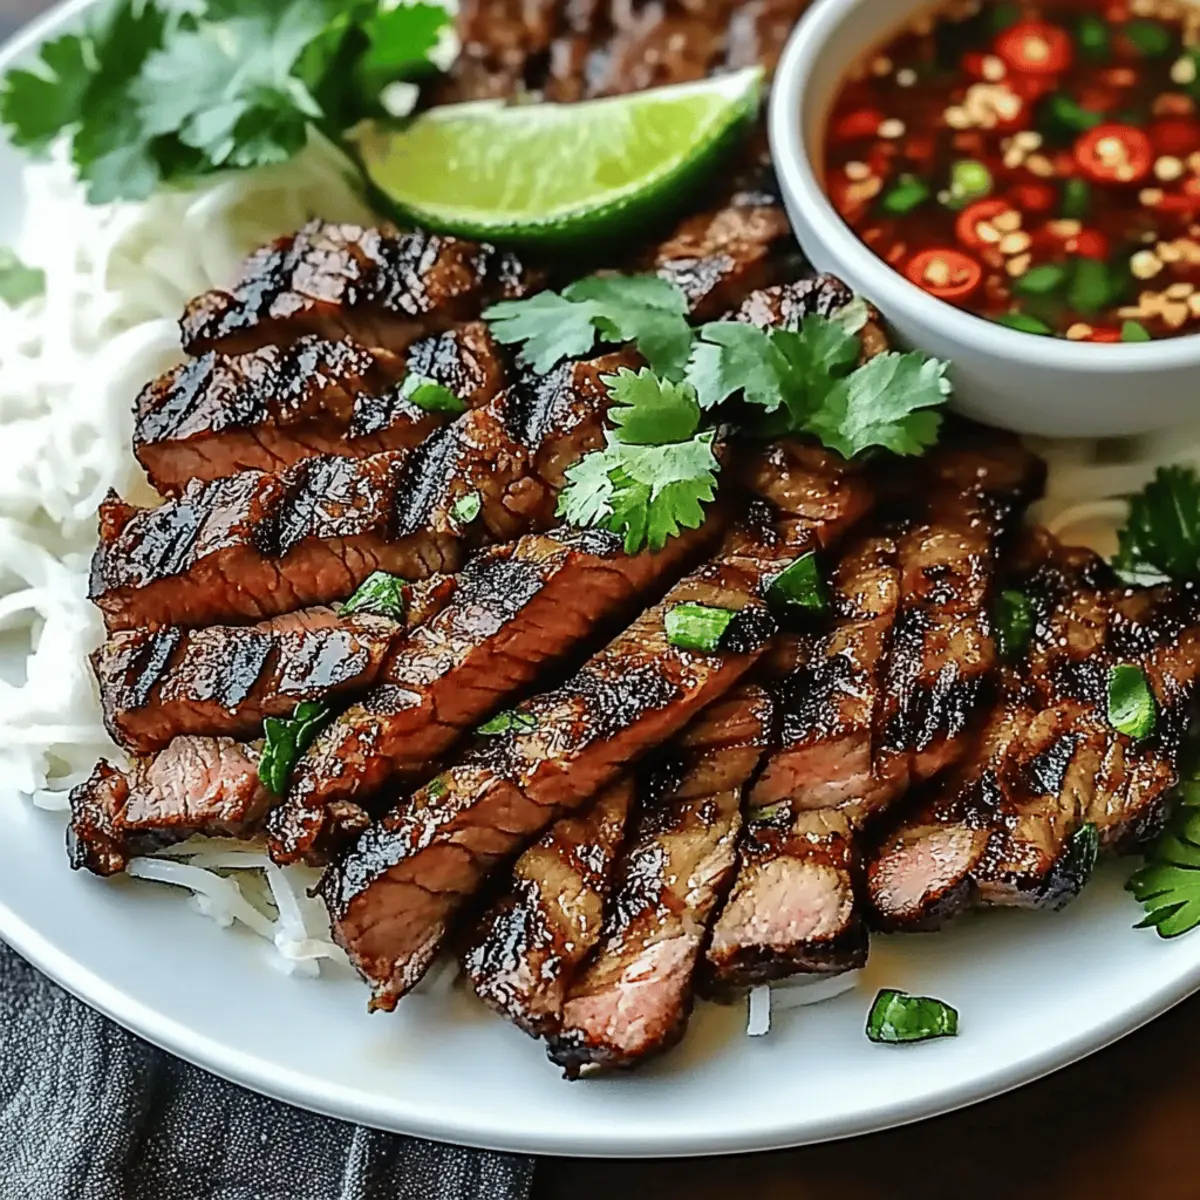
As I watched the vibrant colors of my Crying Tiger Beef come together, memories of bustling Thai markets filled my senses. This easy Thai grilled flank steak dish not only showcases the region's rich flavors but also transforms my weeknight dinners into an exciting culinary adventure. With its perfect balance of savory, sweet, and spicy notes, it’s a crowd-pleaser that requires minimal prep and effortlessly elevates any meal. Whether you're cooking for family or impressing friends, this dish is a fantastic way to showcase your passion for homemade food while keeping it quick and meal prep-friendly. Are you ready to fire up the grill and bring a flavor explosion to your kitchen?

Why is Crying Tiger Beef so beloved?
Flavorful, Authentic Experience: Crying Tiger Beef embodies the essence of Thai street food, delivering an authentic flavor explosion in every bite.
Quick and Easy: With minimal prep time, this recipe is perfect for busy weeknights or meal prep sessions.
Versatile Options: Whether you choose beef, chicken, or a vegetarian tofu variant, this dish caters to diverse dietary preferences.
Impressive Presentation: The vibrant colors and garnishes make it a stunning centerpiece for any table, sure to captivate your guests.
Customizable Heat: Adjust the spice level to your liking with red pepper flakes or fresh chili for a personal touch!
Ready to dive deeper into homemade goodness? Try pairing it with a zesty cucumber salad for a refreshing twist!
Crying Tiger Beef Ingredients
For the Marinade
- Flank Steak – the star of the dish, providing rich, juicy flavor; feel free to substitute with skirt steak for a similar texture.
- Soy Sauce – adds umami and saltiness; opt for low-sodium soy sauce for a healthier twist.
- Fish Sauce – delivers depth and complexity; perfect for authentic flavor but can be omitted for vegetarian options.
- Brown Sugar – balances savory and spicy notes; coconut sugar is a great healthier substitute.
- Lime Juice – enhances brightness and acidity; use fresh lime juice for the best flavor.
- Garlic – infuses aromatic qualities; you can swap it with garlic powder (¼ teaspoon per clove) in a pinch.
- Black Pepper – enhances flavor; freshly ground black pepper always provides the best taste.
- Red Pepper Flakes – adds heat; feel free to adjust the amount based on your spice preference.
For Cooking
- Vegetable Oil – ideal for grilling; you can replace it with olive or sesame oil for different flavor notes.
For Serving
- Fresh Cilantro – a lovely garnish that brightens up the dish; omit if cilantro isn’t your favorite.
- Cucumber – adds a refreshing crunch; pickled vegetables can be a fun alternative.
- Jasmine Rice – serves as a fluffy base; basmati rice works just as well for a different taste.
- Sesame Seeds – toasted for an extra layer of flavor and visual appeal in your presentation.
Prepare your Crying Tiger Beef with these simple ingredients and let your kitchen explode with the vibrant flavors of Thai cuisine!
Step‑by‑Step Instructions for Crying Tiger Beef: Thai Grilled Flavor Explosion
Step 1: Prepare Marinade
In a medium bowl, whisk together soy sauce, fish sauce, brown sugar, lime juice, minced garlic, black pepper, and red pepper flakes until the brown sugar dissolves completely. This marinade will not only enhance the flavor of your Crying Tiger Beef but also tenderize the meat. Set aside for a moment to let the flavors meld together while you ready the steak for marinating.
Step 2: Marinate Steak
Place the flank steak in a resealable plastic bag and pour the freshly prepared marinade over it, ensuring the meat is well-coated. Seal the bag, pressing out excess air, then refrigerate for at least 1 hour, ideally up to 4 hours for deeper flavor penetration. This step is essential for achieving a tender, flavorful steak that resonates with Thai culinary traditions.
Step 3: Cook Rice
While the meat marinates, rinse 1 cup of jasmine rice under cold water until the water runs clear to remove excess starch. In a saucepan, combine the rinsed rice with 1 ¾ cups of water and a pinch of salt. Bring the mixture to a boil over medium-high heat, then cover and reduce to low, simmering for about 15 minutes until the rice is fluffy and all the water is absorbed. Remove from heat and let it stand, covered, for 5 minutes.
Step 4: Cook Beef
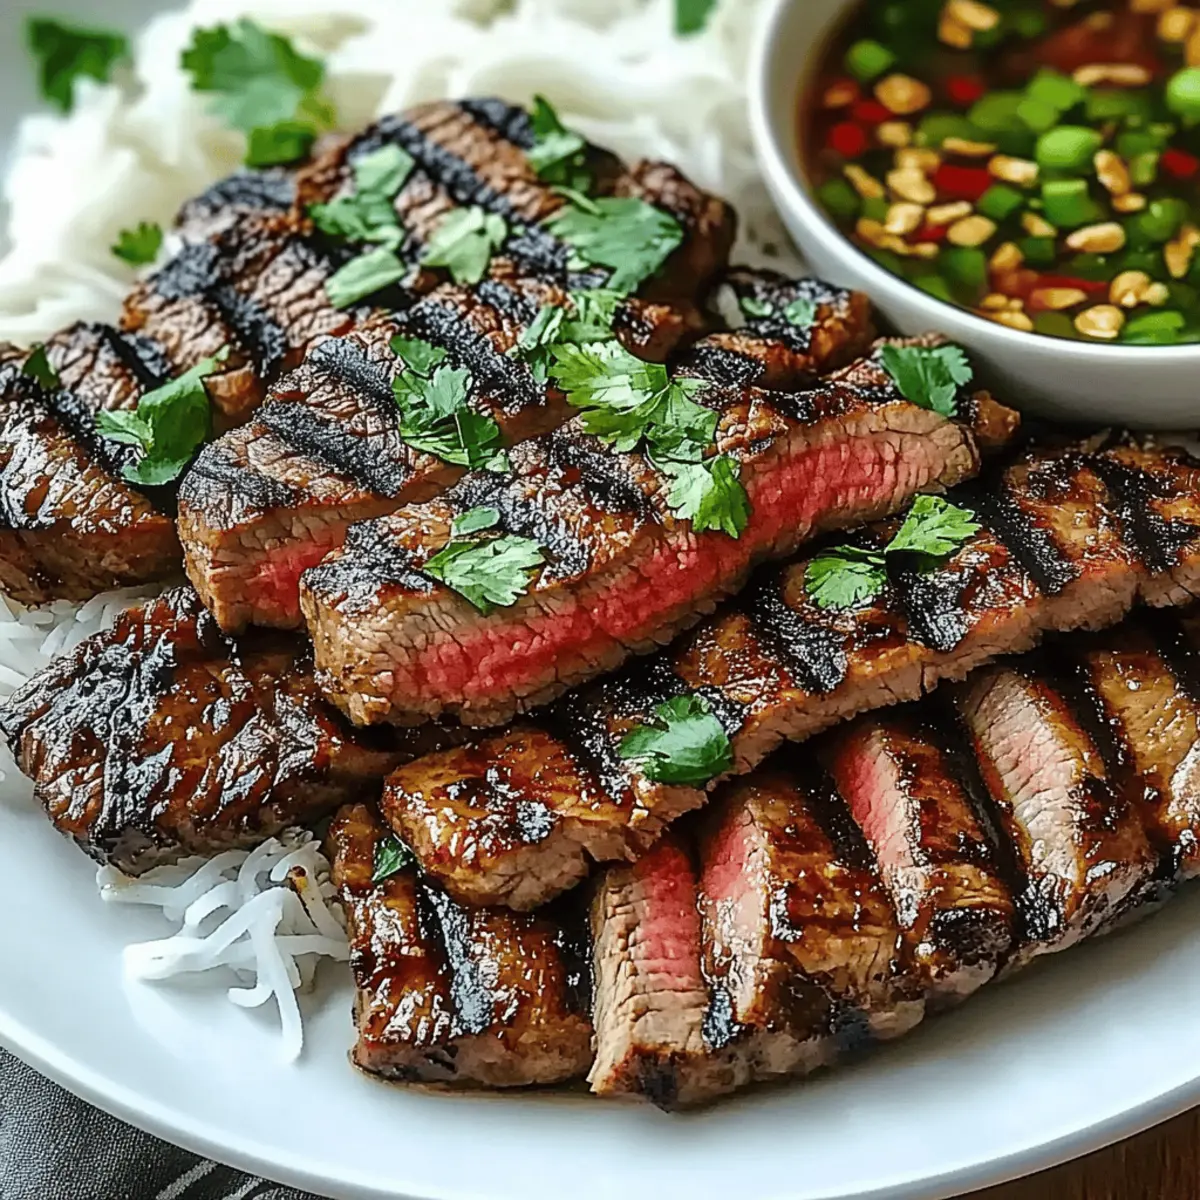
Preheat a grill pan over medium-high heat and add a drizzle of vegetable oil, enough to coat the surface lightly. Remove the flank steak from the marinade, allowing excess liquid to drip off before placing it in the hot grill pan. Cook each side for 4-5 minutes, until the steak develops a beautiful caramelized crust and reaches a medium-rare doneness, which you can check with a meat thermometer (130-135°F).
Step 5: Rest Steak
Once the steak is cooked to perfection, transfer it to a cutting board and let it rest for 5 minutes. This crucial resting period allows the juices to redistribute throughout the meat, ensuring your Crying Tiger Beef remains juicy and tender. Avoid skipping this step; the wait will be worth it when you slice into the flavorful steak.
Step 6: Assemble Dish
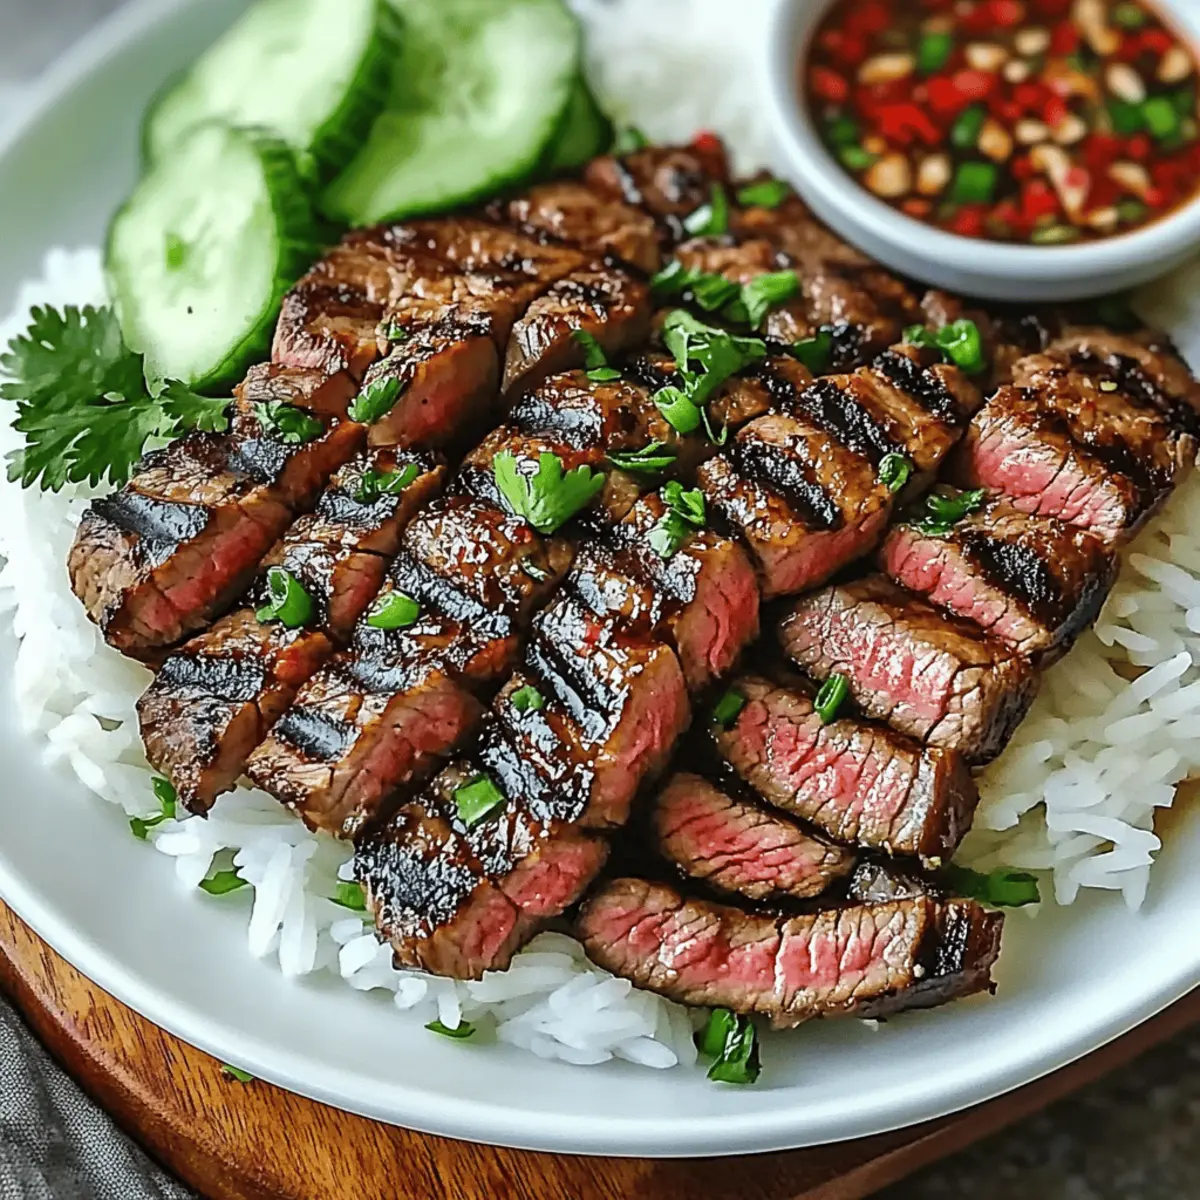
After resting, slice the flank steak against the grain into thin strips for maximum tenderness. Arrange the juicy beef slices over a bed of fluffy jasmine rice. Garnish generously with fresh cilantro and toasted sesame seeds for added flavor and visual appeal. Serve with refreshing cucumber slices on the side, completing your stunning presentation.
Variations & Substitutions for Crying Tiger Beef
Feel free to make this recipe your own with delicious twists and alternatives that suit your taste preferences!
-
Chicken Twist: Substitute flank steak with grilled chicken to maintain flavor while reducing red meat intake. Grilled chicken brings a lighter touch while still soaking up those vibrant marinade flavors.
-
Tofu Option: Use firm tofu marinated and grilled for a vegetarian version. This swap gives you a delightful protein-packed dish that's equally satisfying and full of flavor.
-
Rice Base Variants: Experiment with basmati or quinoa for different textures. Basmati lends a nutty flavor, while quinoa adds a protein punch, making it a unique spin on your side.
-
Spicy Kick: Add fresh sliced chili or sriracha for those who enjoy heat. A few spicy elements will ignite your taste buds and elevate the dish to a new level of excitement!
-
Crunchy Garnish: Incorporate crushed peanuts for an added layer of texture. These little bites of crunch can create a lovely contrast against the tender meat and rice.
-
Herb Infusion: Swap fresh cilantro for fresh basil or mint for an aromatic twist. Each herb offers a unique flavor profile that can change the entire vibe of your Crying Tiger Beef!
-
Coconut Rice: Prepare jasmine rice with coconut milk for a creamy sweetness that complements the savory beef beautifully. It transforms the dish into a tropical delight!
-
Lime Zing: Squeeze fresh lime over the assembled dish for an extra burst of brightness. This simple addition can uplift the flavors and provide a refreshing finish!
Looking for a meal that’s easy to prepare and yet still impresses? Check out this vibrant option for a zesty cucumber salad that pairs beautifully with your flavorful beef!
Make Ahead Options
Crying Tiger Beef is perfect for meal prep enthusiasts looking to save time during busy weeknights! You can marinate the flank steak up to 24 hours in advance, allowing the flavors to deeply penetrate for a richer taste. Additionally, cook the jasmine rice ahead of time and store it in the refrigerator for up to 3 days. To maintain the quality of the dish, ensure the rice is cooled completely before refrigerating and reheat gently before serving. When you're ready to enjoy your meal, simply grill the marinated steak and slice it, serving it over the prepared rice for a hassle-free and delicious dinner that tastes just as fresh as if you cooked everything in one go!
Expert Tips for Crying Tiger Beef
- Perfect Marinade Time: Marinating the flank steak for at least 1 hour is essential for maximum flavor; let it sit for up to 4 hours for the best results.
- Searing Secrets: Always preheat your grill pan to medium-high heat to achieve that beautiful sear on your steak; an adequately heated surface locks in juices and flavor.
- Against the Grain: Slice your steak against the grain to enhance tenderness; this simple technique will make each bite delightful and easy to chew.
- Monitor Doneness: Use a meat thermometer to check for medium-rare doneness, aiming for 130-135°F; cooking times may vary based on thickness.
- Rest, Don't Rush: Always let the steak rest for 5 minutes before slicing; this ensures the juices redistribute, making your Crying Tiger Beef luscious and moist.
- Adjust Spice Levels: Feel free to customize the heat in your marinade; adding more red pepper flakes or fresh chilies can cater to your spice preferences.
How to Store and Freeze Crying Tiger Beef
Fridge: Store leftover Crying Tiger Beef in an airtight container for up to 3 days, ensuring the flavors stay intact and fresh.
Freezer: For longer storage, freeze marinated flank steak for up to 3 months. Place it in a resealable bag, removing excess air before sealing.
Reheating: To enjoy, thaw overnight in the fridge, then reheat in a skillet over medium heat until warmed through, maintaining the steak's tenderness.
Cooked Rice: Store any leftover jasmine rice in a separate airtight container in the fridge for up to 3 days or freeze for up to 1 month.
What to Serve with Crying Tiger Beef
Elevate your dining experience with delightful sides and drinks that complement the flavors of this Thai masterpiece.
-
Cucumber Salad: A fresh and crunchy salad seasoned with lime juice and chili. Its coolness perfectly balances the heat of the beef.
-
Spicy Thai Dipping Sauce: This sauce made with chilies, garlic, and lime offers an extra kick. Perfect for drizzling over your dish, it enhances the flavor explosion of the beef.
-
Grilled Asparagus: Tender-crisp asparagus lightly charred on the grill adds a smoky depth. Its earthiness pairs wonderfully with the savory notes of the steak.
-
Steamed Broccoli: Nutritious and vibrant, steamed broccoli provides a lovely contrast to the beef's rich flavors. Drizzle with sesame oil for added depth.
-
Fluffy Coconut Rice: Swap in coconut rice for a subtle sweetness that harmonizes beautifully with flavors from the dish, adding a tropical twist to your meal.
-
Thai Iced Tea: This creamy and slightly sweet drink offers refreshment and spice balance, enhancing your overall dining experience.
-
Mango Sticky Rice: For dessert, this sweet and creamy treat brings a delightful finish to your meal. Its sweetness complements the savory, rich flavors of Crying Tiger Beef perfectly.
-
Asian-style Coleslaw: Crunchy and tangy, this slaw adds a wonderful texture and flavor contrast to the plate while incorporating fresh herbs for brightness.
-
Beer or Wine Pairing: Opt for a light Lager or Sauvignon Blanc; both will enhance the meal's fresh flavors without overpowering the delicate notes of your beef.
Crying Tiger Beef: Easy Thai Grilled Flank Steak with Flavor Explosion Recipe FAQs
What type of flank steak should I use for Crying Tiger Beef?
Absolutely! A good quality flank steak is essential for a tender and flavorful dish. Look for meat that is bright red and has a good amount of marbling. You can also substitute with skirt steak if you prefer; it has a similar texture and taste. Avoid cuts with dark spots or an odor, as these could indicate that the meat is past its prime.
How can I store leftovers of Crying Tiger Beef?
You can store your leftover Crying Tiger Beef in an airtight container in the fridge for up to 3 days. Just make sure it cools down before sealing to maintain its moisture. If you want to keep it longer, freeze the marinated beef for up to 3 months. Just place it in a resealable bag, removing as much air as possible to avoid freezer burn.
Can I freeze Crying Tiger Beef after cooking?
Absolutely! You can freeze cooked Crying Tiger Beef. Let it cool completely, then wrap it tightly in plastic wrap or foil, followed by placing it in a freezer-safe bag. It can be frozen for up to 3 months. To reheat, simply thaw it overnight in the fridge, then warm it gently in a skillet over medium heat until heated through to preserve its tenderness.
What if my steak isn’t tender after cooking?
No worries! If your steak comes out tough, it’s usually due to not slicing against the grain. Always cut the beef perpendicular to the muscle fibers to enhance tenderness. Additionally, make sure not to overcook it; use a meat thermometer to check for doneness—aim for 130-135°F for medium-rare. If you have leftovers, slicing them thinly can also help make each bite more tender.
Can I include this recipe in a meal prep plan?
Very much so! Crying Tiger Beef is meal prep-friendly and can be marinated up to 24 hours in advance, making it a perfect choice for busy weeks. Cooked rice can be made beforehand and stored in the fridge for up to 3 days. Assemble your dish just before serving to keep everything fresh and flavorful. It’s a fantastic way to enjoy home-cooked meals without much fuss!
Any dietary considerations for Crying Tiger Beef?
The recipe is versatile! While traditionally made with beef, you can easily substitute with grilled chicken for a lighter option or firm tofu for a vegetarian version. Just remember to adjust the marinade times as needed to ensure all proteins are flavorful. If you have shellfish or fish allergies, simply omit the fish sauce and replace it with extra soy sauce or a dash of coconut aminos for depth without allergens.
Crying Tiger Beef: Juicy Thai Grilled Flavor Explosion
Ingredients
Equipment
Method
- In a medium bowl, whisk together soy sauce, fish sauce, brown sugar, lime juice, minced garlic, black pepper, and red pepper flakes until the brown sugar dissolves completely.
- Place flank steak in a resealable plastic bag and pour the marinade over it. Seal and refrigerate for at least 1 hour, ideally up to 4 hours.
- Rinse 1 cup of jasmine rice under cold water until clear. Combine rinsed rice with 1 ¾ cups of water and a pinch of salt in a saucepan. Bring to a boil, cover, and reduce to low for about 15 minutes.
- Preheat grill pan over medium-high heat and add vegetable oil. Remove flank steak from marinade and place in the hot grill pan. Cook each side for 4-5 minutes.
- Transfer steak to a cutting board and let it rest for 5 minutes.
- Slice flank steak against the grain into thin strips. Arrange over jasmine rice, garnishing with cilantro and sesame seeds. Serve with cucumber slices.


Leave a Reply