
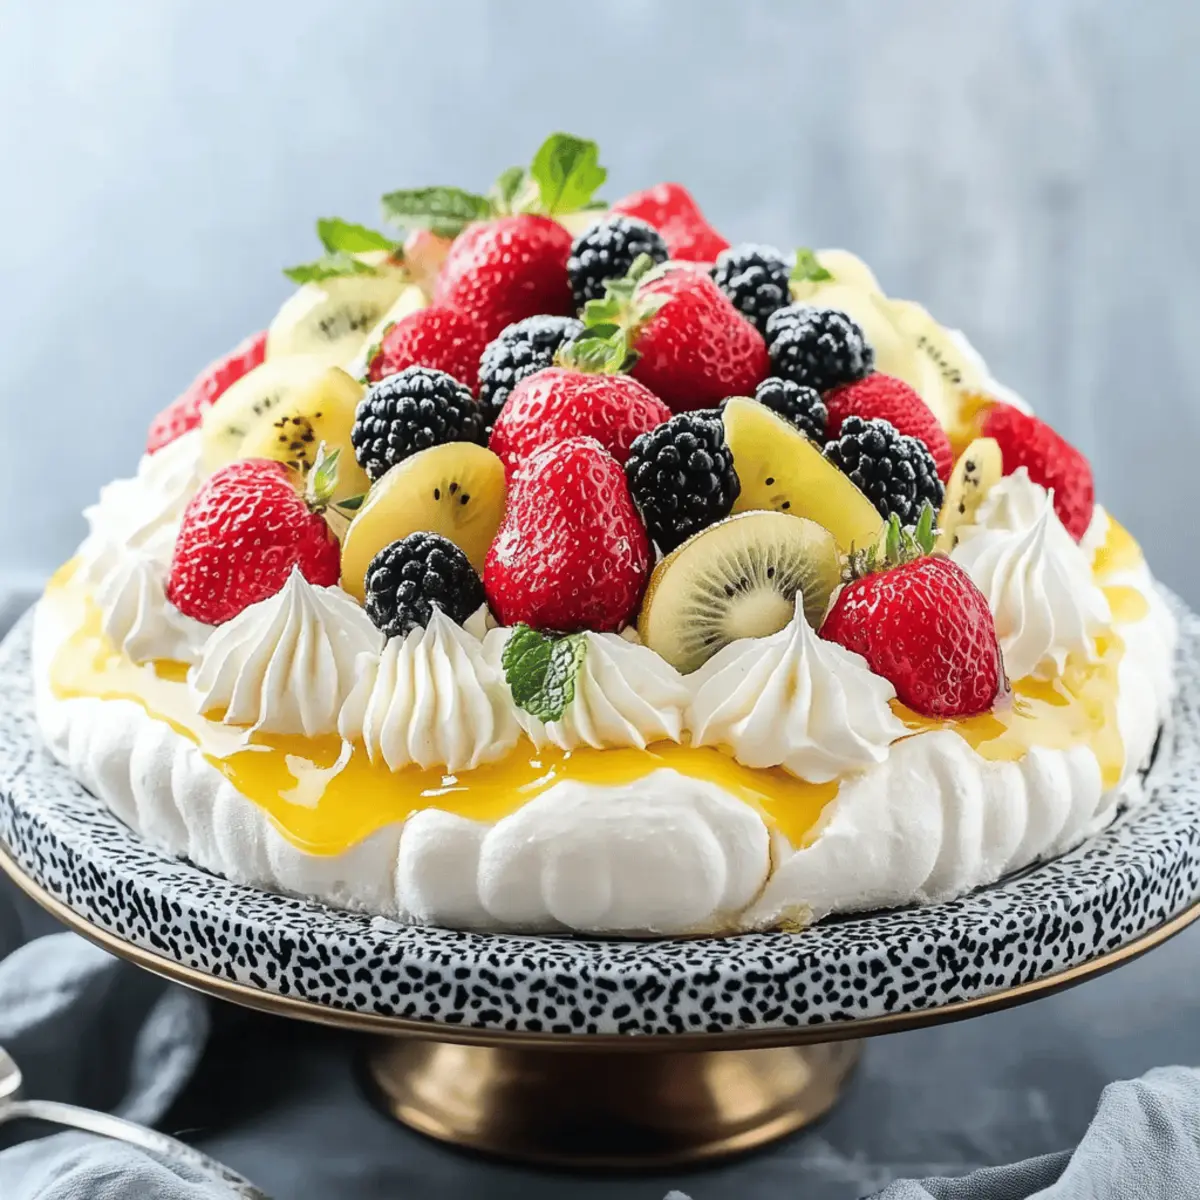
As I pulled the warm, golden pavlova from the oven, the sweet aroma enveloped my kitchen like a comforting hug. This classic pavlova recipe has become my go-to dessert, combining a light, crisp shell with a soft marshmallow-like center that simply melts in your mouth. Not only is this treat gluten-free, making it a perfect option for everyone to enjoy, but its straightforward preparation makes it an ideal choice for any home chef looking to impress. Topped with vibrant seasonal fruits and a dollop of whipped cream, this pavlova becomes an eye-catching centerpiece at gatherings—sure to delight family and friends alike! Are you ready to elevate your dessert game with this stunning meringue creation?
Why is Pavlova a Must-Try Dessert?
Lightness, This pavlova is a cloud-like confection that melts in your mouth, offering an airy bite that feels indulgent yet light.
Versatile Toppings, With endless possibilities for seasonal fruits, chocolate, or creamy layers, you can customize the pavlova to match any occasion.
Easy Preparation, Even novice bakers will find this recipe approachable, making it a stress-free choice for gatherings.
Gluten-Free Delight, Perfect for those with dietary restrictions, this gluten-free dessert ensures everyone can indulge without worry.
Crowd-Pleasing, Its stunning presentation and delightful flavors make it a guaranteed hit at parties or family dinners.
Elevate your dessert game and impress your guests with this show-stopper that’s not just beautiful but also a pleasure to eat!
Pavlova Ingredients
For the Meringue
- Egg Whites – Essential for structure and airiness; always use fresh for best results.
- Caster Sugar – Sweetens the pavlova and ensures a crisp texture; can substitute with processed granulated sugar if needed.
- Cornstarch – Stabilizes the meringue to achieve that soft, marshmallow-like center.
- White Vinegar – Acts as a stabilizer; helps maintain the meringue's structure during baking.
For the Topping
- Whipping Cream – Provides luscious creaminess; aim for cream with at least 35% fat for perfect whipping.
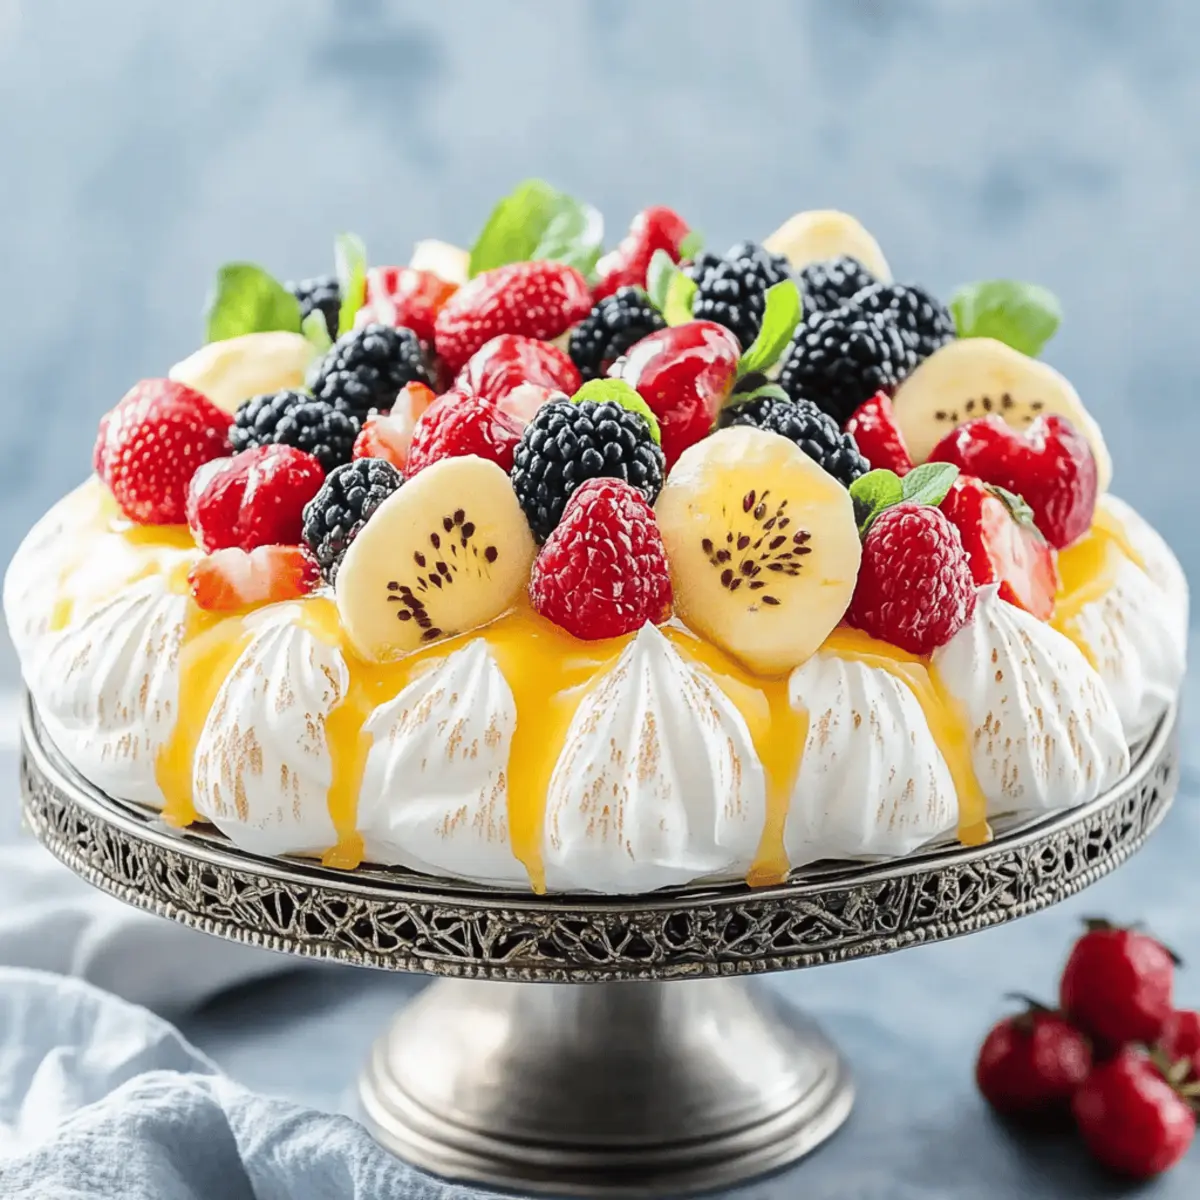
- Fresh Fruits – Brightens the pavlova with flavor and color; opt for seasonal fruits like strawberries and kiwi for a delightful finish.
Indulge in this pavlova that will not only satisfy your sweet tooth but also impress everyone with its elegant presentation!
Step‑by‑Step Instructions for Pavlova
Step 1: Prep Equipment & Ingredients
Begin by preheating your oven to 275°F (135°C). Ensure all equipment, including mixing bowls and beaters, are thoroughly clean and free of grease. Line a baking sheet with parchment paper, marking a 9-inch circle in the center to guide your meringue shape. Gather your ingredients, especially fresh egg whites, which should be at room temperature for optimal volume.
Step 2: Whip Egg Whites
In a large mixing bowl, use an electric mixer to beat the egg whites on low speed until soft peaks form, approximately 5-10 minutes. Gradually introduce the caster sugar, about a tablespoon at a time, while increasing the mixer speed to medium-high. Continue whisking until stiff peaks form and the sugar is completely dissolved, an additional 12-30 minutes, resulting in a glossy and firm meringue.
Step 3: Incorporate Stabilizers
Once the meringue achieves stiff peaks, gently fold the cornstarch and white vinegar into the mixture. Use a spatula to carefully combine the ingredients without deflating the meringue. This step is crucial in creating a stable pavlova that maintains its texture, ensuring a lovely soft center once baked.
Step 4: Shape Pavlova
With your marked parchment as a guide, spoon the meringue onto the baking sheet, creating a tall nest shape. Form a slight depression in the center to hold the whipped cream and fruits later. Smooth the edges gently, ensuring an even surface while maintaining height. This distinct shape is characteristic of a classic pavlova.
Step 5: Bake
Gently place the shaped meringue in the preheated oven and immediately reduce the temperature to 212°F (100°C). Bake for 80-90 minutes until the outer crust feels firm and dry to the touch. A golden hue on the exterior indicates readiness, while the inside should remain soft and marshmallow-like, a hallmark of a successful pavlova.
Step 6: Cool
After baking, turn off the oven and leave the pavlova inside to cool for at least 4 hours, or overnight if possible. This cooling period is essential for preventing collapse, as the gradual temperature drop helps stabilize the meringue. Keep the oven door slightly ajar to allow for proper cooling without sudden temperature changes.
Step 7: Decorate
Once cooled, whip the cream until it reaches medium peaks, creating a luscious topping for your pavlova. Carefully spread the whipped cream over the cooled meringue, focusing on the center depression. Finally, artfully arrange your choice of fresh seasonal fruits on top, transforming your pavlova into a stunning dessert ready to impress everyone at your gathering.
Pavlova Variations & Substitutions
Feel free to explore the delightful world of pavlova customization, bringing your personal touch to this beloved dessert!
-
Tropical Twist: Swap fresh fruit for tropical options like mango and passion fruit for a delightful flavor enhancement. This combination will transport you to a sunny beach with every bite.
-
Chocolate Indulgence: Drizzle warm chocolate ganache over the whipped cream for an extra decadent layer. The rich, sweet notes of chocolate complement the crisp meringue beautifully, crafting a dessert that feels extra indulgent.
-
Vegan Option: Use aquafaba (the liquid from canned chickpeas) instead of egg whites to create a plant-based pavlova. This swap maintains texture and flavor, allowing everyone to enjoy this delightful treat!
-
Citrus Burst: Incorporate zesty citrus flavors by folding lemon or lime zest into the whipped cream. The bright acidity will create a lovely contrast with the sweetness of the meringue, making each bite refreshing.
-
Spicy Kick: Infuse the whipped cream with a hint of cayenne or ginger for a surprising warmth. The subtle heat will elevate the dessert, offering a twist that friends and family won’t forget.
-
Nutty Addition: Fold chopped nuts like almonds or pistachios into the whipped cream before decorating the pavlova. They add a delightful crunch, making every slice a pleasing mix of textures.
-
Herbaceous Delight: Gently incorporate fresh herbs like mint or basil into the cream for an unexpected herbal note. This twist pairs exceptionally well with summer berries, leaving guests curious about the secret ingredient!
-
Caramel Sauce: Add a drizzle of homemade or store-bought caramel sauce to the top of your pavlova. The sweet, buttery notes of caramel will enrich the flavors and create a stunning visual appeal.
With so many options, your pavlova can be as unique as your taste! For those seeking easy alternatives, try exploring our tips in Pavlova Ingredients or discover more delightful flavors in our Expert Tips for Perfect Pavlova.
What to Serve With Classic Pavlova
Imagine a colorful spread of flavors that perfectly complement the lightness of your pavlova, elevating your dessert experience beyond the ordinary.
-
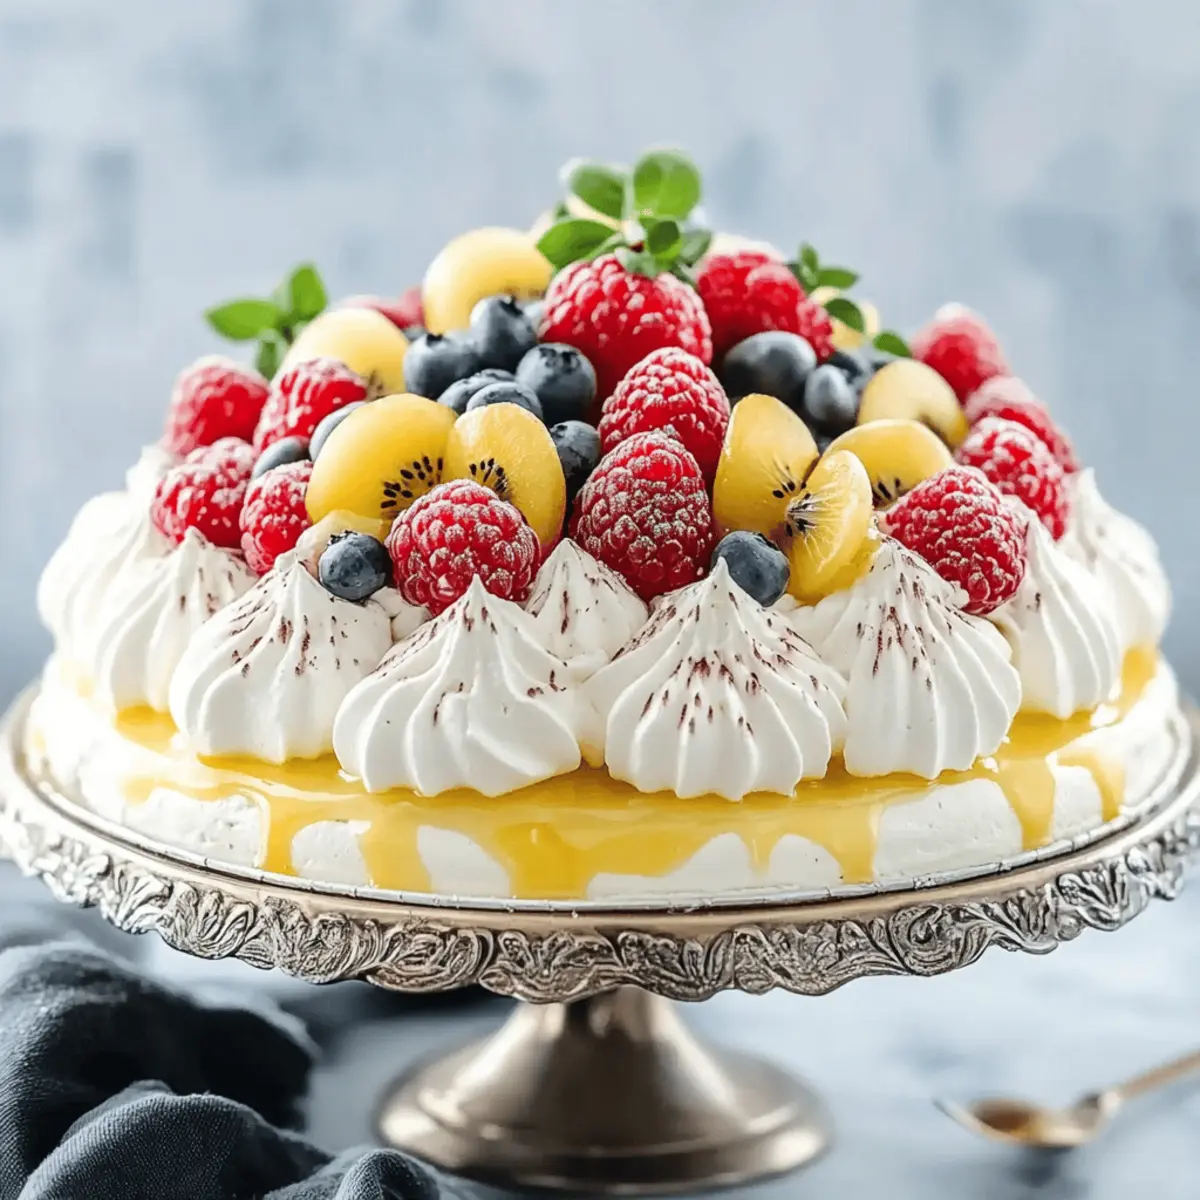
Fresh Berries: The tartness of mixed berries like strawberries and raspberries cuts through the sweetness, enhancing every bite of pavlova.
-
Passion Fruit Sauce: This vibrant, tangy sauce drizzled on top provides a tropical flair, balancing the sweetness of the meringue beautifully.
-
Chocolate Ganache: A rich, silky chocolate ganache offers a decadent contrast to the airy pavlova, making it a luxurious treat.
-
Mint Infused Cream: Whip cream infused with fresh mint for a refreshing twist that adds aromatic notes to the sweet meringue.
-
Citrus Salad: A refreshing citrus salad with oranges and grapefruit adds brightness and a crunchy texture, creating a lovely contrast against the pavlova.
-
Sparkling Wine: A glass of bubbly complements the dessert's lightness while enhancing the flavor of the fresh fruits.
Elevate your dessert table by mixing textures and flavors that pair seamlessly with your classic pavlova, ensuring a fulfilling and delightful experience for all!
How to Store and Freeze Pavlova
Room Temperature: Keep unadorned pavlova in an airtight container at room temperature for up to 24 hours. Avoid humidity to maintain its crisp texture.
Fridge: If you've added toppings like whipped cream, store the remaining pavlova in the fridge for up to 3 days. Keep it covered to prevent drying out.
Freezer: Freezing is not recommended as it affects the texture of the pavlova. However, the meringue can be frozen for up to 1 month if stored in an airtight container—just omit any toppings.
Reheating: For best results, do not reheat pavlova. Enjoy chilled or at room temperature, freshly topped for delightful taste and texture!
Make Ahead Options
Preparing your pavlova ahead of time is a fantastic way to save time for busy weeknights or any special event. You can make the meringue base up to 24 hours in advance. Once baked and cooled, store the unadorned pavlova in an airtight container at room temperature to maintain its delightful crispness. It’s crucial to avoid refrigerating it, as moisture can ruin the texture. Just before serving, whip your cream and layer it generously on top, then add your choice of fresh fruits for a vibrant finish. This strategy means you can enjoy a stunning dessert with minimal last-minute effort while still impressing your guests with your baking prowess!
Expert Tips for Perfect Pavlova
- Fresh Egg Whites: Always use fresh, room-temperature egg whites for the best volume and stability in your pavlova.
- Gradual Sugar Addition: Add the caster sugar slowly while whisking to prevent a gritty texture—this ensures your meringue is smooth and glossy.
- Avoid Humidity: Bake on dry days; high humidity can lead to a weeping pavlova. If it's humid, consider saving this treat for another day!
- Cooling is Key: Allow the pavlova to cool inside the oven with the door slightly ajar. This prevents collapse and maintains its signature texture.
- Cracking is Normal: Don’t panic if cracks form during baking! They add rustic charm—just cover them with luscious toppings when serving.
Enjoy creating your stunning pavlova!
Pavlova Recipe FAQs
How do I know if my egg whites are fresh?
Absolutely! To ensure your egg whites are fresh, check for clarity and thickness. Fresh egg whites should be translucent with a thick consistency. If an egg has a strong sulfur smell or if the whites are runny, it's best to discard it. Additionally, consider checking the sell-by date or doing a simple float test in water—fresh eggs will sink, while older ones will float.
What’s the best way to store leftover pavlova?
Very! If you have leftover pavlova without toppings, simply place it in an airtight container at room temperature for up to 24 hours to retain its crispness. If topped with whipped cream and fruits, store it in the fridge for up to 3 days. Be sure to cover it lightly to prevent drying out. It's important to note that refrigeration is not ideal for unadorned pavlova, as it can lose that delightful texture.
Can I freeze pavlova?
Yes, you can! To freeze your pavlova, it's best to freeze just the meringue to maintain texture. Place the unadorned meringue in an airtight container or wrap it tightly in plastic wrap. You can freeze it for up to 1 month. When you're ready to serve, let it thaw in the fridge overnight. Remember, do not freeze topped pavlova, as the whipped cream and fruits will not thaw well.
Why did my pavlova crack, and is that normal?
Cracking during baking is very normal for pavlova, and it actually adds to its charm! This can happen due to various factors like rapid temperature changes during baking or due to the meringue rising. If you notice cracks, don't worry! Just cover them with your delicious toppings before serving, allowing their beauty to shine through.
Is this pavlova recipe gluten-free?
Absolutely! This pavlova is naturally gluten-free, making it suitable for those with gluten sensitivities. The ingredients used—such as egg whites, sugar, cornstarch, and vinegar—are all gluten-free. Always double-check labels for any pre-packaged ingredients to ensure they're gluten-free if you have severe allergies.
What fruits are best for topping pavlova?
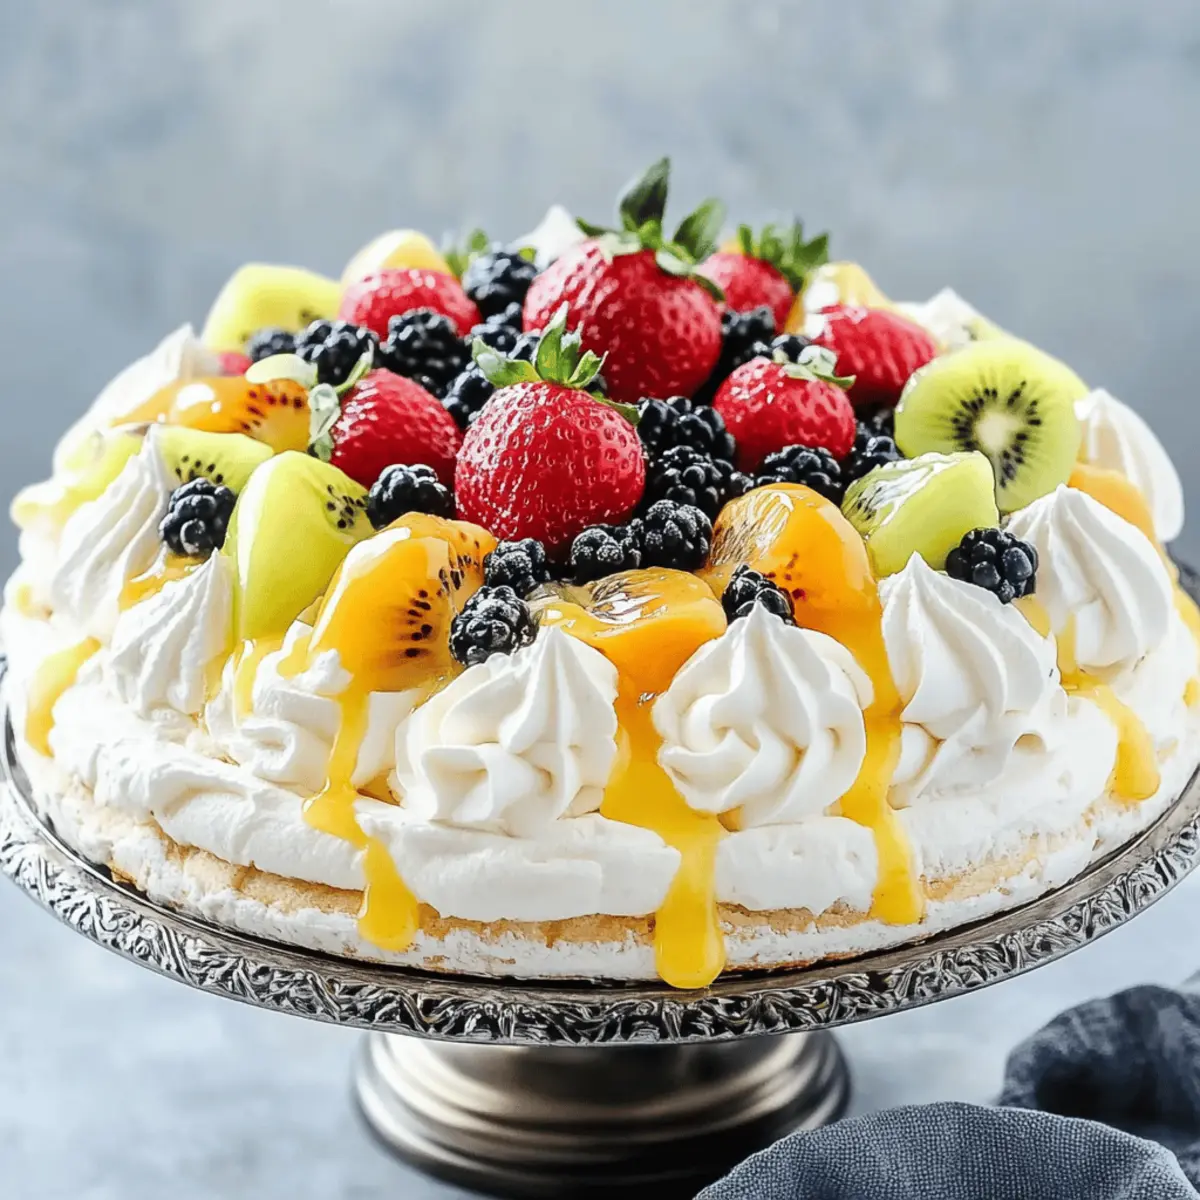
The more the merrier! For a vibrant pavlova, consider seasonal fruits like strawberries, kiwi, passion fruit, mango, or blueberries. You can also experiment with citrus segments or stone fruits like peaches for a different flavor profile. Use a mix of sweet and tart fruits to create a delightful balance that complements the sweetness of the meringue!
Delicious Pavlova: Light, Airy Dessert to Impress Everyone
Ingredients
Equipment
Method
- Preheat the oven to 275°F (135°C) and prepare a baking sheet lined with parchment paper, marking a 9-inch circle.
- In a mixing bowl, beat egg whites on low until soft peaks form, then gradually add sugar while increasing speed until stiff peaks form and sugar dissolves.
- Gently fold in cornstarch and vinegar without deflating the meringue.
- Shape the meringue on the marked baking sheet, creating a tall nest with a depression in the center.
- Bake in the oven for 80-90 minutes until firm and golden, then turn off the oven and cool inside for at least 4 hours.
- Whip cream to medium peaks and spread over the cooled meringue, topping with fresh fruits.


Leave a Reply