
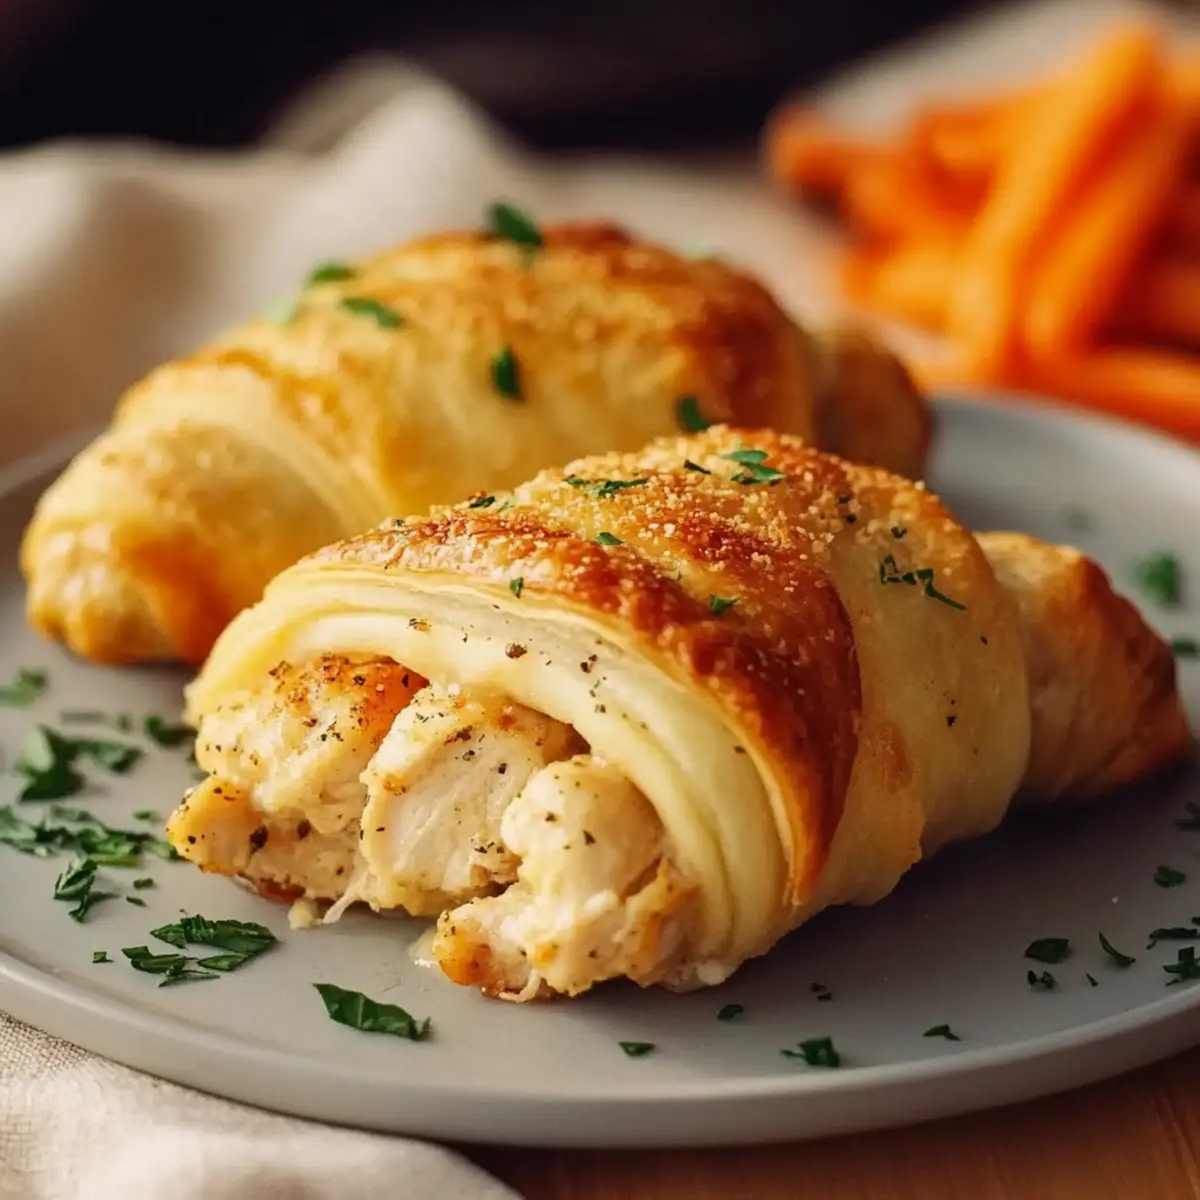
The aroma of freshly baked goods instantly transports me back to my childhood kitchen, where gathering around the oven was a cherished ritual. Today, I’m excited to share my recipe for Crescent Chicken Roll Ups—a warm and comforting dish that seamlessly blends flaky crescent dough with tender chicken and a creamy cheese filling. Not only are these delightful roll ups easy to prepare, taking just 30 minutes from start to finish, but they also make for the perfect appetizer or family-friendly dinner. Whether you're looking to impress guests at your next gathering or simply need a quick weeknight meal, these roll ups are sure to satisfy. Ready to roll up something delicious? Let’s get started!
Why are Crescent Chicken Roll Ups so popular?
Deliciously Comforting: The moment you take a bite, the flaky, buttery crust enveloping the rich, creamy chicken filling will remind you of home-cooked goodness.
Quick & Easy: This recipe comes together in just 30 minutes, making it a lifesaver for busy weeknights or spontaneous gatherings.
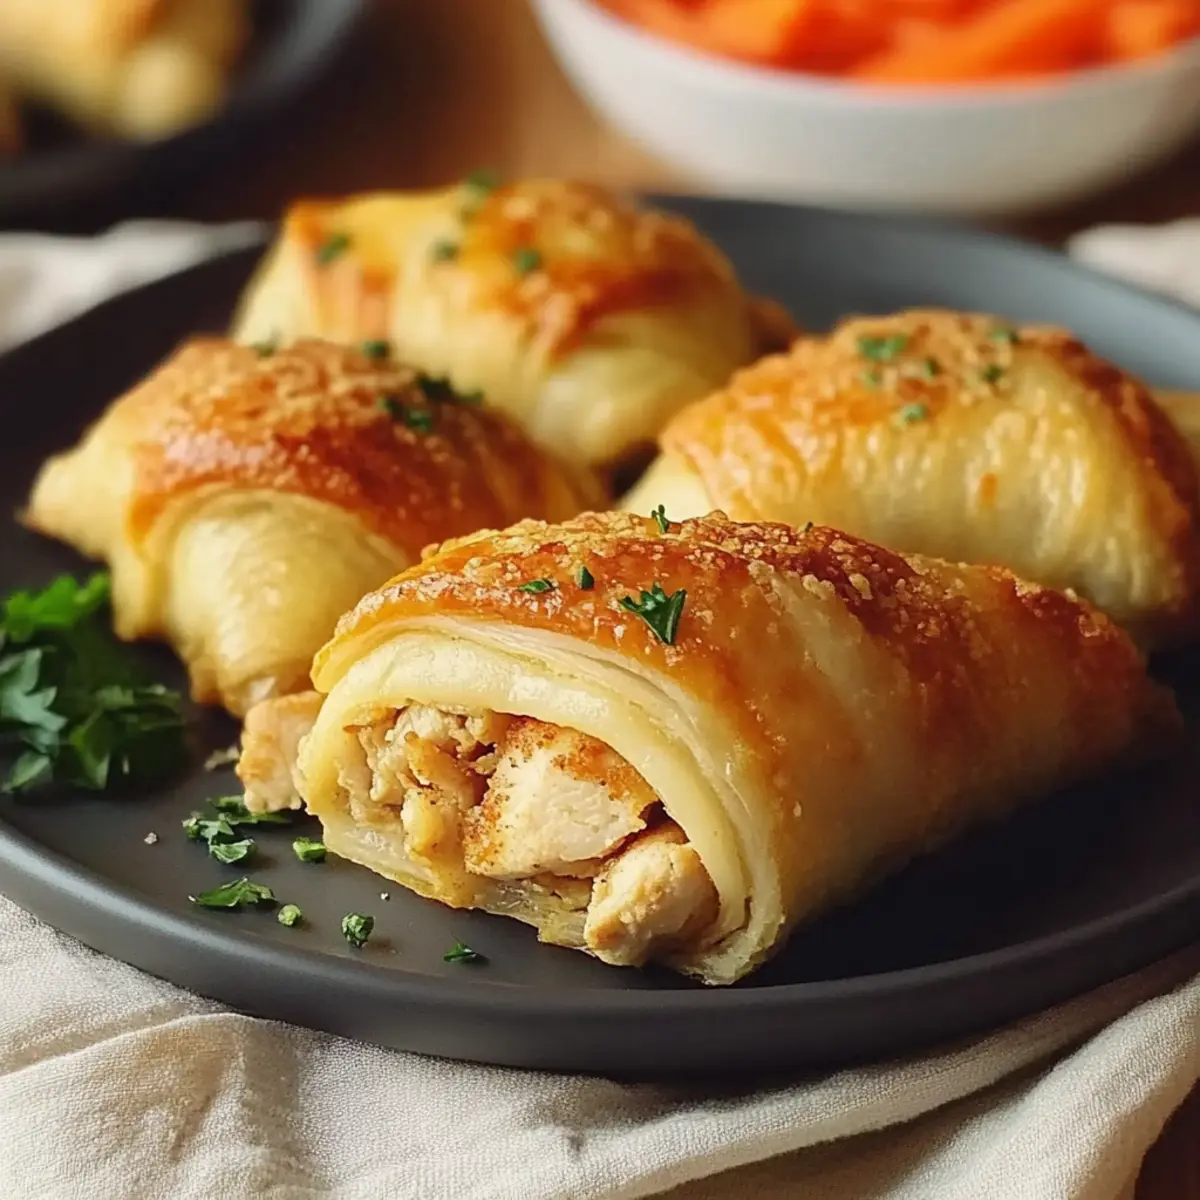
Crowd-Pleasing Appeal: Whether serving as an appetizer at your next party or a weeknight family dinner, these roll ups are guaranteed to be a hit for both kids and adults.
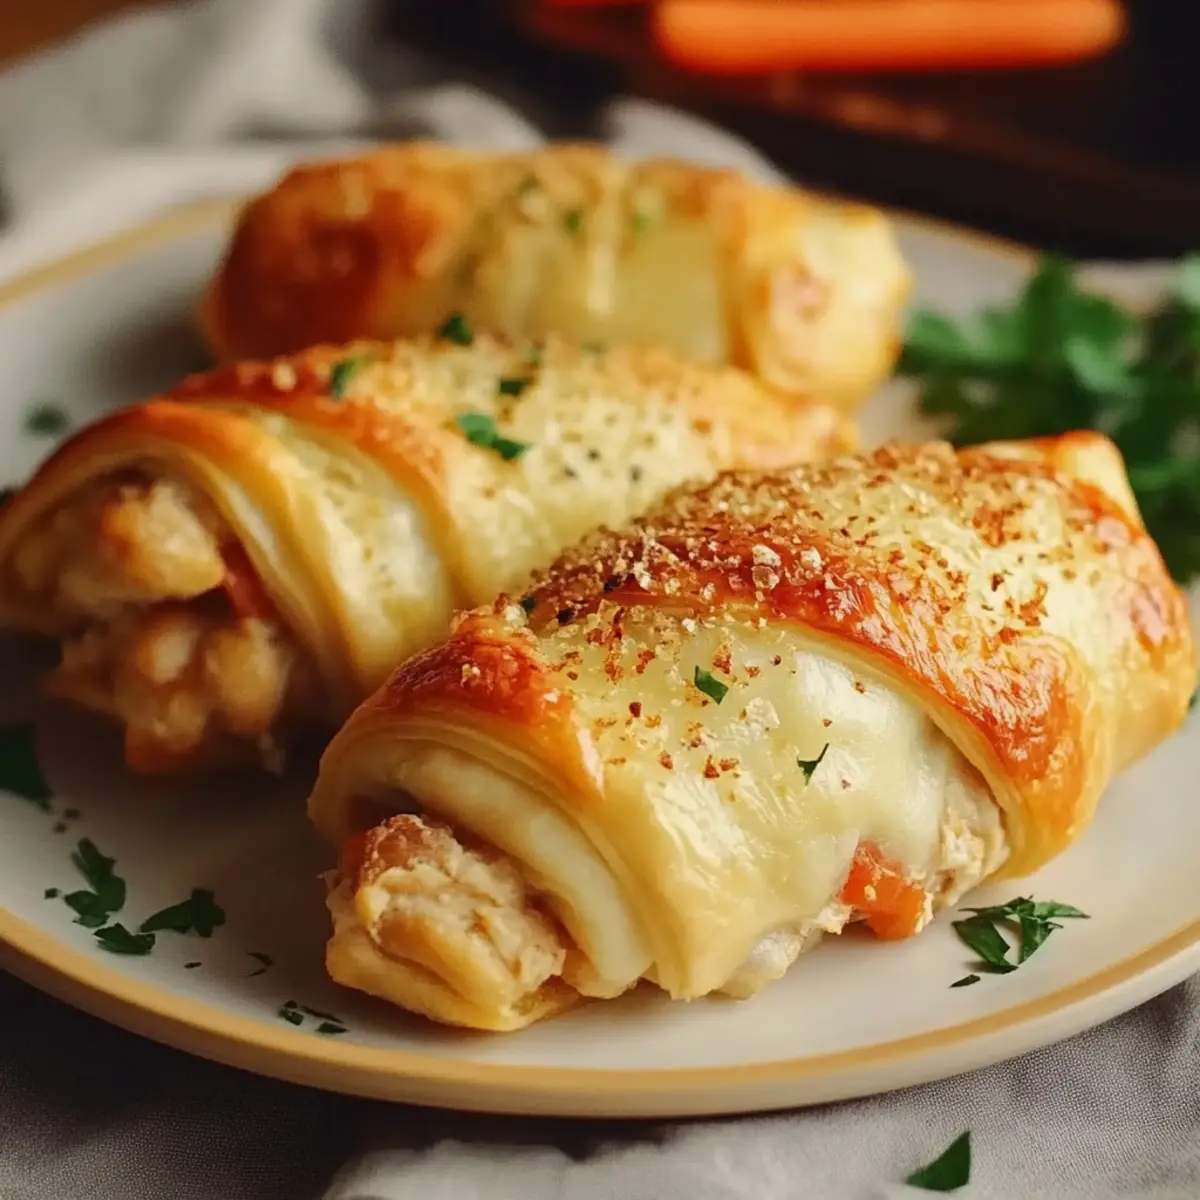
Versatile Ingredients: Feel free to customize the filling with your favorite cheeses or add vegetables for a nutritious twist. It’s all about making this dish your own!
Perfect for Leftovers: Store any extras in an airtight container and enjoy them again—if they last that long! Perfect with a side of ranch or marinara for dipping!
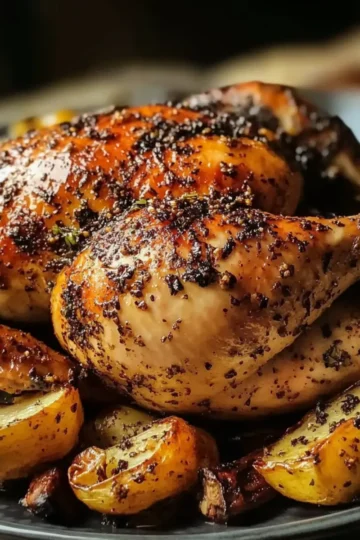
Try out these Baked Chicken Roll Ups and discover why they’re a favorite in kitchens everywhere!
Crescent Chicken Roll Ups Ingredients
For the Dough
• Refrigerated Crescent Roll Dough – Provides the flaky, crispy exterior; can be substituted with puff pastry for a different texture.
For the Filling
• Cooked Chicken (shredded or diced) – The main protein, adding heartiness; substitute with turkey or cooked vegetables for a vegetarian option.
• Cream Cheese (softened) – Adds creaminess and richness; sour cream can be a lighter alternative if desired.
• Shredded Cheddar Cheese – Enhances flavor and texture; use Monterey Jack or mozzarella for a different taste experience.
• Garlic Powder – Adds depth of flavor; fresh minced garlic can substitute for a more robust taste.
• Onion Powder – Provides a savory note; fresh onions can be sautéed and added for extra bite.
• Dried Italian Herbs – Seasoning blends for an aromatic touch; substitute with any preferred dried herbs or fresh options like basil or oregano.
• Salt and Pepper – To taste; adjust according to dietary needs for the perfect seasoning.
• Optional: Fresh Parsley (chopped) – For garnish, adding color and a fresh flavor to your dish.
These Crescent Chicken Roll Ups are not only easy to make but also full of comforting flavors that everyone will love!
Step‑by‑Step Instructions for Easy Crescent Chicken Roll Ups
Step 1: Preheat the Oven
Start by preheating your oven to 375°F (190°C). This ensures a perfectly baked exterior for your Crescent Chicken Roll Ups. While the oven warms up, gather your ingredients and prepare your baking sheet by lining it with parchment paper to prevent sticking and for easy cleanup.
Step 2: Prepare the Filling
In a large mixing bowl, combine shredded or diced cooked chicken with softened cream cheese, shredded cheddar cheese, garlic powder, onion powder, and dried Italian herbs. Season your mixture with salt and pepper, blending well until all ingredients are fully incorporated, creating a creamy and flavorful filling ready for your roll ups.
Step 3: Unroll the Crescent Dough
Gently unroll the refrigerated crescent roll dough on a clean surface and separate it into triangles. Be careful not to tear the dough, as you want each triangle to maintain its shape for easy rolling. Keep the dough pieces close together to streamline the filling and rolling process.
Step 4: Fill the Dough Triangles
At the wide end of each triangle, place a generous spoonful of your chicken and cheese filling. Spread it out slightly, but be careful not to overfill each triangle, as this could cause them to burst during baking. Roll the dough tightly from the wide end to the point, sealing in the delicious filling.
Step 5: Arrange on Baking Sheet
Once all the roll ups are formed, place them seam-side down on the prepared baking sheet. This will help keep the filling inside as they bake. Arrange the roll ups with a bit of space in between each one to allow for even cooking and expansion as they puff up in the oven.
Step 6: Bake Until Golden
Bake the Crescent Chicken Roll Ups in your preheated oven for about 15 minutes, or until they are golden brown and puffed. Keep an eye on them, as oven temperatures can vary. You want the crescent dough to achieve a delightful golden color, indicating it's beautifully baked to perfection.
Step 7: Broil for Extra Crispiness
For a little extra crunch, switch your oven to broil and allow the roll ups to cook for an additional 1 to 2 minutes. Watch them carefully during this time, as they can go from perfectly crispy to burnt very quickly under the broiler. You’re looking for a final touch of golden-brown crispiness.
Step 8: Cool and Serve
Once baked, remove the roll ups from the oven and let them cool on the baking sheet for about 5 minutes. This cooling time allows the filling to set slightly. Before serving, consider garnishing with freshly chopped parsley for a touch of color and added flavor.
Make Ahead Options
These Crescent Chicken Roll Ups are perfect for meal prep, allowing you to enjoy a comforting dish with minimal effort on busy nights! You can assemble the roll ups up to 24 hours in advance; simply prepare them through the filling process, then cover tightly with plastic wrap and refrigerate. To maintain their quality, avoid overfilling each triangle to prevent bursting during baking. When you're ready to serve, bake them directly from the fridge, adding an extra 2-3 minutes to the cooking time for perfect results. With this make-ahead option, you’ll have delicious, golden brown roll ups on the table with hardly any last-minute work!
How to Store and Freeze Crescent Chicken Roll Ups
Fridge: Store in an airtight container for up to 3 days. These crescent chicken roll ups maintain their flavor and texture well, making them perfect for leftovers!
Freezer: For longer storage, freeze the unbaked roll ups. Wrap each one tightly in plastic wrap and place them in a freezer-safe bag for up to 2 months.
Reheating: To enjoy leftovers, reheat in the oven at 350°F (175°C) for about 10-15 minutes until heated through and crispy. Alternatively, you can microwave them but expect a softer texture.
Make-Ahead Option: Assemble your crescent chicken roll ups ahead of time and refrigerate before baking. This saves time on busy nights when you're ready to indulge in comforting flavors!
Expert Tips for Crescent Chicken Roll Ups
-
Avoid Overfilling: Keep your filling portions manageable to prevent the roll ups from bursting while baking. A spoonful is usually just right!
-
Seal the Edges: Make sure to pinch the edges of the crescent dough together firmly. This helps keep the delicious filling inside where it belongs!
-
Cool the Filling: Allow the chicken mixture to cool slightly before adding it to the dough. This helps maintain the integrity of the crescent dough during baking.
-
Watch the Browning: Keep an eye on your roll ups while they bake, as oven temperatures can vary. You're aiming for a beautiful golden-brown hue.
-
Broil with Care: If you choose to broil for extra crispiness, monitor closely—the broiler can quickly transform your roll ups from golden to burnt!
These expert tips will ensure your Crescent Chicken Roll Ups come out perfect every time!
Crescent Chicken Roll Ups Variations
Feel free to add your own twist to these delicious roll ups and make them truly special!
-
Vegetarian Option: Substitute chicken with cooked vegetables like spinach, mushrooms, or zucchini for a flavorful vegetarian filling. Think about the medley of flavors you can create—each bite a taste of comfort without the meat!
-
Cheese Swap: Use feta cheese or pepper jack for a different flavor profile. These cheeses not only change the taste but also introduce new textures to the creamy filling.
-
Heat It Up: Add a dash of hot sauce or cayenne pepper to the filling for a spicy kick. The heat from the spices can elevate the entire dish, making every bite a delightful surprise!
-
Herb Infusion: Mix in fresh herbs like basil or cilantro instead of dried herbs for a burst of freshness. The vibrant colors and aromatic scents will make your roll ups even more inviting.
-
Mediterranean Twist: Incorporate olives and sun-dried tomatoes into your filling for a Mediterranean flair. The salty olives paired with the sweetness of tomatoes create a unique flavor harmony.
-
Swapping Dough: If you want a gluten-free option, try using gluten-free crescent rolls or puff pastry. It can be just as flaky and delicious, so no one will miss the traditional dough!
-
BBQ Flavor: Mix shredded chicken with barbecue sauce for a smoky and tangy twist. This flavorful variation evokes a summer BBQ and adds a delightful twist to your roll ups.
-
Nutty Crunch: Add chopped nuts like pecans or walnuts to your filling for an extra crunch and nutty flavor. The surprise of texture can really enhance the overall experience of these roll ups!
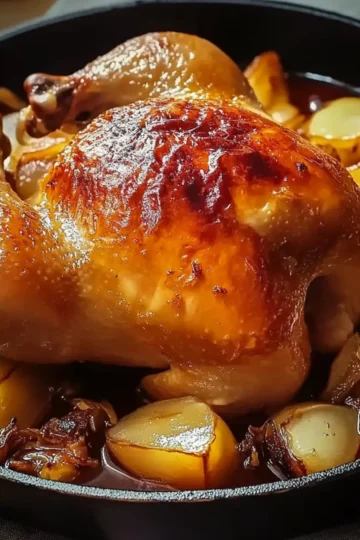
Explore these variations and make the recipe your own, and who knows—you might just find your next favorite version! For more inspiration, don't forget to check out our delightful Baked Chicken Roll Ups or explore refreshing sides like a crisp salad to accompany your meal!
What to Serve with Baked Chicken Roll Ups
These delightful crescent chicken roll ups create the perfect canvas for balancing flavors and textures.
- Fresh Garden Salad: A crisp salad with mixed greens and vinaigrette brings a refreshing contrast to the warm, cheesy roll ups.
- Creamy Ranch Dip: Serve with a side of ranch dressing for a cool, tangy dip that complements the savory flavors beautifully.
- Roasted Vegetables: Seasoned roasted carrots and zucchini add a wholesome touch and vibrant colors to your meal.
- Garlic Bread: Crunchy, buttery garlic bread offers an inviting crunch, perfect for soaking up any leftover dips or sauces.
- Coleslaw: A tangy coleslaw provides a crunchy, refreshing contrast, balancing the richness of the chicken roll ups.
- Classic Tomato Soup: A warm bowl of tomato soup is an excellent dip for the roll ups, creating a cozy, comforting combination.
- Sparkling Lemonade: Enhance your meal with a zesty glass of sparkling lemonade that adds a bright and refreshing finish.
- Chocolate Chip Cookies: For a sweet ending, these soft cookies are a nostalgic favorite that everyone will love after a savory feast.
- Chilled White Wine: A crisp Sauvignon Blanc pairs wonderfully, enhancing the flavors of the chicken and offering a refreshing sip.
- Fruit Salad: A light, juicy fruit salad with seasonal fruits adds a sweet touch, cleansing the palate after each bite.
Crescent Chicken Roll Ups Recipe FAQs
What type of chicken should I use for the roll ups?
For the best flavor and texture, use cooked chicken that is shredded or diced. You can utilize rotisserie chicken for convenience or opt for baked chicken that you’ve prepared in advance. If you're looking for a vegetarian option, feel free to substitute with cooked vegetables like spinach, bell peppers, or even a mixture of beans!
How should I store leftover Crescent Chicken Roll Ups?
Store any leftovers in an airtight container in the refrigerator for up to 3 days. To ensure they maintain their flaky texture, it's best to reheat them in an oven preheated to 350°F (175°C) for about 10-15 minutes until they're warm and crispy again.
Can I freeze Crescent Chicken Roll Ups?
Absolutely! To freeze them, wrap each unbaked roll up tightly in plastic wrap and then place them in a freezer-safe bag. They can be stored in the freezer for up to 2 months. When you're ready to bake, there’s no need to thaw; just place them directly into a preheated oven and add a few extra minutes to the baking time.
What should I do if my dough tears while rolling?
If your crescent dough tears, don't fret! Simply use a small piece of leftover dough to patch the tear. Gently flatten the patch over the tear and seal the edges well. This will help keep the filling inside during baking and ensure you end up with delicious roll ups.
Can I make these roll ups ahead of time?
Yes! You can assemble the roll ups ahead of time, just place them in the refrigerator before baking. Ideally, they should be baked within 24 hours for optimal freshness. This is a perfect time-saver for busy weeknights or when hosting guests!
Are there any dietary considerations I need to keep in mind?
Yes, if you have dietary restrictions, remember that the ingredients can be easily substituted. For example, use low-fat cream cheese if you're watching calories, and modify the cheese type to accommodate lactose intolerance. Always check labels to avoid allergens, such as gluten in the crescent dough or dairy in the cream cheese if allergies apply.

Easy Crescent Chicken Roll Ups that Everyone Will Love
Ingredients
Equipment
Method
- Preheat your oven to 375°F (190°C). Prepare your baking sheet with parchment paper.
- In a large mixing bowl, combine chicken, cream cheese, cheddar cheese, garlic powder, onion powder, and herbs. Season with salt and pepper.
- Unroll the crescent dough and separate it into triangles carefully.
- At the wide end of each triangle, place a spoonful of the filling and roll tightly.
- Place the roll ups seam-side down on the baking sheet with space between each.
- Bake for about 15 minutes until golden brown.
- Broil for 1 to 2 minutes for extra crispiness, watching closely.
- Cool on the baking sheet for about 5 minutes before serving. Garnish with parsley.

Leave a Reply