
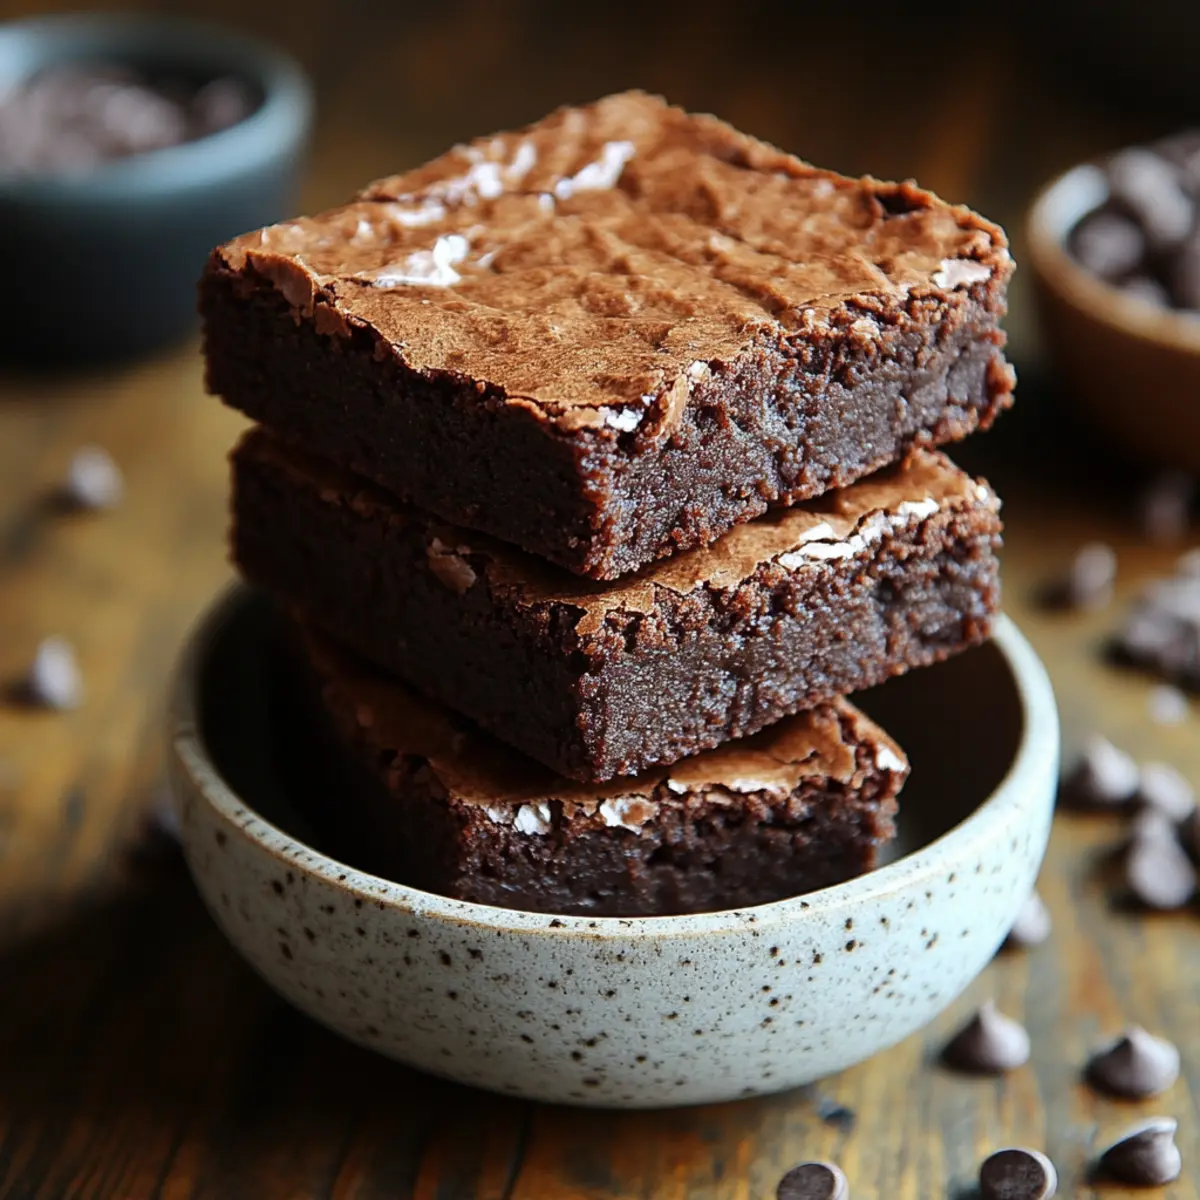
As I sift through the rich cocoa powder, the bittersweet aroma swirls around me like a warm hug on a chilly day. Embracing the world of gluten-free baking has been a delightful surprise, and these Gluten-Free Brownies are my shining star. Not only do they provide a guilt-free indulgence, but they also come together in just 30 minutes—perfect for those evenings when you need a sweet pick-me-up without the fuss. You won't miss the gluten one bit; each bite transforms into a chewy, fudgy delight that will impress everyone, even the most ardent brownie connoisseur. Who knew a pantry staple could become a crowd-pleaser? Are you ready to dive into this easy yet utterly satisfying recipe?
Why are these gluten-free brownies a must-try?
Decadent flavor: Rich chocolate and buttery undertones make each bite an explosion of taste that will satisfy any chocolate lover's cravings.
Quick preparation: In just 30 minutes, you can enjoy warm, gooey brownies without long hours in the kitchen. Perfect for last-minute gatherings!
Crowd-pleasing delight: From gluten-free newbies to seasoned bakers, these brownies charm everyone, making them ideal for gatherings or cozy nights at home.
Versatile recipe: Feel free to experiment with mix-ins like nuts or chocolate chips for added texture and flavor.
Guilt-free indulgence: With simple, wholesome ingredients, you can treat yourself without the worry of gluten. Check out our vegan brownie alternatives for more delicious options!
Gluten-Free Brownies Ingredients
For the Batter
• Gluten-free flour – Provides the perfect base without any gluten, allowing for a rich and chewy texture.
• Cocoa powder – This adds that deep chocolate flavor that makes brownies irresistible.
• Granulated sugar – Sweetens the batter perfectly, balancing the cocoa's bitterness.
• Brown sugar – Adds moisture and a hint of caramel flavor to your brownies.
• Eggs – Bind the ingredients together and provide a fudgy consistency.
• Butter – Enhances the richness and helps create that gooey center, but feel free to use a dairy-free alternative if desired.
• Vanilla extract – A dash of this fragrant extract elevates the overall flavor of the brownies.
• Salt – Just a pinch to enhance all the flavors—don't skip this key ingredient!
Optional Mix-ins
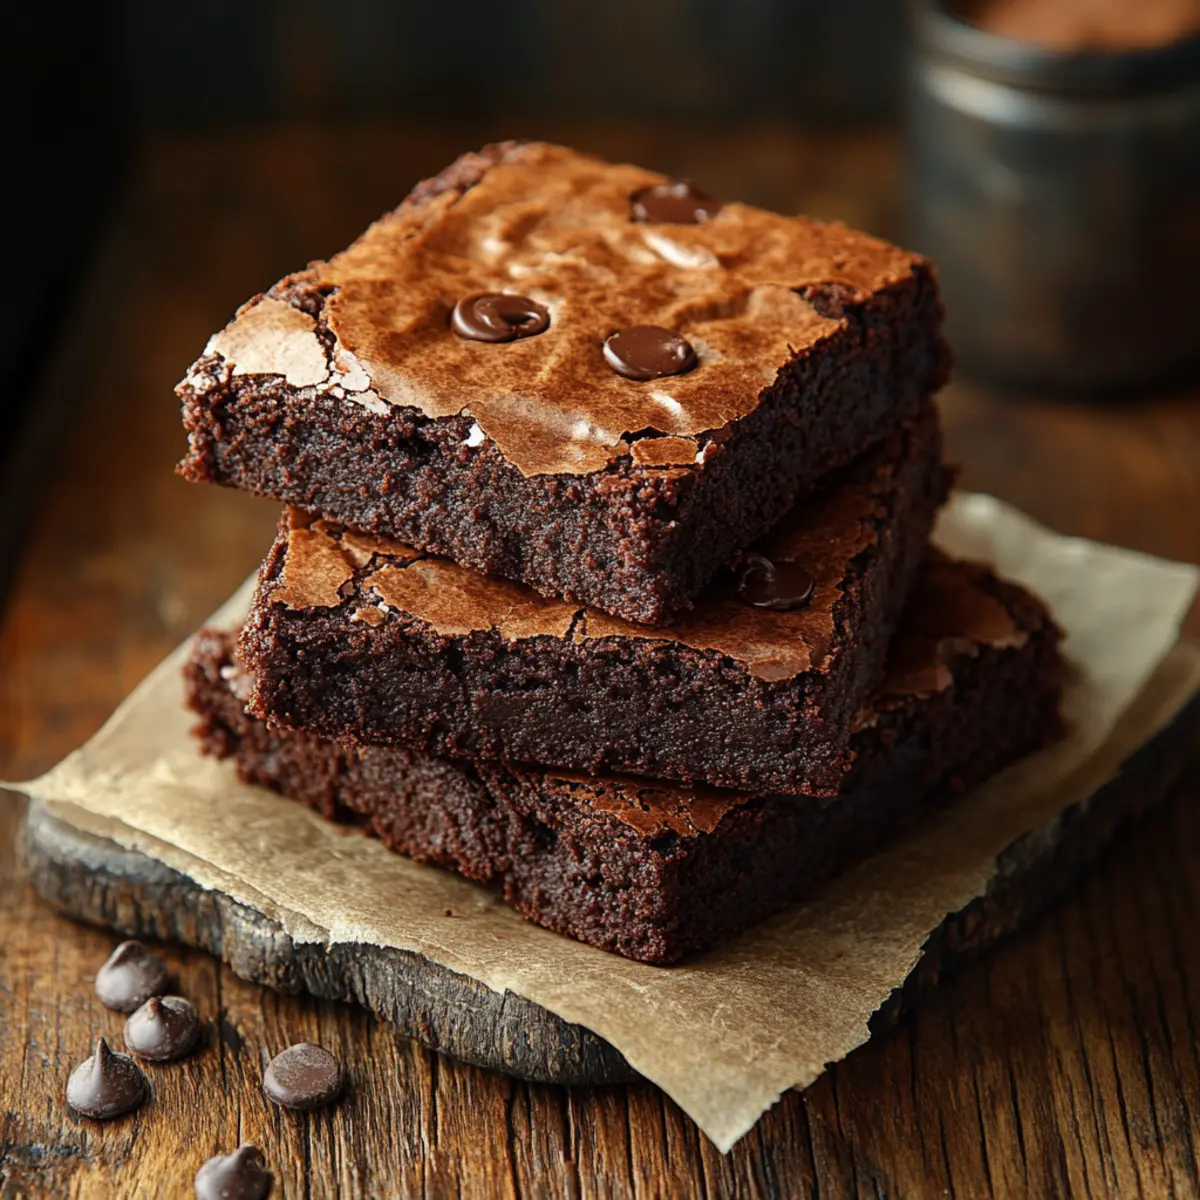
• Chocolate chips – For an extra chocolatey kick, fold in your favorite semi-sweet or dark chocolate chips.
• Nuts – Chopped walnuts or pecans can add crunch and depth to your fudgy brownies.
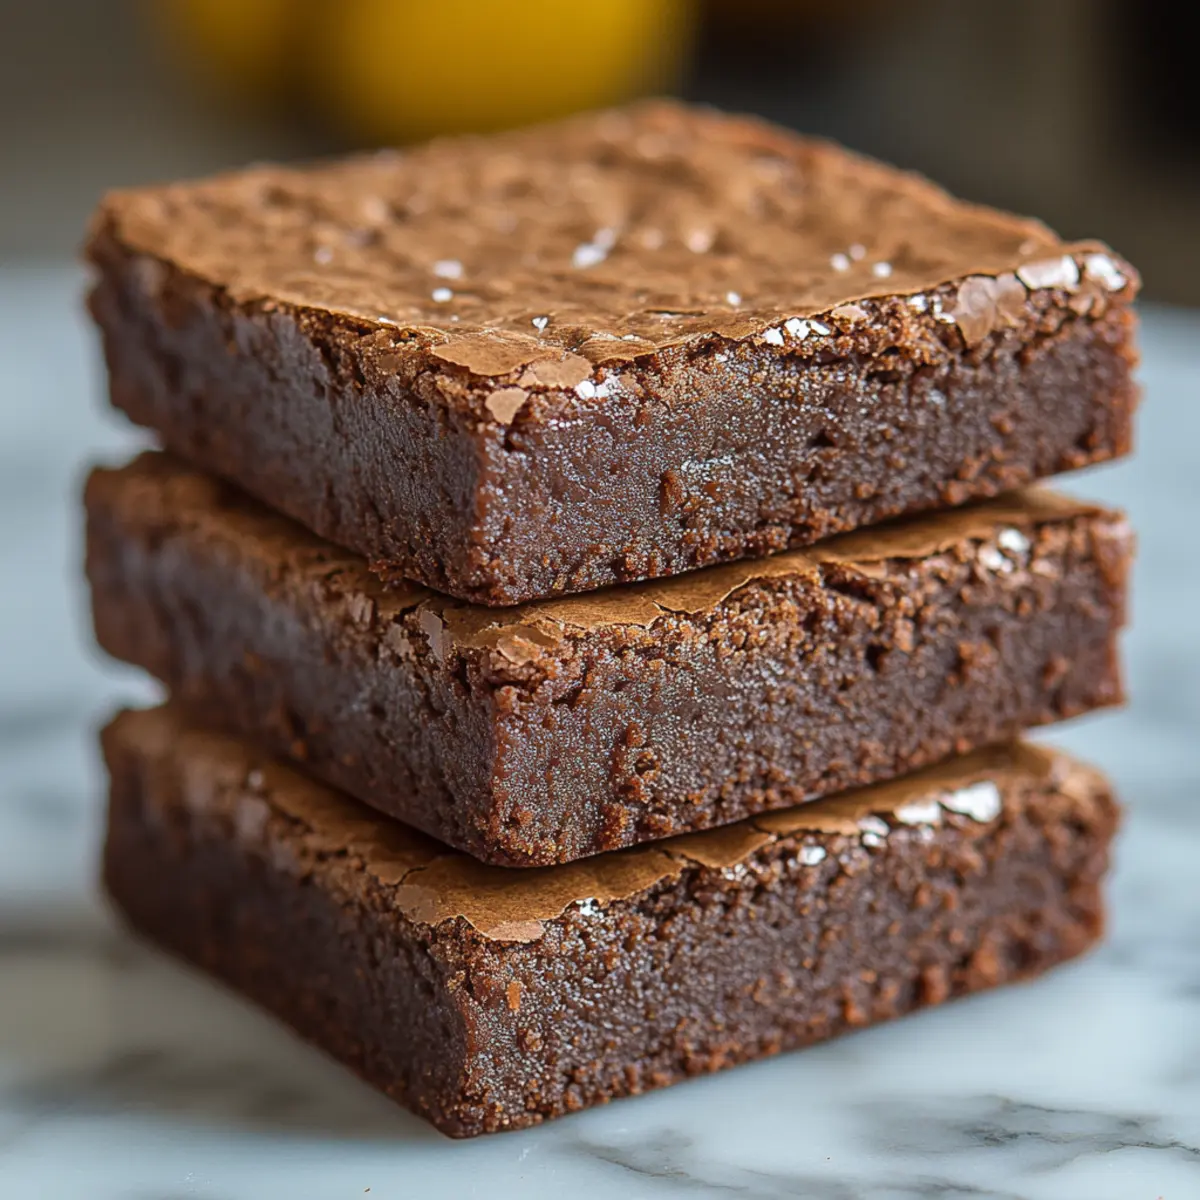
• Sea salt flakes – A sprinkle on top before baking offers a delightful contrast to the sweetness.
These rich gluten-free brownies are sure to become a staple in your home!
Step‑by‑Step Instructions for Irresistibly Rich Gluten-Free Brownies
Step 1: Preheat and Prepare
Begin by preheating your oven to 350°F (175°C). Grease a 9x9-inch baking pan or line it with parchment paper for easy removal later. This step ensures your gluten-free brownies bake evenly, yielding that soft, chewy texture we all crave.
Step 2: Mix the Dry Ingredients
In a large mixing bowl, whisk together the gluten-free flour, cocoa powder, granulated sugar, brown sugar, and salt. Make sure there are no lumps in the dry ingredients, as they contribute to the brownies’ rich flavor. This mix should smell wonderfully chocolatey and inviting!
Step 3: Combine the Wet Ingredients
In another bowl, beat the eggs before mixing in the melted butter and vanilla extract until well combined. The mixture should look glossy and smooth. This harmonious blend of wet ingredients will give your gluten-free brownies that moist, fudgy center we all love.
Step 4: Bring It All Together
Pour the wet mixture into the bowl containing the dry ingredients. Stir gently until just combined, being careful not to overmix. If desired, fold in chocolate chips or nuts at this stage for an extra treat. You’ll know it’s ready when the batter feels thick and slightly sticky.
Step 5: Bake the Brownies
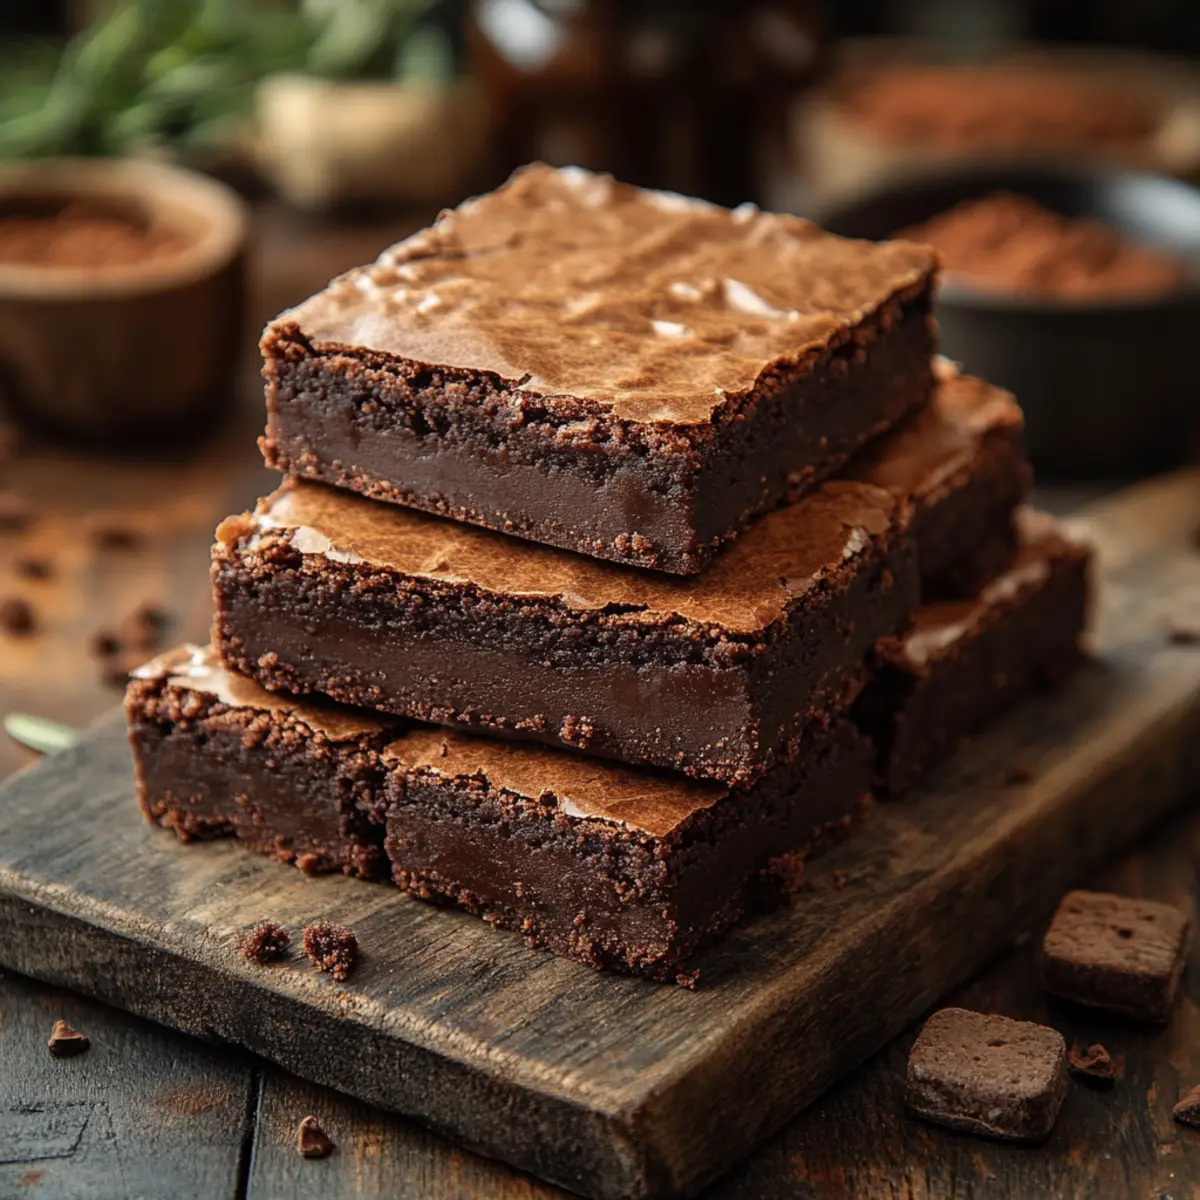
Transfer the brownie batter to your prepared pan, spreading it evenly with a spatula. Bake in your preheated oven for 25 to 30 minutes. Keep an eye on them—they should appear set with a slight sheen on top. A toothpick inserted should come out with a few moist crumbs, signaling the perfect fudgy texture.
Step 6: Cool and Serve
Once baked, remove the brownies from the oven and let them cool in the pan for about 10 minutes. After cooling, lift them out using the parchment paper, and allow them to cool completely on a wire rack. Once set, slice them into squares and enjoy your indulgent gluten-free brownies!
What to Serve with Irresistibly Rich Gluten-Free Brownies
Creating the perfect dessert experience doesn’t stop at the brownies—let’s elevate your indulgence with these delightful pairings.
-
Vanilla Ice Cream: The creamy contrast of smooth vanilla ice cream balances the rich chocolate, making every bite a harmonious delight. Serve a scoop on top for an irresistible melty combination.
-
Fresh Berries: Bright, tart berries like raspberries or strawberries add a refreshing burst of flavor that cuts through the sweetness of the brownies. Their vibrant color also creates a stunning plate.
-
Whipped Cream: Light and airy whipped cream offers a luscious texture that complements the fudgy brownies. A dollop adds elegance and a touch of indulgence to your dessert.
-
Mint Tea: The soothing, herbal notes of mint tea can refresh your palate after the deep chocolate flavor of the brownies. This drink pairs beautifully with sweets, creating a cozy, comforting experience.
-
Espresso: A shot of strong espresso brings out the chocolate richness in your brownies. The bitter notes contrast with the sweetness, enhancing the overall flavor profile with each bite.
-
Sea Salt Caramel Sauce: Drizzling warm sea salt caramel over your brownies adds a decadent layer of flavor. The sweetness and slight salty kick will make your taste buds tingle with joy.
-
Chocolate Sauce: For true chocolate lovers, a rich chocolate sauce adds an extra layer of indulgence. Warm it up and drizzle generously over your brownies for double the chocolate pleasure.
-
Coconut Milk Whipped Cream: For a dairy-free alternative, whip up coconut milk for a tropical twist. This light yet creamy topping offers a unique flavor that complements the chocolate beautifully.
Make Ahead Options
These Gluten-Free Brownies are perfect for meal prep enthusiasts! You can prepare the brownie batter up to 24 hours in advance, storing it in an airtight container in the refrigerator. This way, you can mix the dry and wet ingredients, and just fold them together when you're ready to bake, ensuring freshness and flavor. For an even quicker option, bake the brownies and allow them to cool completely; then, wrap them well and refrigerate for up to 3 days. To revive that fudgy texture, simply warm them in the microwave before serving. This time-saving approach ensures that your special treat is just as delicious whenever you decide to enjoy them!
Gluten-Free Brownies Variations & Substitutions
Feel free to let your imagination run wild; these brownies are a perfect canvas for your creative flair!
-
Nut-Free: Substitute almond flour with an equal amount of oat flour for a nut-free option that still maintains a great texture.
-
Dairy-Free: Use coconut oil in place of butter to keep the richness while ensuring the brownies are dairy-free. They'll stay beautifully moist and delicious!
-
Sugar-Free: Replace granulated and brown sugar with your favorite granulated sweetener like erythritol or monk fruit for a guilt-free treat that doesn't sacrifice flavor.
-
Spicy Kick: Stir in a teaspoon of cayenne pepper or chili powder for an unexpected, delightful heat that pairs wonderfully with chocolate.
-
Fruit-Infused: Add pureed banana or applesauce for a unique twist that enhances moisture and sweetness. This option also adds a lovely fruit flavor!
-
Minty Fresh: Incorporate a few drops of peppermint extract for a refreshing mint flavor that transforms your brownies into a festive treat. Perfect for holiday gatherings!
-
Chunky Style: Use whole chocolate chunks instead of chips to create gooey pockets of gooeyness throughout your brownies. The texture will be even more divine!
-
Mix It Up: Don’t be afraid to customize with spices; a touch of espresso powder brings out the chocolate flavor beautifully. It's magic in every bite!
How to Store and Freeze Gluten-Free Brownies
Room Temperature: Keep your gluten-free brownies in an airtight container at room temperature for up to 3 days to retain their gooey texture and rich flavor.
Fridge: If you prefer to enjoy them chilled, store brownies in the fridge for up to a week. Make sure they are well-wrapped to prevent them from drying out.
Freezer: For longer storage, freeze brownies by individually wrapping them in plastic wrap and placing them in a freezer-safe bag. They can last up to 3 months in the freezer.
Reheating: To enjoy frozen brownies, simply thaw them in the fridge overnight, or microwave them on low power for a few seconds until warmed through.
Expert Tips for Gluten-Free Brownies
• Ingredient Quality: Use high-quality gluten-free flour for a better texture. Cheaper alternatives may lead to dry or crumbly brownies.
• Avoid Overmixing: Gently stir until just combined to keep your brownies fudgy. Overmixing can introduce air, making them cakey instead.
• Check for Doneness: Use a toothpick to test; it should come out with a few moist crumbs for that perfect fudgy bite in your gluten-free brownies.
• Cooling Time: Let brownies cool completely before slicing. This helps them set properly and prevents them from falling apart.
• Storage Tips: Store leftover brownies in an airtight container at room temperature for up to three days to maintain their deliciousness.
Gluten-Free Brownies Recipe FAQs
What type of gluten-free flour should I use?
Absolutely! I recommend using a high-quality gluten-free all-purpose flour blend that contains xanthan gum for the best results. Brands like Bob's Red Mill or King Arthur Flour work wonders. This will give your brownies a great texture without compromising on taste.
How should I store my gluten-free brownies?
For optimal freshness, keep your gluten-free brownies in an airtight container at room temperature for up to 3 days. If you prefer a chilled treat, the fridge is fine too, but ensure they are well-wrapped to avoid drying out.
Can I freeze gluten-free brownies? How?
Certainly! To freeze gluten-free brownies, first cool them completely after baking. Then, slice them into squares and individually wrap each piece in plastic wrap. Place the wrapped brownies in a freezer-safe bag or container, and they’ll last up to 3 months. When you're ready to enjoy them, just thaw in the fridge overnight or microwave on low for a few seconds!
Why did my brownies turn out cakey instead of fudgy?
Very often, overmixing the batter can introduce too much air, which can make your brownies cakey. Another possibility is that they were baked too long. To achieve that delightful fudgy texture, mix your ingredients just until combined, and keep an eye on the baking time. A toothpick should come out with a few moist crumbs, indicating they are ready!
Are these brownies safe for individuals with nut allergies?
While this gluten-free brownie recipe is nut-free to start, if you wish to add nuts for texture, feel free to skip that step to keep it safe for those with nut allergies. Always double-check your ingredient labels, especially for cross-contamination, to ensure they are allergy-friendly.
Irresistibly Rich Gluten-Free Brownies That Delight
Ingredients
Equipment
Method
- Preheat your oven to 350°F (175°C). Grease a 9x9-inch baking pan or line it with parchment paper.
- In a large mixing bowl, whisk together gluten-free flour, cocoa powder, granulated sugar, brown sugar, and salt.
- In another bowl, beat the eggs, then mix in melted butter and vanilla extract until smooth.
- Pour the wet mixture into the dry ingredients, stir gently until combined, and fold in any mix-ins.
- Transfer the batter to the prepared pan and bake for 25 to 30 minutes.
- Let cool for about 10 minutes, then lift out using parchment paper and cool completely before slicing.


Leave a Reply