
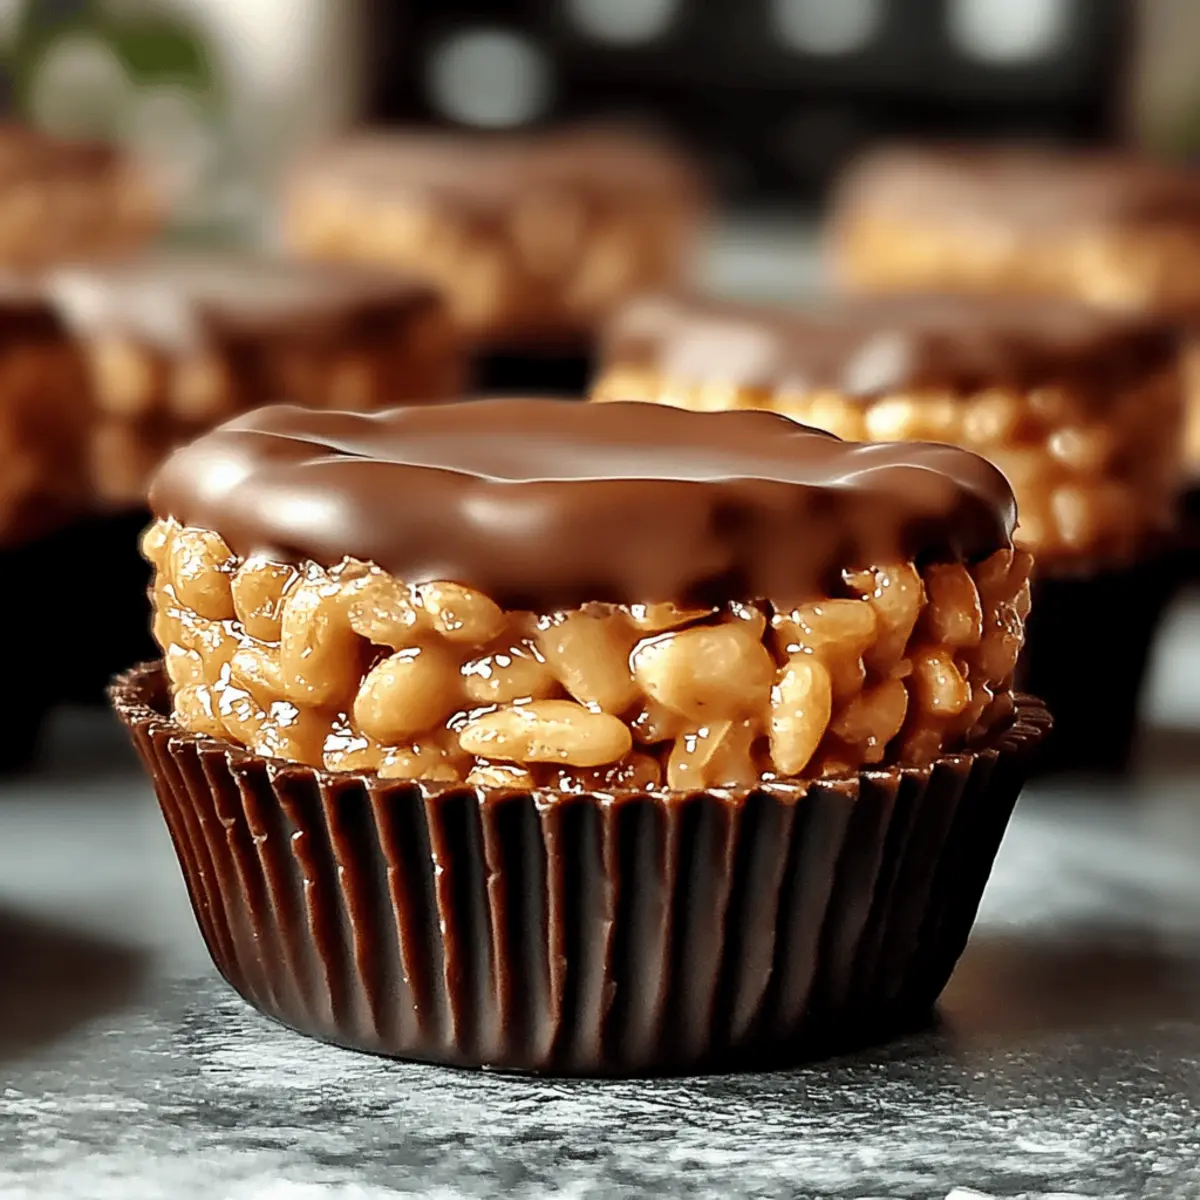
Have you ever stumbled upon a treat so satisfying that you can't help but grab another? That's exactly how I felt the first time I bit into these No-Bake Chocolate Peanut Butter Rice Krispie Cups. With a delightful blend of creamy peanut butter and rich chocolate, this recipe isn't just quick to prep—it's also a crowd-pleaser perfect for both adults and kids. These cups are endlessly customizable, making it easy to cater to various taste buds or dietary needs, whether you want to go vegan or simply switch up textures with crunchy peanut butter. When you're yearning for something sweet yet simple, this no-bake treat is your answer. What's your favorite twist you’d love to try?
Why Are These Cups So Irresistible?
Ultimate Customization: With options like crunchy peanut butter or even vegan alternatives, you can tailor these cups to your taste.
Quick Prep Time: In under 30 minutes, you'll have a delicious dessert ready, making it perfect for last-minute cravings or unexpected guests.
Family-Friendly Fun: Kids love getting involved, making these No-Bake Chocolate Peanut Butter Rice Krispie Cups a delightful kitchen activity for all ages.
Satisfying Indulgence: These treats combine a crunchy texture with creamy, rich layers, mimicking a dessert shop experience right at home.
Perfect for Sharing: Whether at a party or a family gathering, these cups are sure to impress and disappear fast! Plus, check out our ideas for fun variations to keep it exciting!
Chocolate Peanut Butter Rice Krispie Cups Ingredients
For the Cups
• Unsalted Butter – Binds the mixture while adding moisture; substitute with margarine or coconut oil for a different flavor.
• Mini Marshmallows – Creates a sweet, chewy base; use vegan marshmallows for a plant-based option.
• Creamy Peanut Butter – Provides richness; swap for crunchy peanut butter for extra texture.
• Rice Krispies Cereal – Adds crunch and structure; can be substituted with any crispy cereal for variation.
For the Chocolate Topping
• Chocolate Chips – Adds sweetness; consider dark chocolate for a less sweet flavor or vegan chocolate for dietary needs.
• Vanilla Extract (optional) – Enhances flavor; can be omitted if you prefer a simpler recipe.
• Sea Salt (optional) – Balances sweetness and enhances flavor; just a pinch can elevate the overall taste.
Step‑by‑Step Instructions for Irresistible No-Bake Chocolate Peanut Butter Rice Krispie Cups
Step 1: Melt Base
In a saucepan over low heat, combine unsalted butter and mini marshmallows. Stir continuously for about 5 minutes until the mixture becomes smooth and fully melted, resembling a thick syrup. Make sure to keep the heat low to prevent scorching. Once melted, remove from heat to avoid further cooking.
Step 2: Incorporate Peanut Butter
Add the creamy peanut butter and optional vanilla extract to the melted mixture, stirring until completely combined and creamy. This step is crucial for achieving that rich, delicious flavor in your Chocolate Peanut Butter Rice Krispie Cups. Ensure there are no lumps, making the mixture silky and well-blended.
Step 3: Combine with Cereal
In a large mixing bowl, pour in the crispy Rice Krispies cereal. Gently fold the cereal into the peanut butter and marshmallow mixture using a rubber spatula. Aim for an even coating, which typically takes about 1-2 minutes. Be cautious not to over-mix, as you want to maintain the cereal's delightful crunch.
Step 4: Shape Cups
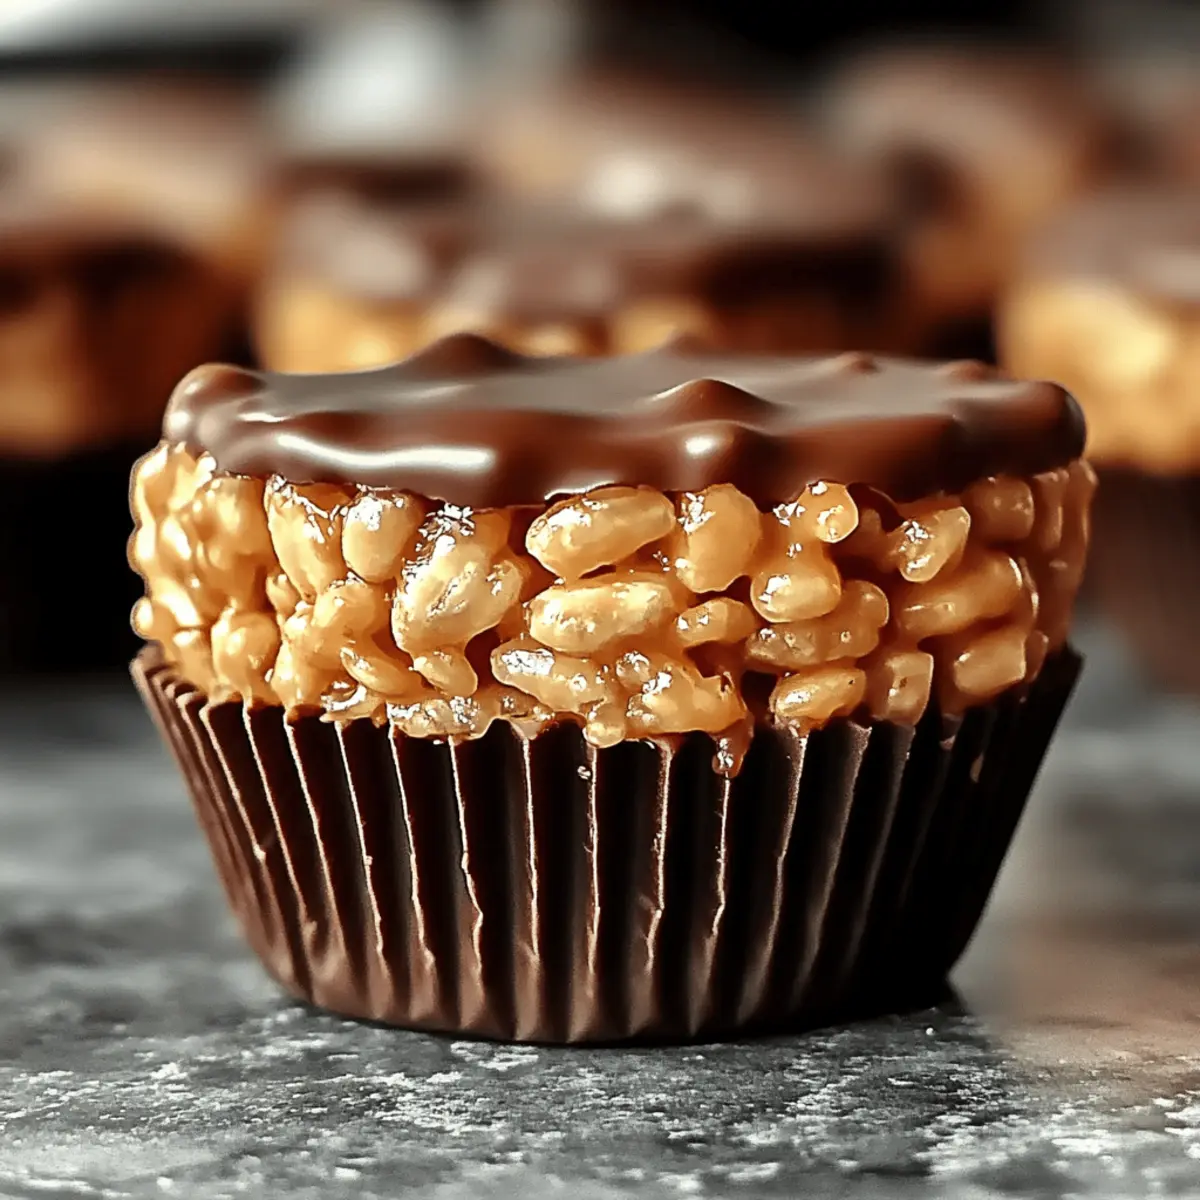
Prepare a muffin tin with paper liners for easy removal. Using your hands, scoop the Rice Krispie mixture and press it into the liners, creating compact cups. Ensure each cup is well-formed, as this will help them hold their shape once set. The mixture should fill each liner generously, providing a hearty base.
Step 5: Add Chocolate Layer
In a microwave-safe bowl, melt the chocolate chips in 30-second intervals. Stir after each interval until the chocolate is completely melted and smooth, which usually takes about 1-2 minutes total. Carefully spoon the melted chocolate over each cup, ensuring an even layer covers the top, infusing each bite with rich chocolate.
Step 6: Set & Serve
Place the muffin tin in the refrigerator for about 20 minutes, allowing the cups to set properly. You'll know they are ready when the chocolate layer becomes firm and the cups hold their shape. Once set, remove the cups from the liners and serve your delightful No-Bake Chocolate Peanut Butter Rice Krispie Cups to share or enjoy on your own!
Expert Tips for No-Bake Chocolate Peanut Butter Rice Krispie Cups
-
Low Heat is Key: Melt your butter and marshmallows over low heat to prevent burning the mixture, ensuring a smooth base for your Chocolate Peanut Butter Rice Krispie Cups.
-
Firm Press: When shaping the cups, make sure to press the mixture firmly into the muffin liners. This helps them maintain their shape and won't crumble upon serving.
-
Quick Set Hack: For faster setting, place the muffin tin in the freezer for about 10 minutes instead of the refrigerator—perfect for a sudden chocolate craving!
-
Gentle Folding: When combining the Rice Krispies, fold gently to retain their crunchiness. Avoid over-mixing, as this can lead to a soggy texture in your cups.
-
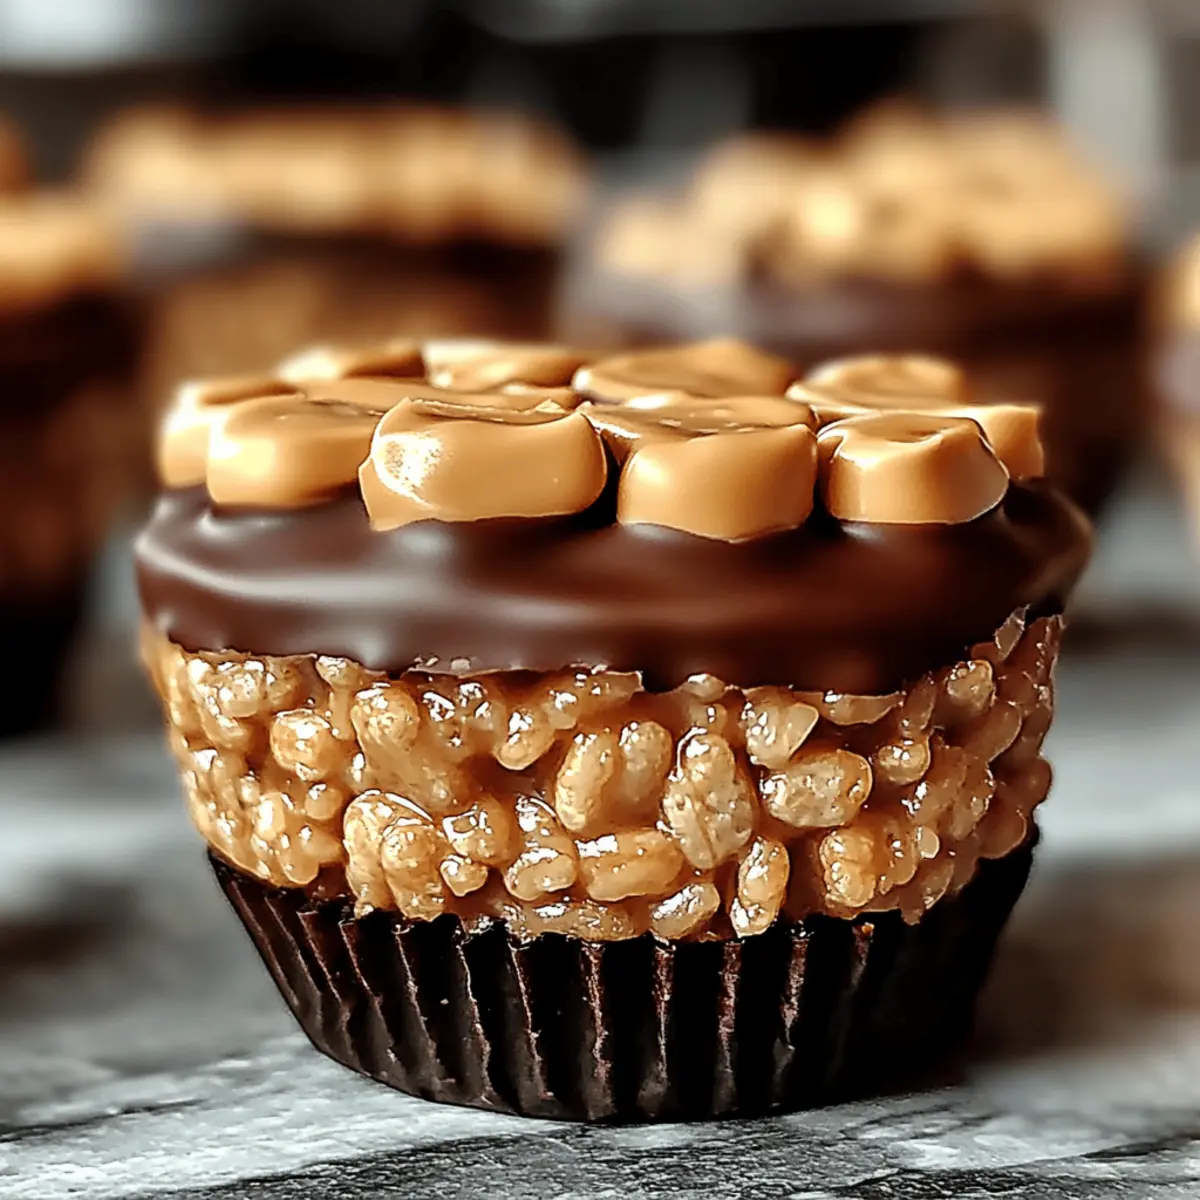
Experiment with Add-ins: Feel free to add in chopped nuts or a drizzle of caramel on top to personalize your Chocolate Peanut Butter Rice Krispie Cups even further.
How to Store and Freeze Chocolate Peanut Butter Rice Krispie Cups
Fridge: Store the cups in an airtight container for up to 5 days. This keeps them fresh and prevents them from drying out.
Freezer: For long-term storage, freeze the cups in an airtight container separated by parchment paper for up to 3 months. Thaw in the fridge overnight before serving.
Make Ahead: Prepare the Rice Krispie mixture up to 24 hours in advance and keep it covered in the refrigerator. Just scoop and shape before serving!
Reheating: There's no need to reheat these no-bake treats. Enjoy them chilled straight from the fridge or at room temperature for that perfect texture.
Make Ahead Options
These No-Bake Chocolate Peanut Butter Rice Krispie Cups are a fantastic choice for busy home cooks looking to save time! You can prepare the base mixture up to 24 hours in advance; simply store it in an airtight container in the refrigerator to keep it fresh. Additionally, you can shape the cups and pop them in the fridge, covering them with plastic wrap to maintain their texture. Then, when you’re ready to serve, melt the chocolate topping and coat the cups. This way, you'll have a delightful treat that’s just as delicious, allowing you to enjoy homemade goodness without the last-minute rush!
Chocolate Peanut Butter Rice Krispie Cups Variations
Feel free to let your creativity shine as you explore delicious twists on these classic treats!
-
Crunchy Alternative: Swap creamy peanut butter for crunchy for a delightful texture upgrade.
-
Nuts Galore: Stir in a mix of chopped almonds or walnuts for added nutrition and flavor. They provide a lovely crunch that perfectly complements the soft sweetness of the cups.
-
Topping Twist: Drizzle melted caramel over the chocolate topping for a sweet touch that’ll have everyone swooning! This extra layer adds richness and a touch of decadence.
-
Fruit Infusion: Add fresh fruit, such as diced strawberries or banana slices, for a refreshing contrast. The fruit will introduce a burst of juiciness as you bite into the creamy goodness.
-
Vegan Delight: Use coconut oil and vegan chocolate/marshmallows to make these treats completely plant-based. They won't lose any flavor while catering to vegan diets.
-
Spice it Up: Incorporate a pinch of cayenne or cinnamon for a warm, unexpected kick. This will tantalize your taste buds while adding a unique twist to your dessert.
-
Flavored Chocolate: Experiment with flavored chocolate chips, such as mint or dark chocolate, to match with seasonal ingredients and tantalize your senses.
-
Cereal Swap: Try substituting Rice Krispies with another crispy cereal, such as Cocoa Krispies or Honey Bunches of Oats, for a fun flavor combination that your family will love!
What to Serve with No-Bake Chocolate Peanut Butter Rice Krispie Cups
Imagine a delightful gathering filled with laughter, where the sweet aroma of chocolate and peanut butter fills the air!
- Fresh Fruit Salad: A mix of seasonal fruits brings a refreshing contrast, balancing the rich sweetness of the cups beautifully.
- Creamy Vanilla Ice Cream: The indulgent creaminess pairs perfectly with your Chocolate Peanut Butter Rice Krispie Cups, creating a decadent dessert experience.
- Hot Chocolate: For a cozy touch, serving these cups with a warm mug of hot chocolate enhances the chocolatey flavor even more.
- Coffee: A rich cup of coffee provides a comforting kick, perfectly complementing the sweetness and depth of the chocolate and peanut butter.
- Chocolate Dipped Strawberries: These elegant bites add a fruity element alongside the cups, keeping the chocolate theme and enhancing the taste experience.
- Nutty Granola Bars: For a crunchy contrast, nutty granola bars can serve as a delightful snack pairing, creating layers of texture and flavor.
- Homemade Whipped Cream: A dollop of fresh whipped cream tops off these cups beautifully, adding a lovely lightness to each bite.
- Milkshakes: A creamy milkshake, whether chocolate or vanilla, adds a fun twist that children will adore alongside this delightful treat.
- Rice Crispy Treats: Keeping the theme consistent, serve classic Rice Krispie treats, providing an additional nostalgic crunch alongside the cups.
Chocolate Peanut Butter Rice Krispie Cups Recipe FAQs
What type of peanut butter is best for this recipe?
Absolutely! I recommend using creamy peanut butter for a silky texture, but if you like a little crunch, swapping in crunchy peanut butter can add a fun twist to your Chocolate Peanut Butter Rice Krispie Cups!
How long can I store these cups?
You can keep your No-Bake Chocolate Peanut Butter Rice Krispie Cups in an airtight container in the refrigerator for up to 5 days. Make sure they are covered well to avoid drying out, so they stay just as delicious!
Can I freeze the Chocolate Peanut Butter Rice Krispie Cups?
Yes, you can! To freeze, simply place your cups in an airtight container separated by parchment paper. This prevents them from sticking together. They can be frozen for up to 3 months. When you’re ready to enjoy them again, thaw them in the fridge overnight for the best texture.
What should I do if the mixture is too sticky?
If your mixture turns out too sticky, it might be due to not enough Rice Krispies or the marshmallows being too gooey. To troubleshoot, try gradually folding in more Rice Krispies until the mixture holds together without overly sticking. Also, ensure you’re using low heat while melting the marshmallows and butter to get that perfect consistency.
Are these cups suitable for kids with nut allergies?
Very! You can easily make these Chocolate Peanut Butter Rice Krispie Cups nut-free by substituting the peanut butter with sun butter or soy nut butter, which provide a similar creamy texture and flavor without the nuts. Always double-check labels to ensure there are no hidden allergens!
Can I make this recipe vegan?
Absolutely! To make these cups vegan-friendly, simply use vegan marshmallows and substitute the unsalted butter with coconut oil. You can also choose vegan chocolate chips for the topping. This way, everyone can enjoy this delicious treat!
Indulgent Chocolate Peanut Butter Rice Krispie Cups Made Easy
Ingredients
Equipment
Method
- In a saucepan over low heat, combine unsalted butter and mini marshmallows. Stir continuously for about 5 minutes until smooth and fully melted.
- Add the creamy peanut butter and optional vanilla extract, stirring until completely combined and creamy.
- In a large bowl, pour in the crispy Rice Krispies cereal. Gently fold the cereal into the mixture using a rubber spatula for an even coating.
- Prepare a muffin tin with paper liners. Scoop the Rice Krispie mixture and press it into the liners, creating compact cups.
- In a microwave-safe bowl, melt the chocolate chips in 30-second intervals until completely melted and smooth.
- Spoon the melted chocolate over each cup, ensuring an even layer covers the top.
- Place the muffin tin in the refrigerator for about 20 minutes to allow the cups to set properly.


Leave a Reply