
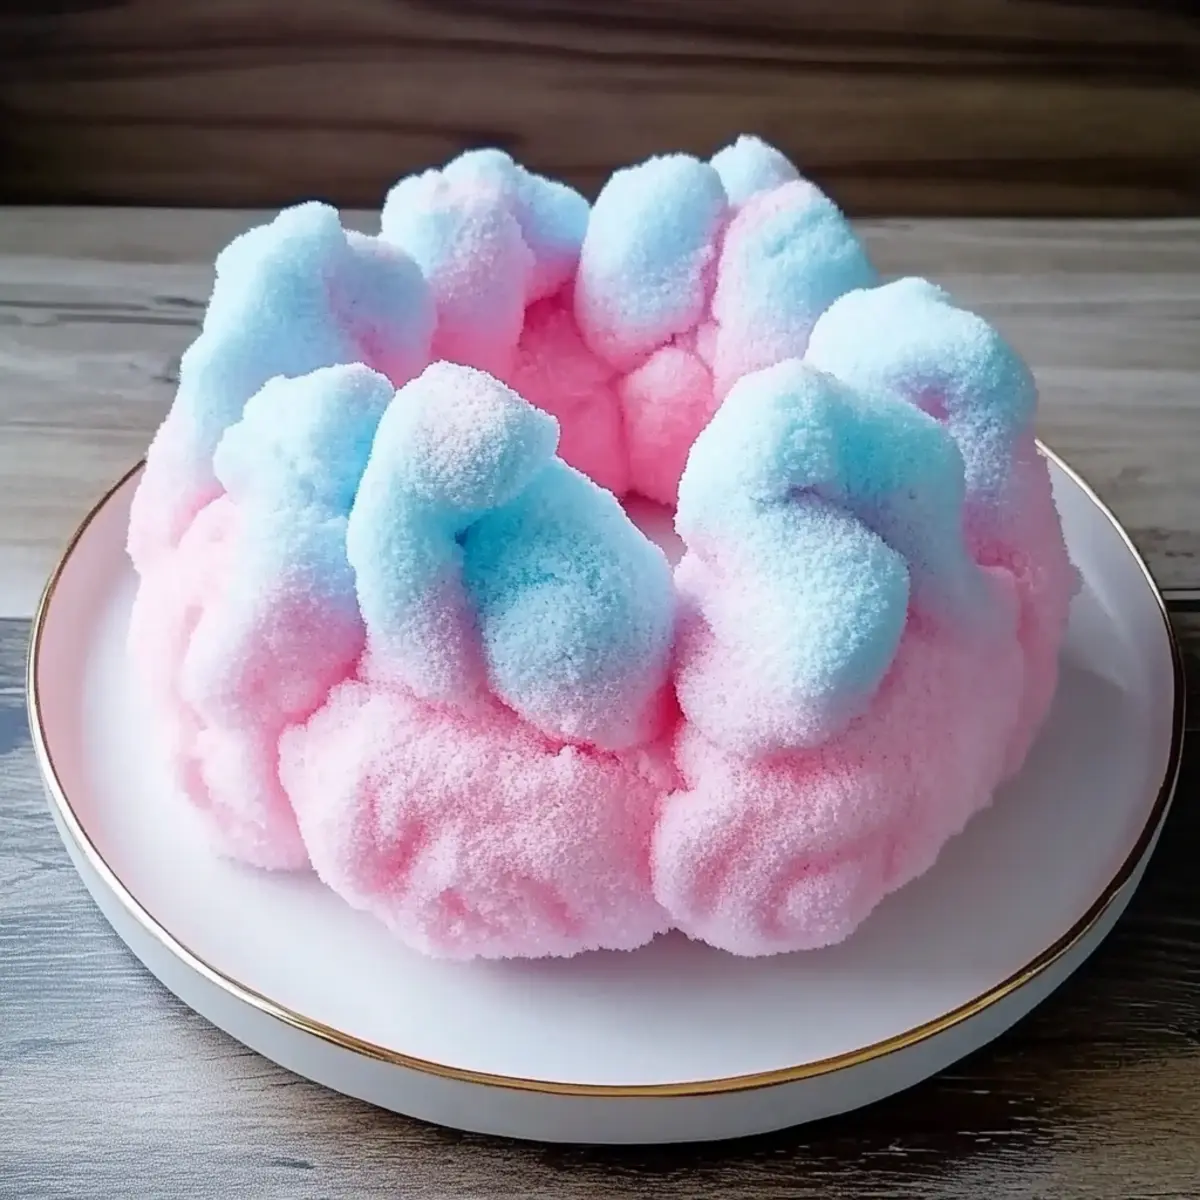
As I whisk together the ingredients for this Cotton Candy Cake, I can almost hear the distant sounds of carnival music playing in my memory. This delightful dessert is more than just a cake; it’s a ticket to childhood bliss, where each slice is a vibrant layer of sweet nostalgia. Perfect for birthdays or festive celebrations, this cake dazzles with its colorful appearance and whimsical cotton candy flavor. The best part? It’s incredibly easy to make, even for those who might not consider themselves bakers. With options for gluten-free and dairy-free adaptations, everyone can indulge in this airy, fluffy wonder. Will this become your new go-to showstopper for parties? Let’s find out!
Why is Cotton Candy Cake a Must-Try?
**Nostalgic ** Delight: Each bite takes you back to carefree carnival days with its sweet cotton candy flavor and vibrant colors.
Easy to Make: Perfect for novice bakers, the steps are straightforward, making this cake an ideal choice for any skill level.
Customization: You can easily alter flavors and colors to fit any occasion, ensuring it’s always a hit at parties. Check out these variation ideas for some creative twists!
Diet-Friendly Options: With gluten-free and dairy-free versions available, everyone can join in on the celebration.
Crowd-Pleasing: Its whimsical appearance and enjoyable taste make it a guaranteed showstopper at birthdays and festive gatherings, delighting guests of all ages!
Cotton Candy Cake Ingredients
For the Cake
• White Cake Mix – Serves as the foundation, providing structure and sweetness; a gluten-free cake mix works perfectly here!
• Large Eggs – Essential for binding and moisture; make sure they’re at room temperature for the best mixing.
• Milk – Adds richness to the cake; substitute with plant-based milk for a dairy-free version.
• Vegetable Oil – Keeps the cake moist; you can swap it for applesauce or melted coconut oil for a healthier option.
• Cotton Candy Flavoring/Extract – Brings the iconic cotton candy taste to life; increase the amount for a more intense flavor.
• Various Food Colorings – Helps achieve the vibrant, rainbow layers that make this cake visually appealing.
For the Frosting
• Buttercream Frosting – Perfect for layering and covering; feel free to use homemade or your favorite store-bought version.
For Decoration
• Cotton Candy – A whimsical topping that elevates the cake’s presentation; feel free to add sprinkles or edible glitter for extra flair!
This Cotton Candy Cake is a delightful celebration dessert that everyone will adore!
Step‑by‑Step Instructions for Cotton Candy Cake
Step 1: Preparation
Begin by gathering all your ingredients for the Cotton Candy Cake. Preheat your oven to 350°F (175°C) and grease two 9-inch round cake pans with butter or cooking spray, then flour them to prevent sticking. Ensure your eggs are at room temperature, which helps them mix smoothly with other ingredients.
Step 2: Mixing the Batter
In a large mixing bowl, combine the white cake mix, large eggs, milk, and vegetable oil. Mix everything together on medium speed for about 2 minutes until you achieve a smooth batter. Split the batter into separate bowls, adding your preferred food coloring to each, creating a vibrant rainbow effect that reflects the whimsical nature of this Cotton Candy Cake.
Step 3: Baking
Pour the colored batters into the prepared cake pans, layering them alternatively to create a colorful visual when sliced. Place the pans in the preheated oven and bake for 25–30 minutes, or until a toothpick inserted in the center comes out clean. Allow the cakes to cool in the pans for about 10 minutes before transferring them to a wire rack to cool completely.
Step 4: Assembly
Once the cakes have cooled, it’s time to assemble your Cotton Candy Cake! Spread a generous layer of buttercream frosting between the two cake layers. Then, cover the entire cake with frosting, creating a smooth surface that showcases the colorful layers.
Step 5: Decoration
For the whimsical final touch, fluff cotton candy on top of your frosted cake, allowing it to cascade over the sides. If desired, sprinkle with colorful edible glitter or fun sprinkles to enhance the festive appearance. Your Cotton Candy Cake is now ready to impress—and delight—everyone at your celebration!
Cotton Candy Cake Variations
Feel free to make this magical Cotton Candy Cake your own by trying out these delightful twists and substitutions!
- Vegan Option: Replace the eggs with flax eggs and use non-dairy milk for a completely plant-based treat.
- Gluten-Free Version: Swap the white cake mix for a gluten-free alternative to accommodate dietary preferences.
- Chocolate Surprise: Add cocoa powder to the batter for a chocolatey twist that combines with the cotton candy flavor.
- Funfetti Addition: Stir in some sprinkles to the batter for added color and crunch, creating a festive surprise in every slice!
- Fruitiness Boost: Incorporate pureed strawberries or raspberries for a hint of fruity flavor that complements the sweetness beautifully.
Feel free to experiment with these variations or create your own! Remember, each delightful twist adds a unique touch, transforming your Cotton Candy Cake into a memorable centerpiece for any celebration. If you love the whimsical flavors, why not explore more enchanting desserts like Rainbow Layer Cake or Fluffy Vanilla Sponge Cake? The possibilities are endless!
How to Store and Freeze Cotton Candy Cake
Fridge: Store leftover slices of Cotton Candy Cake in an airtight container for up to 5 days to maintain freshness and moisture.
Freezer: For longer storage, wrap slices tightly in plastic wrap and then aluminum foil. They can be frozen for up to 3 months; simply thaw in the refrigerator before serving.
Reheating: If you prefer your cake warm, use the microwave for 10-15 seconds until slightly warmed; this enhances the delightful cotton candy flavor without drying it out.
Decoration Storage: Keep cotton candy separate until ready to serve, as it will lose its fluffiness. Add just before serving for that whimsical touch!
Expert Tips for Cotton Candy Cake
Prep Pans Well: Ensure your cake pans are well-greased and floured to prevent any sticking. This allows for a seamless cake release.
Use Gel Colorings: Opt for gel food colorings instead of liquid. They provide vibrant colors without affecting the batter's consistency, making your Cotton Candy Cake visually stunning.
Adjust Flavoring: If you prefer a stronger cotton candy flavor, don’t hesitate to increase the amount of flavoring in both the cake and frosting. This subtle adjustment enhances the overall taste.
Egg Temperature Matters: For the best mixing results, always use eggs at room temperature. This helps achieve a fluffy texture that melts in your mouth.
Don’t Overmix Batter: When combining ingredients, mix just until smooth. Overmixing can lead to a dense cake, which we want to avoid for that light, airy Cotton Candy Cake.
Cool Completely: Allow your cakes to cool completely before frosting. This prevents melting and ensures that your frosting stays beautifully intact.
Make Ahead Options
These Cotton Candy Cake preparations are a dream come true for busy home cooks! You can pre-bake the cake layers up to 3 days in advance. Allow the layers to cool completely, then wrap them tightly in plastic wrap and refrigerate to maintain their moisture and freshness. The buttercream frosting can also be made ahead; simply store it in an airtight container in the fridge for up to 5 days. When you're ready to serve, spread the frosting between layers, coat the cake, and top it with fluffy cotton candy immediately before presentation for a show-stopping effect. Your Cotton Candy Cake will be just as delightful as if freshly baked, saving you precious time on special occasions!
What to Serve with Irresistible Cotton Candy Cake?
Indulge in a sugary carnival-inspired feast that perfectly complements the sweet nostalgia of this delightful dessert.
- Vanilla Ice Cream: The creamy richness of vanilla ice cream adds a delightful contrast to the fluffy cake, making every bite a dream.
- Berry Fruit Salad: Fresh berries offer a burst of color and tartness, balancing the sweetness of the cake for a refreshing palate cleanser.
- Whipped Cream: Fluffy whipped cream serves as a lovely, light topping that enhances the cake’s whimsical feel without overpowering its flavors.
Pairing a light and fruity beverage can also elevate the experience.
- Sparkling Lemonade: This bubbly drink complements the cake’s sweetness while providing a refreshing zing that pairs perfectly with festive gatherings.
- Cotton Candy Milkshake: For the ultimate indulgence, a milkshake infused with cotton candy flavor enhances the overall experience, leaving guests grinning with delight.
- Chocolate Dipped Strawberries: Rich chocolate-covered strawberries add a touch of elegance and decadence to your whimsical dessert spread, ensuring every guest feels pampered.
Whether it’s a birthday bash or a summer picnic, these complements will create memorable moments alongside your Cotton Candy Cake!
Cotton Candy Cake Recipe FAQs
What type of cake mix should I use for Cotton Candy Cake?
You can use any white cake mix, but for a gluten-free version, pick up a gluten-free cake mix. This ensures everyone can enjoy the delightful flavors of your Cotton Candy Cake without any worries about dietary restrictions!
How long can I store leftover Cotton Candy Cake?
Store any leftover slices in an airtight container in the refrigerator for up to 5 days. This helps maintain its moisture and freshness, allowing you to indulge in this whimsical treat over the week.
Can I freeze Cotton Candy Cake?
Absolutely! To freeze, wrap individual slices tightly in plastic wrap and then in aluminum foil to prevent freezer burn. You can freeze slices for up to 3 months. When you're ready to enjoy a piece, simply thaw it in the refrigerator overnight.
What should I do if my cake falls or sinks in the middle?
If your Cotton Candy Cake sinks in the middle, it could be due to overmixing the batter or underbaking. For the best results, mix just until combined and ensure that your cake is fully baked—check for doneness with a toothpick! If a layer does fall, you can always use the frosting to level it out when assembling.
Can I make Cotton Candy Cake vegan?
Yes, you can easily adapt this recipe to be vegan! Replace the large eggs with flax eggs (1 tablespoon of flaxseed meal mixed with 2.5 tablespoons of water per egg, let sit for 5 minutes until it gels) and substitute the milk with any plant-based milk, like almond or oat milk. Enjoy a delicious vegan version of the Cotton Candy Cake!
Indulgent Cotton Candy Cake: A Sweet Childhood Dream
Ingredients
Equipment
Method
- Preheat your oven to 350°F (175°C) and grease two 9-inch round cake pans, then flour them.
- In a large mixing bowl, combine the white cake mix, eggs, milk, and vegetable oil. Mix on medium speed for about 2 minutes until smooth.
- Split the batter into separate bowls and add food coloring to each bowl.
- Pour the colored batters into the prepared pans, layering them alternatively. Bake for 25-30 minutes, or until a toothpick comes out clean.
- Allow the cakes to cool for 10 minutes in the pans, then transfer to a wire rack to cool completely.
- Spread a layer of buttercream frosting between the two layers, then cover the entire cake with frosting.
- Top the cake with fluffy cotton candy, and decorate with sprinkles if desired.


Leave a Reply