
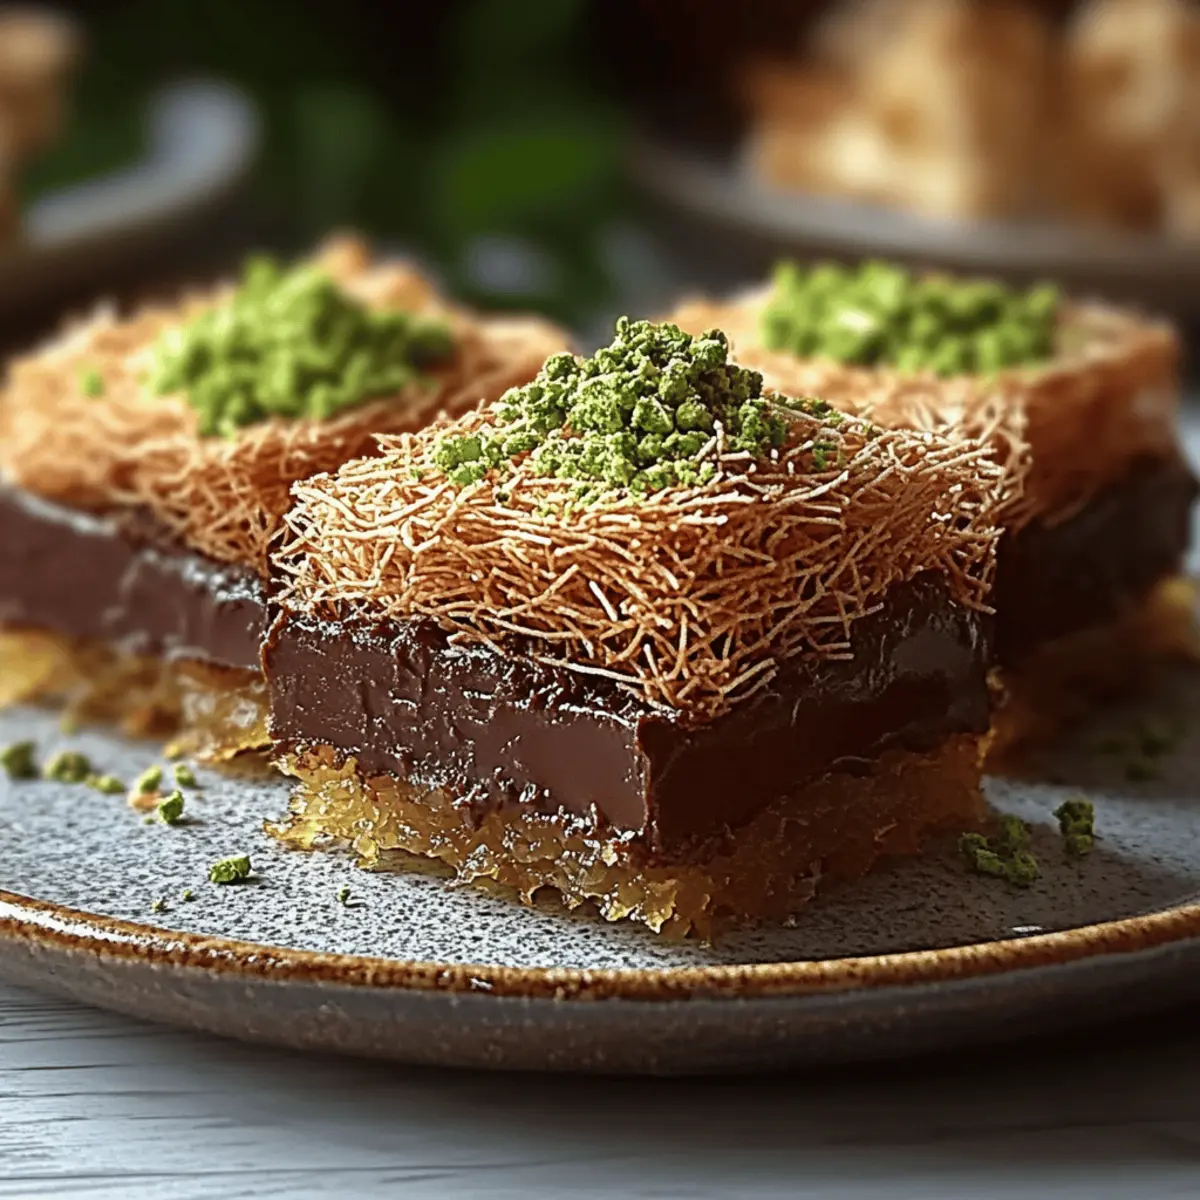
As I stood in my kitchen, the sweet scent of baked pastries wafted through the air, transporting me straight to bustling Dubai markets. The Crispy Dubai Chocolate Kataifi is my secret weapon when I want to impress family and friends with minimal effort. This customizable dessert weaves together flaky kataifi pastry and a gooey chocolate center, creating a unique texture experience you won’t forget. Plus, it’s so adaptable: you can easily switch up the chocolate types and toss in your favorite nuts or spices, making it a fun kitchen experiment! Whether you're hosting a gathering or just want to treat yourself to something special, this dish promises to deliver a crowd-pleasing finale. Are you ready to dive into this delightful Middle Eastern treat?
Why is Crispy Dubai Chocolate Kataifi so special?
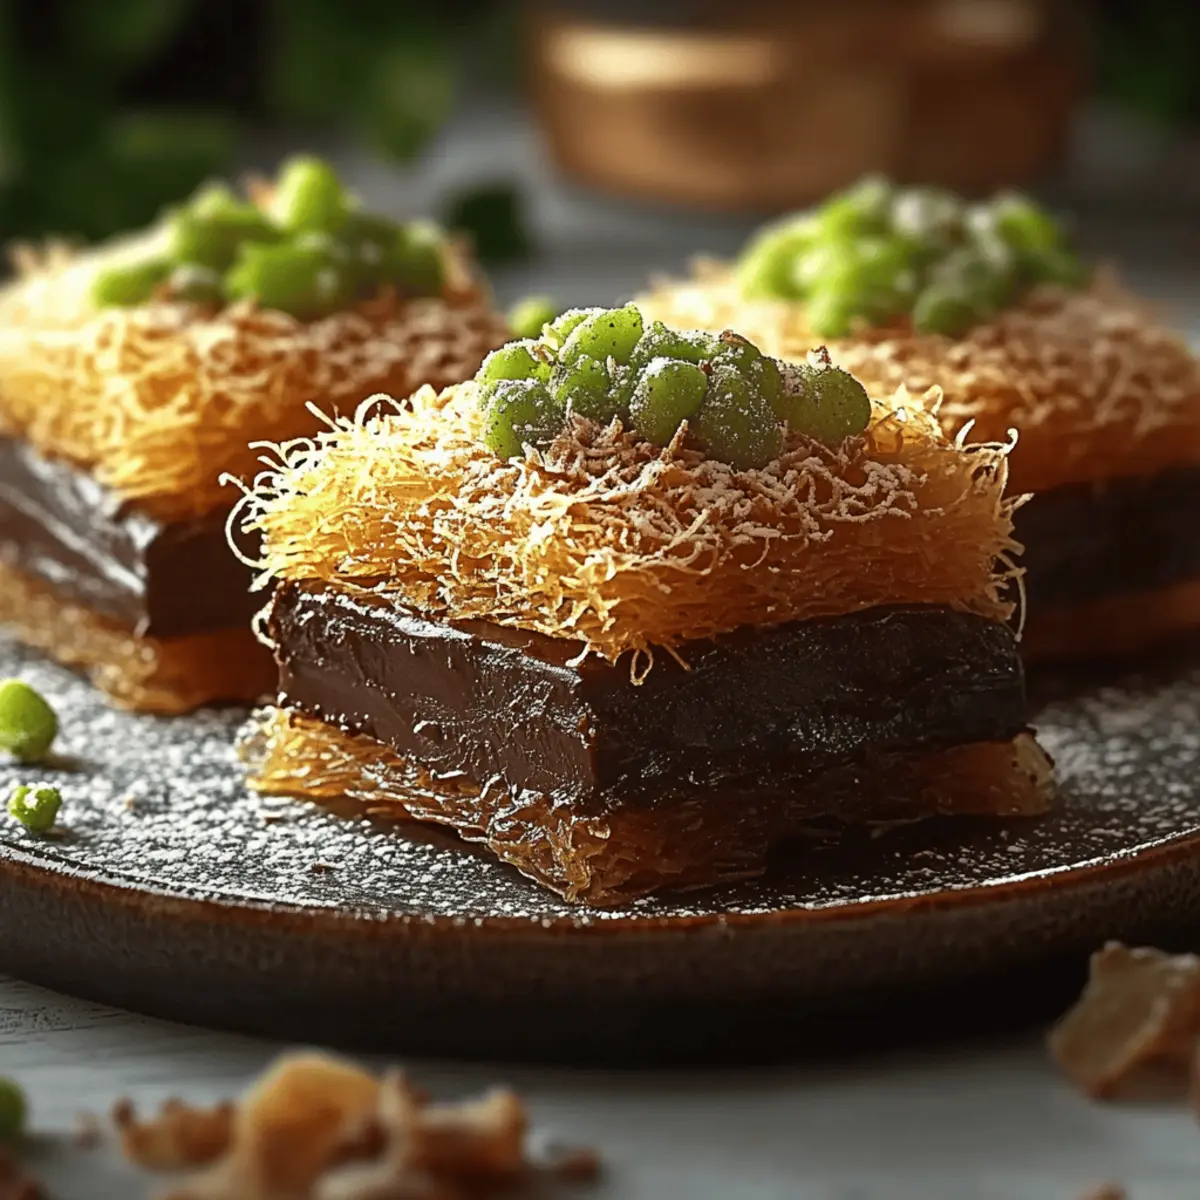
Irresistible Texture: The combination of flaky kataifi and a gooey chocolate center creates a delightful contrast that melts in your mouth.
Customizable Delights: Easily switch up chocolate varieties, nuts, or spices to make each batch unique—perfect for culinary creativity!
Effortless Preparation: Requires minimal skill, making it an approachable recipe for anyone looking to impress.
Crowd-Pleasing Appeal: Ideal for parties and gatherings, this dessert is sure to wow your guests and elevate any occasion. Pair it with a scoop of ice cream or a cup of Arabic coffee for a truly authentic experience! For more delicious ideas, check out my Nut-Free Dessert Options or explore Vegan Delights.
Crispy Dubai Chocolate Kataifi Ingredients
For the Pastry Layer
• Kataifi Pastry – Make sure to thaw well if frozen for the best crispiness.
• Unsalted Butter – This adds richness; you can use vegan butter for a dairy-free alternative.
For the Chocolate Filling
• Chocolate – Choose between dark, milk, or even white chocolate based on your preference for the sweetest treat.
• Nuts (Pistachios or Walnuts) – Optional for a delightful crunch; substitute with seeds for a tasty nut-free option.
• Orange Zest – Provides a refreshing pop of flavor; skip if you prefer a simpler taste.
For the Glaze
• Honey or Simple Syrup – Drizzle over the top for added sweetness and shine; maple syrup works great too!
For the Spices
• Cinnamon or Cardamom – Optional spices that enhance the chocolatey bliss, perfect for a warm, fragrant twist.
Step‑by‑Step Instructions for Crispy Dubai Chocolate Kataifi
Step 1: Prep Kataifi
Start by taking the thawed kataifi pastry and gently separating the strands to fluff them up. Use your fingers to break apart any clumps, making sure each strand is loose. Keep the kataifi covered with a damp cloth while you prepare the rest of the ingredients to prevent it from drying out.
Step 2: Melt Butter
In a small saucepan, melt the unsalted butter over low heat until fully liquid. Once melted, remove from heat and pour the warm butter over the fluffed kataifi strands. Use a spatula to gently toss and coat the kataifi evenly with melted butter for a rich flavor and crispy texture in your Crispy Dubai Chocolate Kataifi.
Step 3: Layer Base
Preheat your oven to 350°F (175°C) to ensure it reaches the perfect temperature for baking. Grease a 9x13 inch baking dish generously with butter or non-stick spray. Press half of the butter-coated kataifi into the bottom of the dish, flattening it to create an even base. This will form the delicious crispy bottom layer of the kataifi.
Step 4: Add Chocolate
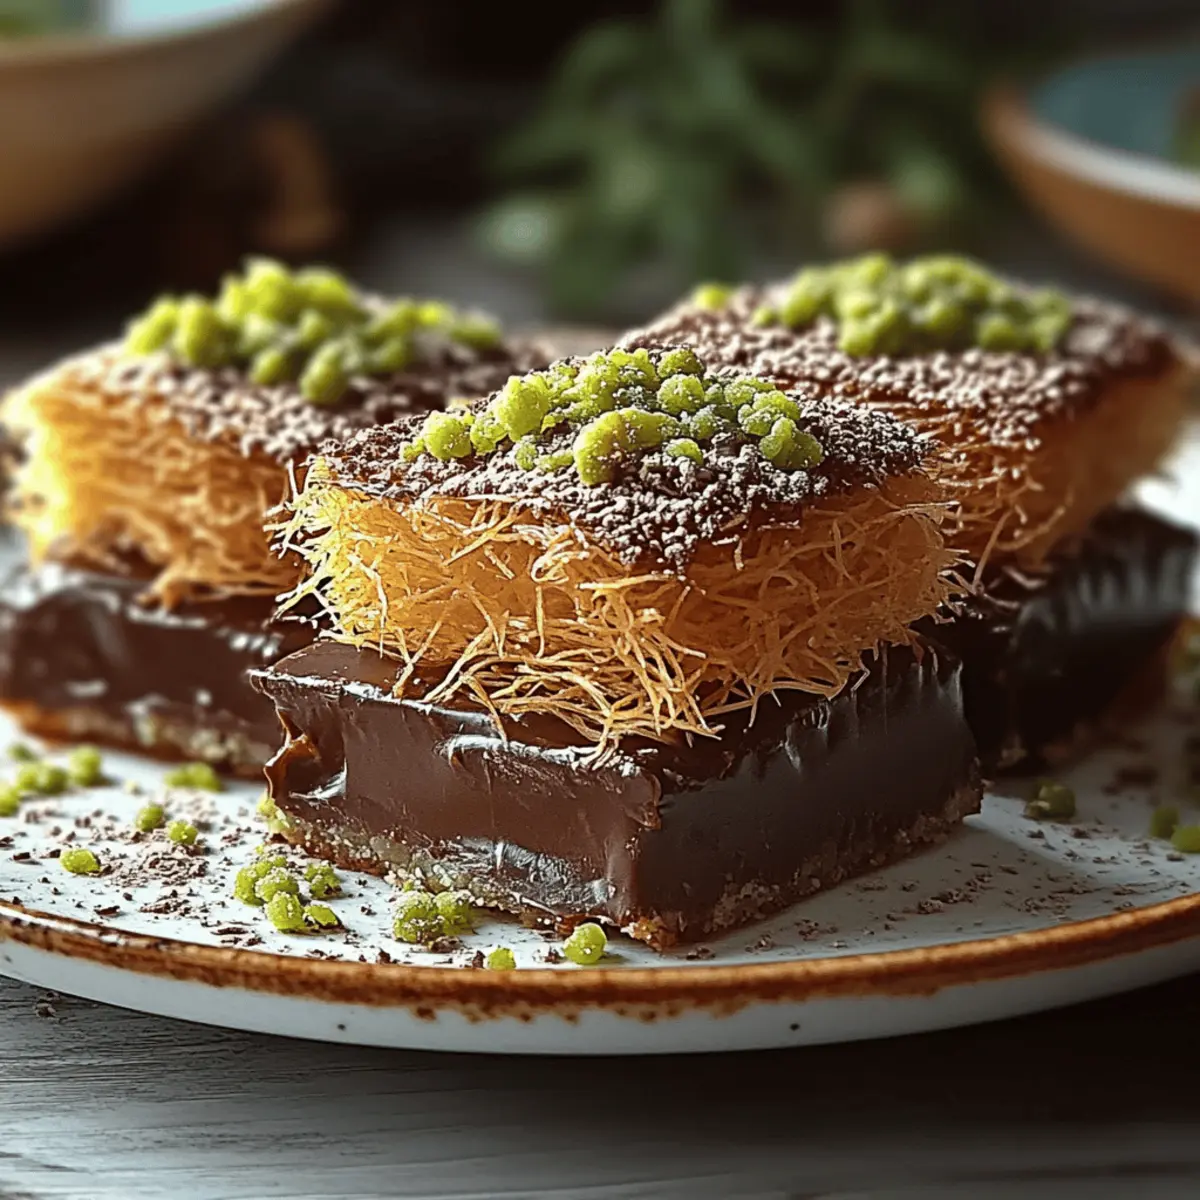
Now, sprinkle your choice of chocolate evenly over the kataifi base, ensuring complete coverage. Optionally, add chopped nuts and a sprinkle of fresh orange zest for extra flavor and texture. The chocolate will melt beautifully during baking, providing that gooey center in your Crispy Dubai Chocolate Kataifi—an irresistible treat.
Step 5: Top Layer
Take the remaining kataifi and spread it evenly over the chocolate filling, gently pressing it down to secure the layers together. Make sure the top layer is even to ensure uniform baking and a beautifully crispy finish. This top layer will form a delightful crunch that contrasts nicely with the melting chocolate below.
Step 6: Bake
Place the dish in the preheated oven and bake for 25–30 minutes, or until the top is golden brown and crispy. Keep an eye on it during the last few minutes, as the aroma of the baking Crispy Dubai Chocolate Kataifi will fill your kitchen and let you know it’s nearly ready.
Step 7: Drizzle Glaze
As soon as the kataifi comes out of the oven, immediately drizzle it generously with honey or simple syrup. The heat will help the glaze soak in, adding sweetness and a beautiful glossy finish to the dessert. Let the kataifi sit for a moment so the glaze can settle into the layers.
Step 8: Cool and Cut
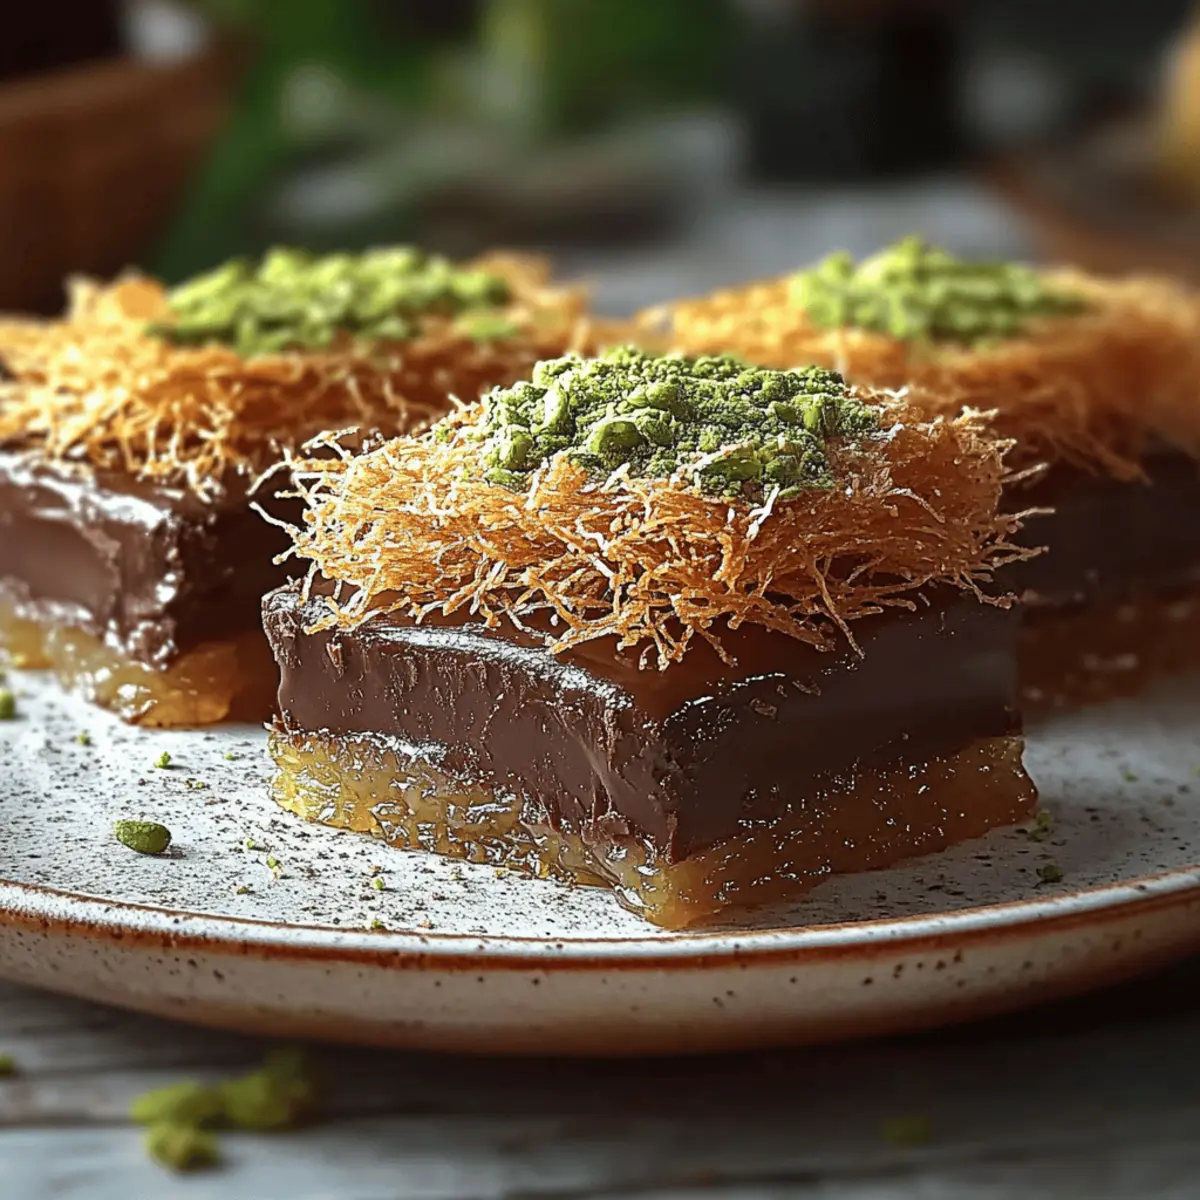
Allow the Crispy Dubai Chocolate Kataifi to cool for about 20 minutes before cutting it into generous squares. This resting time allows the chocolate center to set slightly for cleaner slices. Serve warm or at room temperature, and watch your guests enjoy this delectable treat!
What to Serve with Crispy Dubai Chocolate Kataifi
There's nothing like a sweet, satisfying meal to round out your day, and pairing this dreamy dessert will make your spread even more delightful.
-
Vanilla Ice Cream: The creamy contrast with the warm kataifi amplifies its rich chocolatey goodness while balancing the textures.
-
Arabic Coffee: A robust cup of Arabic coffee will complement the sweetness, offering a perfect punch that awakens your senses.
-
Fresh Mint Tea: This refreshing brew adds a light herbal note, cleansing the palate after each indulgent bite.
-
Pistachio Crumble: A sprinkle of crushed pistachios not only enhances the flavor but also adds a delightful crunch that pairs beautifully with the kataifi's crispiness.
-
Middle Eastern Fruit Salad: Serve with a mix of fresh fruits such as pomegranate and citrus; their juiciness and vibrant colors provide a refreshing contrast.
-
Dark Chocolate Sauce: Drizzle on top to amp up the chocolatey experience, allowing guests to customize their portions for a chocolate lover’s dream dessert.
-
Raspberry Coulis: The sweet-tart sauce is an incredible dip that elevates the dessert, lending fruitiness that balances the richness beautifully.
-
Baklava Bites: Introduce a platter of these sweet, flaky pastries alongside for a Middle Eastern dessert experience that complements the kataifi.
Expert Tips for Crispy Dubai Chocolate Kataifi
-
Keep Kataifi Covered: Always cover the kataifi while you prepare other ingredients to prevent it from drying out, ensuring a crispy texture.
-
Butter Distribution: Make sure the melted butter is evenly distributed to each strand for an optimal crispy outcome in your Crispy Dubai Chocolate Kataifi.
-
Monitor Baking Time: Keep an eye on the dessert in the oven towards the end of the baking time; over-baking can lead to dryness, ruining that gooey center.
-
Cooling Is Key: Be patient and let the kataifi cool for about 20 minutes before cutting. This setting time helps the chocolate to firm up for cleaner slices.
-
Personalize Wisely: Experiment with different chocolate types, nuts, or spices. Just remember that adding too many ingredients can affect the balance of textures in your crispy kataifi!
Make Ahead Options
These Crispy Dubai Chocolate Kataifi are a fantastic choice for meal prep, saving you time during busy weeknights or special occasions! You can prepare the kataifi layers up to 24 hours in advance. Simply follow the initial steps of fluffing the kataifi and coating it in melted butter, then layer the base in your baking dish. Cover tightly with plastic wrap and refrigerate until you’re ready to bake. To maintain that delightful crispiness, be sure to bake them fresh after preparing the layers. When you're ready to serve, just add the chocolate filling and bake as directed. You'll have a show-stopping dessert with minimal effort!
Variations & Substitutions for Crispy Dubai Chocolate Kataifi
Explore delightful twists for the Crispy Dubai Chocolate Kataifi that’ll excite your taste buds and spark your creativity in the kitchen!
- Nut-free Option: Replace nuts with pumpkin or sunflower seeds for a similar crunch without the allergens.
- Vegan Option: Use vegan butter and opt for dairy-free chocolate for a plant-based delight everyone can enjoy.
- Flavor Burst: Try flavored chocolate, like mint or caramel, or toss in coconut flakes for a tropical twist that surprises with every bite.
- Fruity Layers: Add fresh berries or dried fruits between the kataifi and chocolate for a burst of natural sweetness and color.
- Mini Bites: Transform your kataifi into cute, bite-sized portions baked in muffin tins, perfect for parties and a fun twist on serving.
- Spice Sensation: Enhance flavor by mixing in spices like vanilla or ginger for an exciting and aromatic dimension.
- Crunchy Toppings: Drizzle with toasted coconut or crushed cookies after baking, creating an added crunch that complements the soft chocolate center.
Whichever route you choose, let your imagination flourish, and don't hesitate to mix and match these ideas! For more inspiration, check out my Nut-Free Dessert Options or dive into my Vegan Delights for delicious alternatives.
How to Store and Freeze Crispy Dubai Chocolate Kataifi
Room Temperature: Store leftovers in an airtight container at room temperature for up to 3 days for the best texture.
Fridge: If you prefer, refrigerate for up to a week, but be aware that the kataifi may lose some crispness.
Freezer: For longer storage, freeze unbaked kataifi for up to 2 months. When ready to enjoy, bake it directly from the freezer, adding a few extra minutes to the baking time.
Reheating: To reheat, warm slices in the oven at 350°F (175°C) for about 10 minutes to restore crispiness without overheating the chocolate filling in your Crispy Dubai Chocolate Kataifi.
Crispy Dubai Chocolate Kataifi Recipe FAQs
How do I choose the best kataifi pastry?
Absolutely! Look for kataifi that is fresh and well-separated. If it’s frozen, be sure to fully thaw it in the refrigerator overnight or at room temperature for a few hours before using. Avoid any packages with dark spots or a strong freezer burn smell, as these indicate poor quality.
How should I store the leftovers of my Crispy Dubai Chocolate Kataifi?
The more the merrier! Store any leftovers in an airtight container at room temperature for up to 3 days, which helps preserve some of that delightful crispiness. If you opt for the fridge, be aware that it might lose some of its best textures but can last a week. Just keep in mind that the kataifi may soften a bit!
Can I freeze the Crispy Dubai Chocolate Kataifi, and how?
Absolutely! You can freeze unbaked kataifi for up to 2 months. Just assemble it in your baking dish as instructed, cover tightly with plastic wrap and aluminum foil, and place it in the freezer. When you’re ready to bake, take it out and remove the cover, keeping in mind to bake it directly from frozen, adding about 5-10 extra minutes to the baking time!
What if the kataifi pastry is too dry while preparing?
No worries! If you find that your kataifi is drying out, simply misting it lightly with water can help revive those strands. Alternatively, keep it covered with a damp cloth during preparation to maintain moisture. This ensures the kataifi remains easy to work with and bakes up crispy!
Is this recipe suitable for people with nut allergies?
Very much so! You can easily make this a nut-free option by substituting the nuts with pumpkin or sunflower seeds, which provide that much-needed crunch without the allergens. Just take care to ensure that the other ingredients you use are also nut-free to avoid cross-contamination.
How do I reheat leftovers while keeping them crispy?
Reheating your Crispy Dubai Chocolate Kataifi is simple! Preheat your oven to 350°F (175°C) and warm the slices for about 10 minutes, which helps restore that lovely crispiness without overheating the chocolate filling. It’s a perfect way to enjoy an indulgent treat again!
Indulgent Crispy Dubai Chocolate Kataifi to Sweeten Your Day
Ingredients
Equipment
Method
- Start by taking the thawed kataifi pastry and gently separating the strands to fluff them up. Keep it covered with a damp cloth while preparing other ingredients.
- In a small saucepan, melt the unsalted butter over low heat. Pour the warm butter over the fluffed kataifi strands and toss gently to coat.
- Preheat your oven to 350°F (175°C). Grease a 9x13 inch baking dish. Press half of the butter-coated kataifi into the bottom of the dish.
- Sprinkle your choice of chocolate evenly over the kataifi base. Optionally add nuts and orange zest.
- Spread the remaining kataifi over the chocolate filling and gently press it down.
- Bake for 25–30 minutes, or until the top is golden brown and crispy.
- Drizzle the baked kataifi with honey or simple syrup immediately after removing from oven.
- Allow to cool for about 20 minutes before cutting into squares.


Leave a Reply