
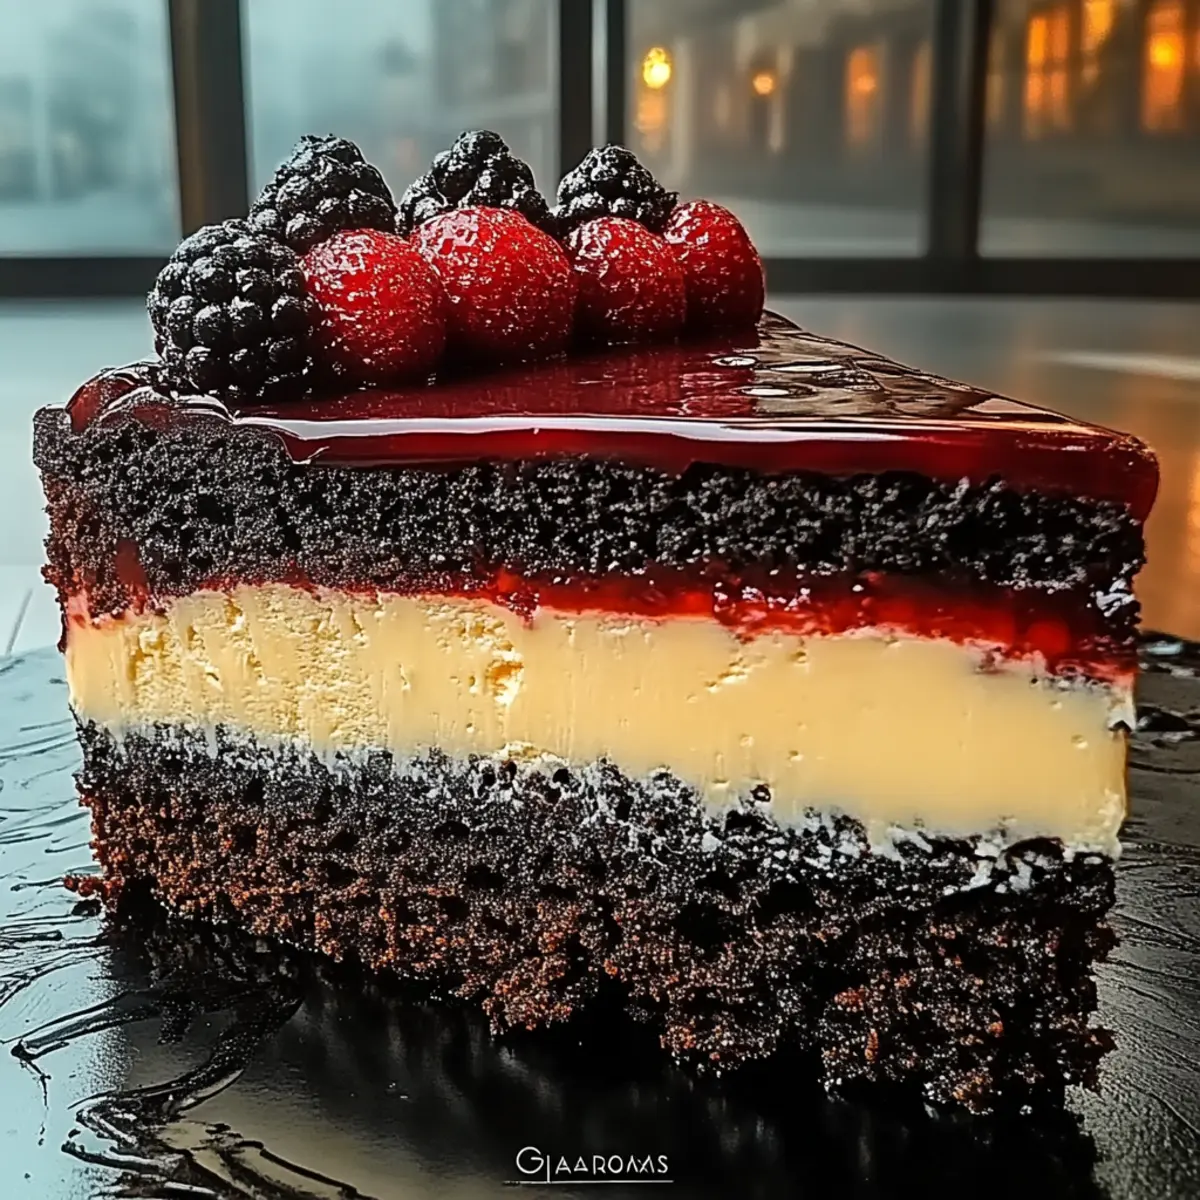
As I wandered through a bustling local market, I stumbled upon a vibrant display of red velvet cake mixes, their alluring colors calling to me. This inspired me to create a show-stopping dessert: Red Velvet Oreo Cheesecake. Imagine a stunning centerpiece for your next gathering, with its dreamy layers of rich red velvet and creamy cheesecake that just dance in your mouth! This indulgent dessert is not only a crowd-pleaser but also incredibly easy to whip up, making it perfect for those busy weeknights or special occasions. Plus, it’s completely customizable—feel free to experiment with different cookie flavors for the crust or even switch up the cheesecake layers. Ready to dazzle your guests? Let’s get started!
Why Choose Red Velvet Oreo Cheesecake?
Irresistible Treat: This cheesecake combines decadent flavors that are sure to impress anyone who tries it.
Customizable Options: With a variety of crust and layer choices, you can tailor this dessert to fit your unique taste. Whether you stick with classic Oreos or experiment with lemon cookies, the possibilities are endless!
Stress-Free Baking: The straightforward process means that even novice bakers can master it—perfect for those short on time yet eager to showcase their culinary skills.
Crowd Favorite: This dessert is a guaranteed show-stopper, making it ideal for gatherings where you want to wow your guests.
Stunning Presentation: Layers of vibrant red contrast beautifully with creamy cheesecake, creating a dessert that's as visually appealing as it is delicious—perfect for Instagram!
With this Red Velvet Oreo Cheesecake, you can enjoy a fabulous dessert experience that combines ease and flavor, making it a go-to for any occasion.
Red Velvet Oreo Cheesecake Ingredients
• Get ready to gather everything you need for this dazzling dessert!
For the Crust
- Oreo Cookies – The crunchy chocolatey base that adds a delightful texture.
- Unsalted Butter – Melts beautifully to bind the crust together for a perfect base.
For the Red Velvet Layer
- Cream Cheese – Offers a luscious, creamy texture that elevates the cheesecake layers.
- Granulated Sugar – Sweetens the mixture; feel free to adjust to your preference.
- Eggs – Provide structure and richness; room temperature eggs mix better for a smoother batter.
- Red Velvet Cake Mix – Imparts the signature flavor and striking color; homemade mixes can offer a lighter texture.
- Vanilla Extract – Enhances flavors beautifully; fresh or vanilla bean paste brings an aromatic boost.
For the Vanilla Layer
- Cream Cheese – Same as above, delivering creaminess to balance the rich red velvet.
- Granulated Sugar – Again, sweetens this layer.
For the Ganache
- Heavy Cream – Creates a glossy chocolate finish; you can swap with coconut cream for a dairy-free delight.
- Dark Chocolate – Forms the ganache base; milk chocolate can be used for a sweeter twist.
This Red Velvet Oreo Cheesecake is a tantalizing indulgence that’s bound to become a favorite in your dessert repertoire!
Step‑by‑Step Instructions for Red Velvet Oreo Cheesecake
Step 1: Prepare Crust
Preheat your oven to 350°F (175°C). In a food processor, blend the Oreo cookies until finely ground, then mix in the melted unsalted butter until the crumbs are evenly coated. Press this mixture firmly into the bottom of a 9-inch springform pan, creating a solid base. Bake the crust for 10 minutes until set, then remove and let it cool while you prepare the filling.
Step 2: Red Velvet Layer
In a large mixing bowl, beat together the cream cheese and granulated sugar until smooth and creamy. Add the room temperature eggs, one at a time, mixing thoroughly after each addition. Next, gently fold in the red velvet cake mix and vanilla extract until fully combined. This rich red velvet mixture will be the star of your Red Velvet Oreo Cheesecake!
Step 3: Vanilla Layer
In a separate bowl, blend the cream cheese with sugar until smooth. Incorporate vanilla extract to enhance the flavor. Mix until the consistency is creamy and fluffy. This vanilla layer will provide a delightful contrast to the bold red velvet layer in your cheesecake, ensuring a stunning presentation.
Step 4: Layer and Bake
Carefully pour the red velvet cheesecake mixture over the cooled Oreo crust in the springform pan. Gently scoop the prepared vanilla layer on top of the red velvet layer, smoothing the surface with a spatula. Bake in the oven for 45-50 minutes until the cheesecake is just set in the center with a slight jiggle, ensuring a creamy texture without drying out.
Step 5: Cool
After baking, turn off the oven and let the cheesecake cool inside for 1 hour with the door closed. This gradual cooling process helps to prevent cracks. Once cooled, remove the cheesecake from the oven, allowing it to reach room temperature before transferring it to the refrigerator. Chill for at least 6 hours, or overnight, to let the flavors meld beautifully.
Step 6: Prepare Ganache
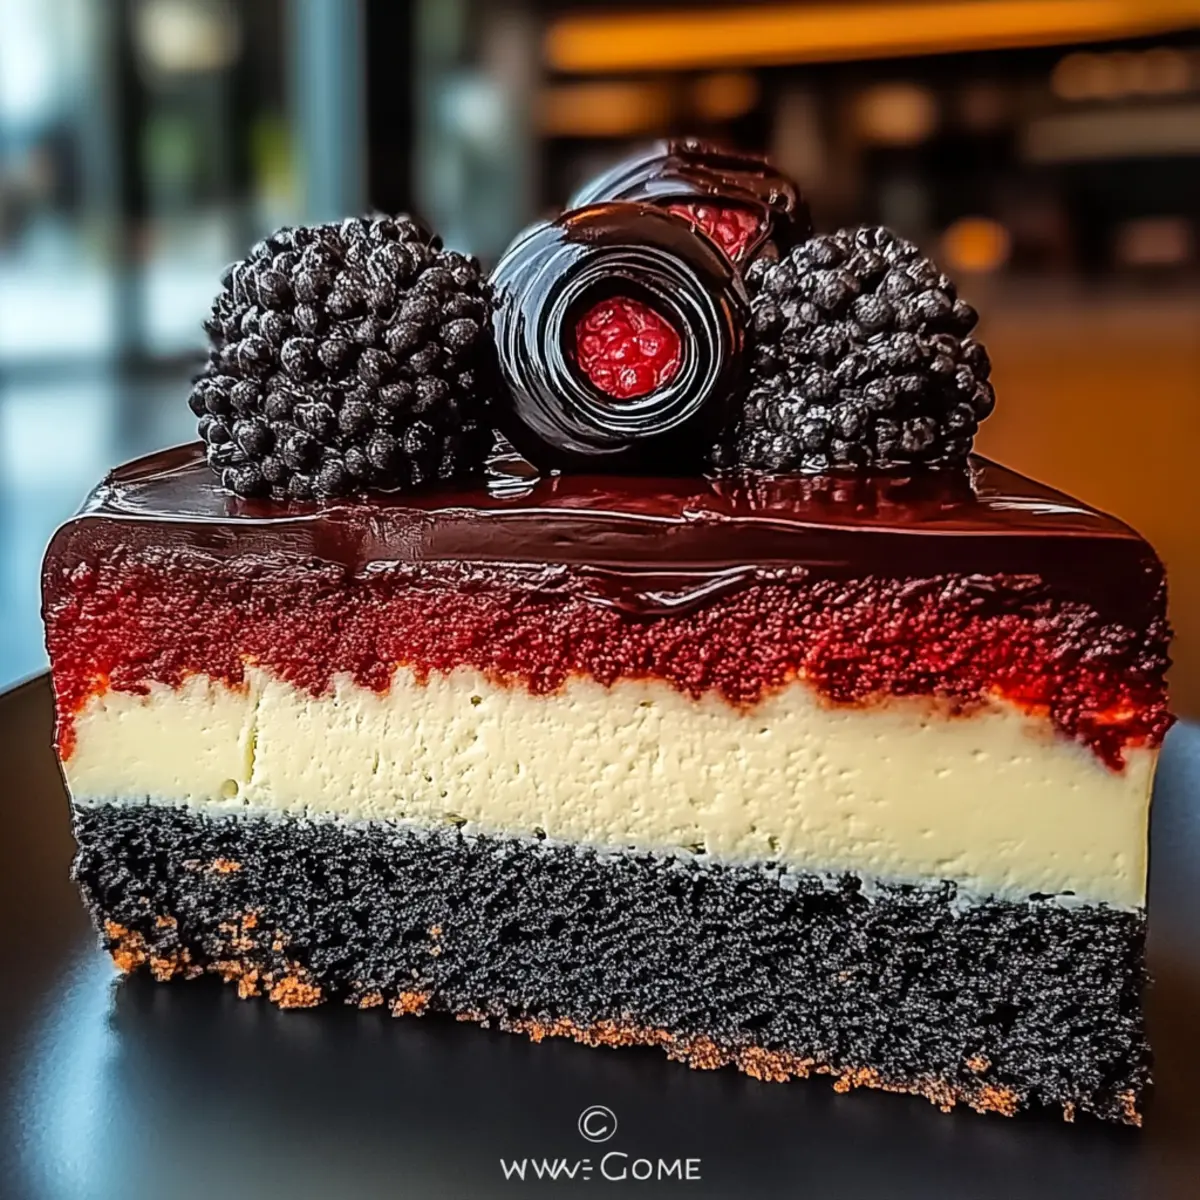
On the stovetop, heat the heavy cream in a small saucepan until it just reaches a simmer. Remove from heat and pour the hot cream over chopped dark chocolate in a bowl. Let it sit for a minute, then stir until the mixture is smooth and glossy. Allow the ganache to cool slightly before pouring it over the chilled cheesecake, creating a luscious topping.
Step 7: Decorate and Serve
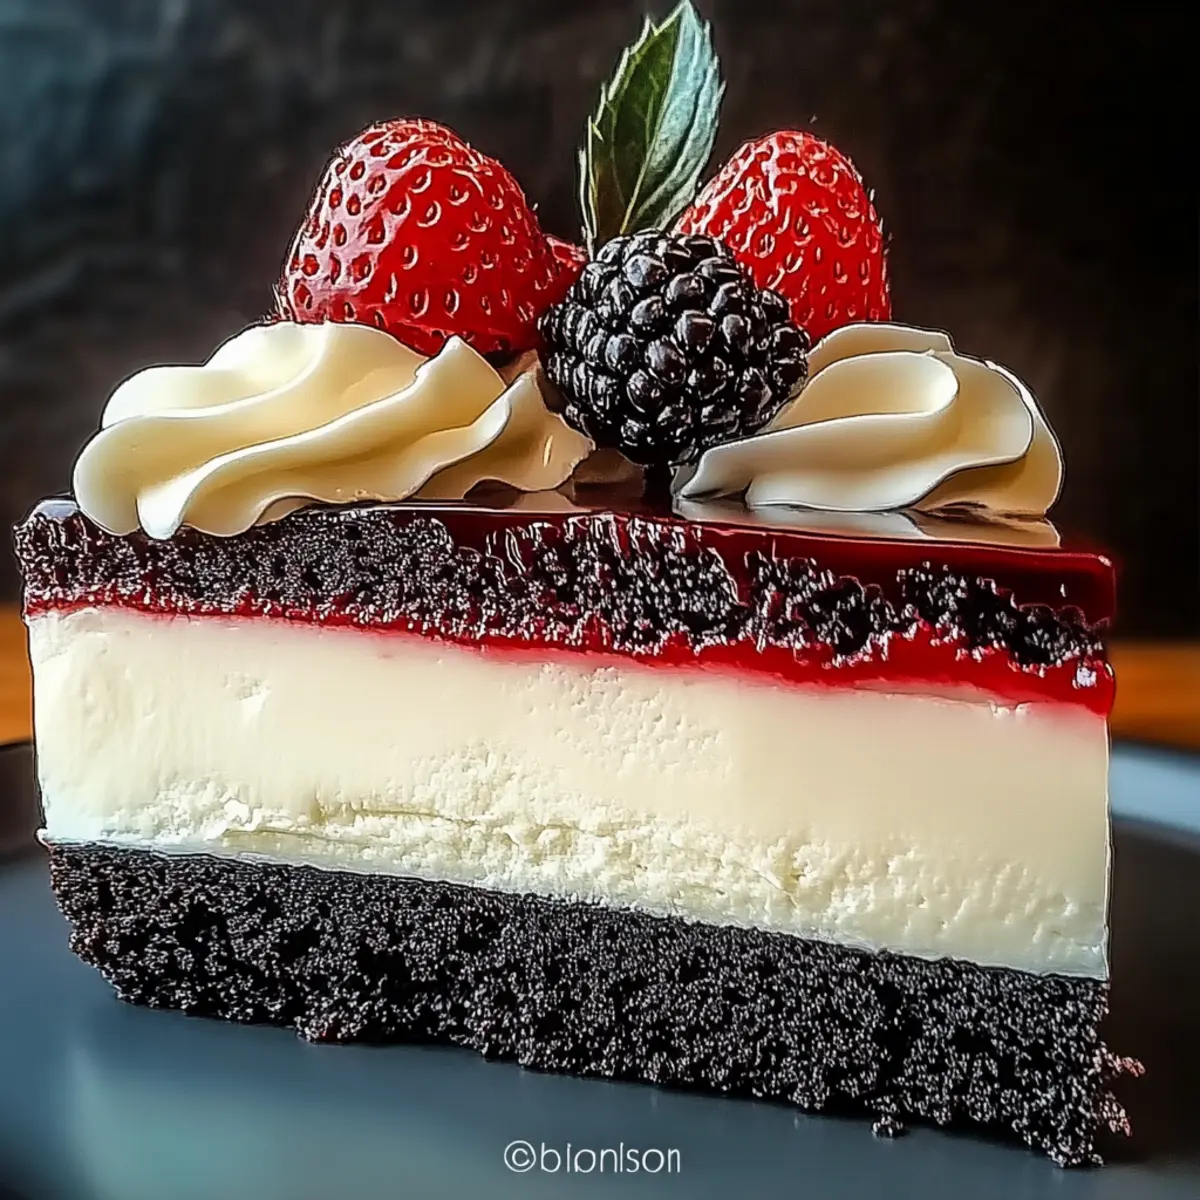
For an inviting presentation, garnish your Red Velvet Oreo Cheesecake with whipped cream or crushed Oreo crumbs on top. Carefully slice the cheesecake with a sharp knife, and serve it to your eager guests. Each slice reveals the stunning layers, making this indulgent dessert a perfect centerpiece for any occasion!

Make Ahead Options
These Red Velvet Oreo Cheesecake layers are perfect for meal prep, allowing you to create a stunning dessert ahead of time! You can prepare the Oreo crust up to 24 hours in advance, covering it tightly with plastic wrap to keep it fresh. Both the red velvet and vanilla cheesecake layers can be mixed and stored separately in the refrigerator before baking, keeping their flavors vibrant for up to 3 days. When you’re ready to bake, simply layer the cheesecake mixtures over the crust and bake as directed. This not only saves time but ensures your cheesecake is just as delicious when served!
Variations & Substitutions for Red Velvet Oreo Cheesecake
Feel free to explore these delightful twists and turns that will elevate your dessert game!
-
Dairy-Free: Substitute cream cheese with a dairy-free cream cheese alternative and coconut cream for the ganache for a creamy treat everyone can enjoy.
-
Gluten-Free: Use gluten-free Oreo cookies or a gluten-free cookie alternative for the crust—great for those with gluten sensitivities!
-
Lower Sugar: Opt for a sugar substitute like erythritol or stevia instead of granulated sugar, making your cheesecake a guilt-free indulgence.
-
Flavor Boost: Add a splash of almond extract to the cheesecake layers for a wonderful nutty depth that complements the chocolatey crust.
-
Citrus Zest: A hint of lemon or orange zest mixed into the batter brightens up flavors and adds a refreshing twist to the rich cheesecake.
-
Cookie Crust Variations: Swap out Oreos for other favorite cookies like peanut butter or chocolate mint for a unique flair—each option brings something special to the table.
-
Extra Chocolate: Mix in chocolate chips into either the red velvet or vanilla layers for an added surprise in every bite—absolutely scrumptious!
-
Nutty Crunch: Sprinkle chopped nuts like pecans or walnuts on top of the ganache before serving to add a delightful crunch that contrasts with the smooth cheesecake.
Embrace these variations to create a Red Velvet Oreo Cheesecake that's uniquely yours. Happy baking!
Expert Tips for Red Velvet Oreo Cheesecake
-
Room Temperature Ingredients: Ensure all your ingredients, especially cream cheese and eggs, are at room temperature. This helps achieve a smooth, creamy consistency in your cheesecake.
-
Avoid Cracking: Do not open the oven door while baking. Sudden temperature changes can cause your Red Velvet Oreo Cheesecake to crack.
-
Chill Overnight: For the best flavor and texture, refrigerate the cheesecake overnight. This allows the layers to set and meld beautifully.
-
Gradual Cooling: After baking, let the cheesecake cool slowly in the oven with the door ajar for a smoother texture and to minimize cracks.
-
Customize Wisely: Experiment with different Oreo flavors for the crust or adjust sugar levels to suit your taste. Just keep in mind that changes can alter the overall balance of flavors.
What to Serve with Red Velvet Oreo Cheesecake?
Indulging in a slice of this show-stopping cheesecake is a delight, and pairing it with the right accompaniments can elevate the experience!
- Vanilla Ice Cream: A classic pairing, creamy vanilla ice cream complements the richness of the cheesecake and adds a cool contrast.
- Fresh Berries: Juicy strawberries or raspberries add a refreshing, tangy balance that cuts through the dessert’s sweetness, enhancing each bite.
- Chocolate Drizzle: A warm chocolate sauce drizzled over the cheesecake adds an extra layer of richness that appeals to chocolate lovers. A simple addition can transform each slice into an indulgent masterpiece!
- Espresso or Coffee: The bold flavors of coffee contrast beautifully against the sweet and creamy layers, making it the perfect beverage to serve alongside your dessert.
- Caramel Sauce: Drizzled over the top, caramel adds a deliciously sweet and buttery note that melds seamlessly with the cheesecake’s flavors.
- Whipped Cream: A light dollop of whipped cream adds an airy texture and balances the richness of the cake, making every bite feel indulgent yet light.
- Custom Cookie Crusts: Consider serving with variations of cookies on the side—think crushed ginger snaps or even a lemon cookie—offering an exciting texture contrast to complement the cheesecake.
- Mint Tea: For a refreshing finish, a warm mint tea can cleanse the palate while enhancing the dessert's vibrant flavors, creating a harmonious end to your meal.
- Churros: If you're feeling extra adventurous, offering crispy churros for dipping can add a fun twist and an exciting pairing to the rich cheesecake.
How to Store and Freeze Red Velvet Oreo Cheesecake
Fridge: Store leftovers in an airtight container for up to 5 days. This keeps the cheesecake fresh and the flavors intact.
Freezer: For longer storage, freeze individual slices wrapped tightly in plastic wrap and then aluminum foil for up to 3 months. This helps preserve the rich taste and texture.
Thawing: When you're ready to enjoy your frozen Red Velvet Oreo Cheesecake, simply transfer it to the refrigerator and let it thaw overnight for the best results.
Reheating: If you prefer a slightly softened dessert, you can let the cheesecake sit at room temperature for about 30 minutes before serving, enhancing its flavors.
Red Velvet Oreo Cheesecake Recipe FAQs
What type of Oreo cookies should I use for the crust?
I recommend using classic Oreo cookies for the crust, as they provide the perfect crunch and chocolate flavor. However, feel free to experiment with other flavors like Double Stuff Oreos for extra creaminess or even lemon-flavored cookies for a zesty twist!
How should I store leftover Red Velvet Oreo Cheesecake?
Leftovers should be kept in an airtight container in the refrigerator for up to 5 days. This helps maintain its freshness and flavor. Make sure to slice it chilled and wrap any pieces not being eaten immediately to prevent drying out.
Can I freeze Red Velvet Oreo Cheesecake?
Absolutely! For freezing, cut the cheesecake into individual slices and tightly wrap each piece in plastic wrap, followed by aluminum foil. You can freeze them for up to 3 months. When you’re ready to enjoy, simply transfer a slice to the refrigerator and let it thaw overnight.
Why did my cheesecake crack while baking?
Cheesecake cracks can happen due to sudden temperature changes or overbaking. To prevent cracks, avoid opening the oven door while the cheesecake bakes and let it cool gradually in the oven with the door closed for at least an hour. This helps it set without drastic shifts in temperature.
Is Red Velvet Oreo Cheesecake safe for my gluten-free friends?
To make this delightful dessert gluten-free, substitute the Oreo cookies with gluten-free sandwich cookies or a gluten-free cookie crust. Just ensure that all your ingredients, including the cake mix, are gluten-free to accommodate dietary restrictions!
What’s the best way to enhance the flavors in this cheesecake?
Great question! Using room temperature ingredients is key to achieving a smooth texture. Additionally, incorporating a touch of citrus zest into the cheesecake layers can brighten the flavors beautifully. Finally, consider using high-quality vanilla extract or vanilla bean paste to elevate the aroma and taste significantly.
Enjoy these tips as you embark on your Red Velvet Oreo Cheesecake adventure!
Indulgent Red Velvet Oreo Cheesecake That Impresses Every Time
Ingredients
Equipment
Method
- Preheat your oven to 350°F (175°C). In a food processor, blend the Oreo cookies until finely ground, then mix in the melted unsalted butter until the crumbs are evenly coated. Press this mixture firmly into the bottom of a 9-inch springform pan, creating a solid base. Bake the crust for 10 minutes until set, then remove and let it cool while you prepare the filling.
- In a large mixing bowl, beat together the cream cheese and granulated sugar until smooth and creamy. Add the room temperature eggs, one at a time, mixing thoroughly after each addition. Next, gently fold in the red velvet cake mix and vanilla extract until fully combined.
- In a separate bowl, blend the cream cheese with sugar until smooth. Incorporate vanilla extract to enhance the flavor. Mix until the consistency is creamy and fluffy.
- Carefully pour the red velvet cheesecake mixture over the cooled Oreo crust in the springform pan. Gently scoop the prepared vanilla layer on top of the red velvet layer, smoothing the surface with a spatula. Bake in the oven for 45-50 minutes until the cheesecake is just set in the center with a slight jiggle.
- After baking, turn off the oven and let the cheesecake cool inside for 1 hour with the door closed. Once cooled, remove the cheesecake from the oven and chill for at least 6 hours or overnight.
- On the stovetop, heat the heavy cream until it just reaches a simmer. Remove from heat and pour the hot cream over chopped dark chocolate in a bowl. Stir until the mixture is smooth and glossy.
- Garnish your Red Velvet Oreo Cheesecake with whipped cream or crushed Oreo crumbs. Carefully slice and serve it to your guests.


Leave a Reply