
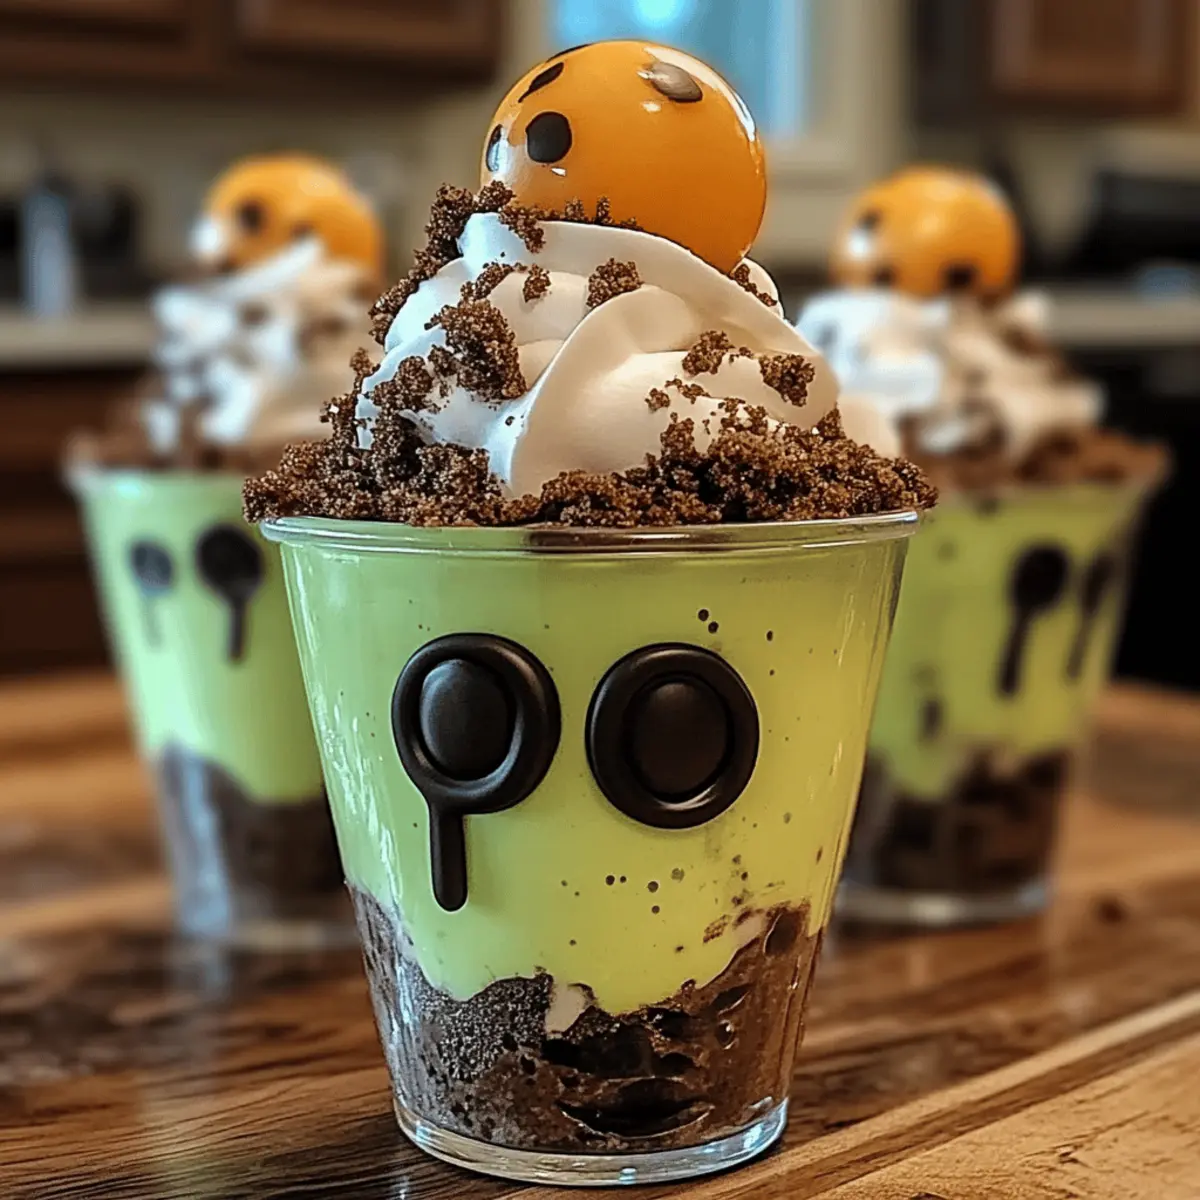
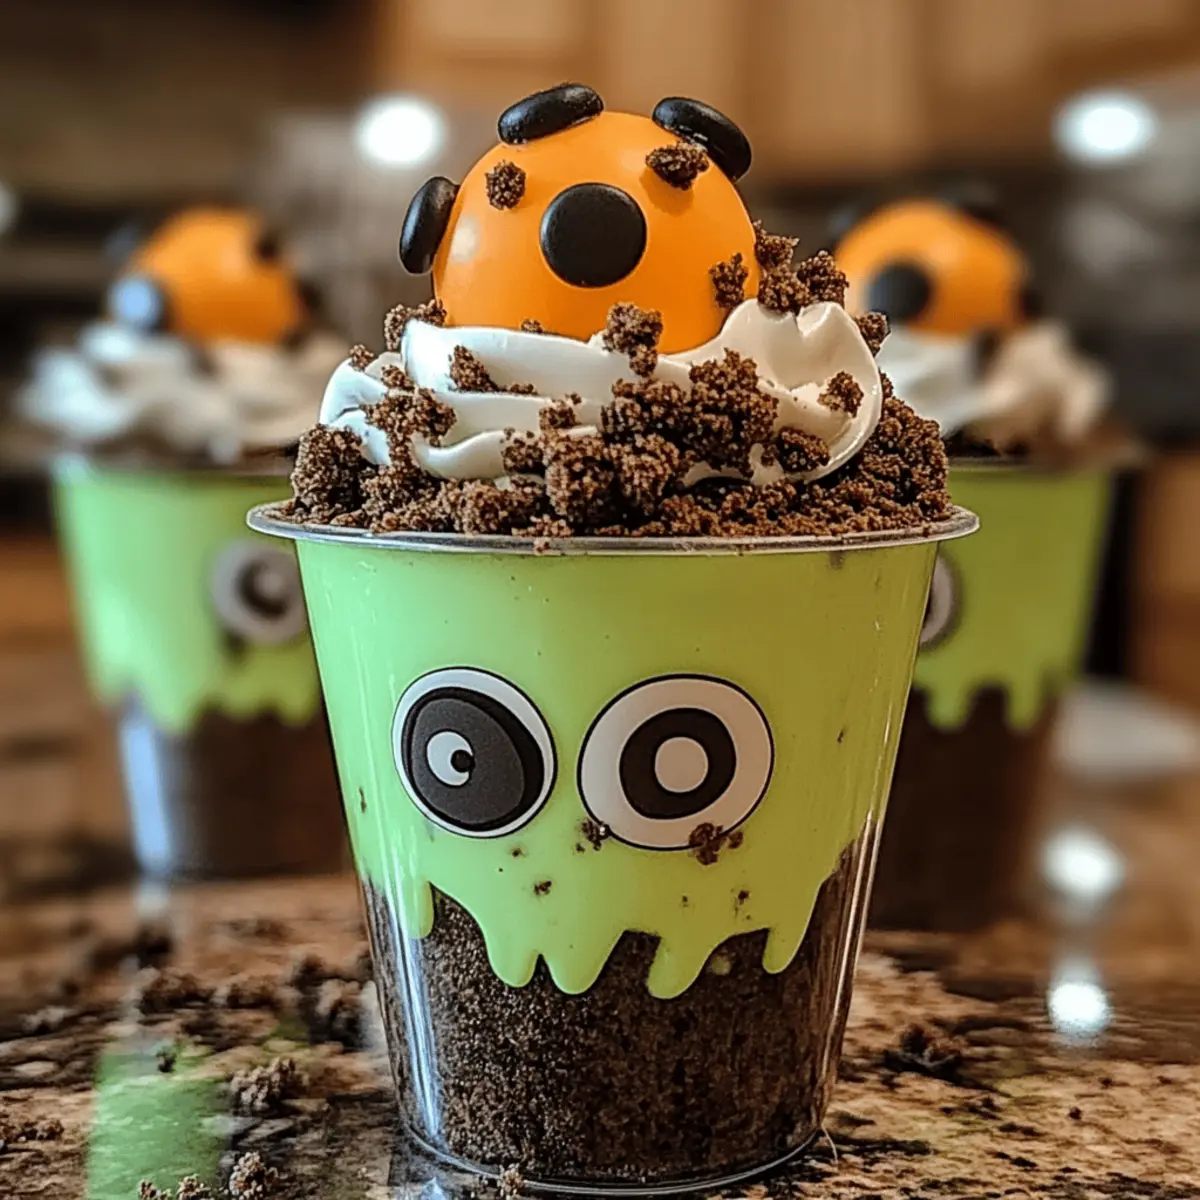
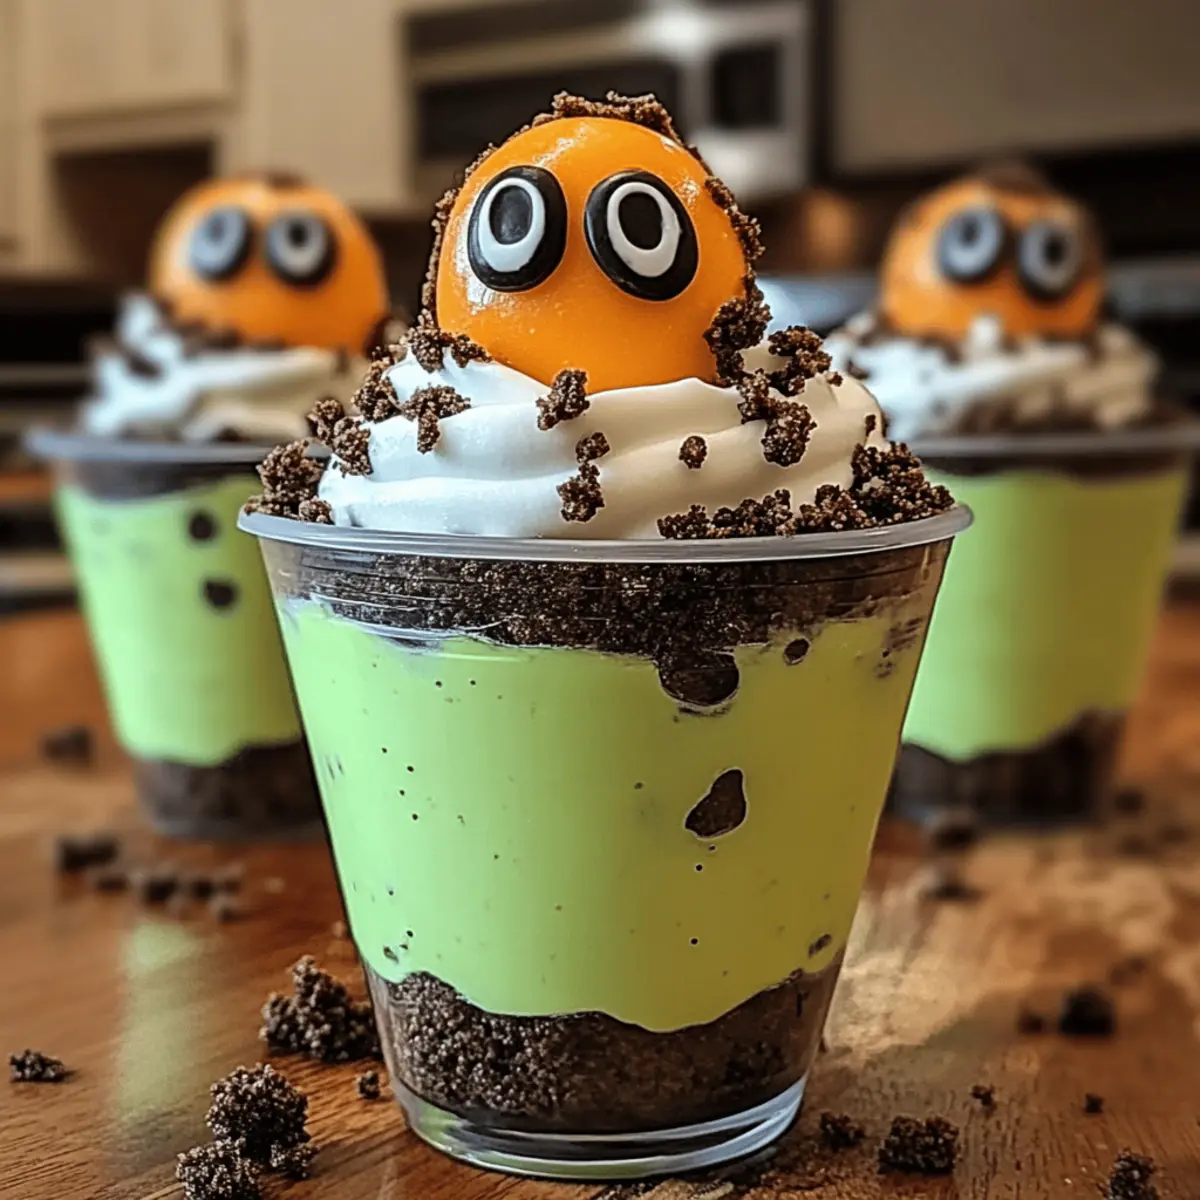
As the sun sets and the spooky season draws near, I can't help but reminisce about the Halloween parties of my childhood. Nothing quite captivates the spirit like the delightful Zombie Dirt Pudding Cups, a no-bake dessert sure to thrill both kids and grown-ups alike. Whipping these up takes just 10 minutes, making it an effortless addition to your Halloween festivities. Each cup features a whimsical layer of creamy white chocolate pudding paired with crunchy Mint Oreos, creating a treat that’s as visually enchanting as it is delicious. Not only are these pudding cups a fun centerpiece for your spooky spread, but their quick prep time means you can focus on what really matters this Halloween—making unforgettable memories. Are you ready to transform your kitchen into a graveyard of deliciousness?
Why Are Zombie Dirt Pudding Cups So Fun?
Irresistibly Fun: Kids will love the whimsical presentation, and adults can’t resist a nostalgic treat.
Quick and Easy: With only 10 minutes of prep, you can whip these up in no time—perfect for busy Halloween schedules!
No-Bake Delight: Forget the oven; this recipe requires no baking at all, making it a stress-free option for any gathering.
Customizable Layers: Feel free to get creative with flavors or toppings; experiment with different Oreo varieties or sprinkles for a personalized touch.
Perfect for Sharing: These pudding cups are perfect for parties or potlucks, offering a crowd-pleasing dessert that everyone will enjoy.
Memorable Experience: Crafting and decorating these treats creates a fun activity for family and friends—making sweet memories along the way! For more delightful Halloween ideas, check out our Halloween-themed recipes.
Zombie Dirt Pudding Cups Ingredients
For the Pudding Mixture
• Instant White Chocolate Pudding Mix – Provides a creamy filling that's delightful and rich; vanilla pudding makes a good substitute for a milder flavor.
• Whole Milk – Essential for proper thickening; avoid skim milk or non-dairy alternatives for the best results.
• Green Food Coloring – Adds that festive, spooky touch; adjust the number of drops to achieve your desired ghoulish shade.
For the Crunchy Base
• Mint Oreos – Creates a deliciously crunchy base; feel free to use regular Oreos if you prefer a classic chocolate flavor.
• Cool Whip – Contributes a fluffy, light texture; homemade whipped cream can be an excellent alternative for a fresher taste.
For Decorative Toppings
• Large and Small Candy Eyeballs – Essential for creating that spooky decor; you can substitute with gummy candies or your favorite chocolate pieces.
• Bone or Skeleton Sprinkles – Optional but a fun addition for extra Halloween flair; these will make your cups even more festive!
Delight in creating these Zombie Dirt Pudding Cups, as they promise to bring smiles at any Halloween gathering!
Step‑by‑Step Instructions for Zombie Dirt Pudding Cups
Step 1: Prepare the Oreo Base
Start by twisting off one side of twelve Mint Oreos, saving the cream filling. Place the Oreos without the filling in a plastic bag and crush them into fine crumbs using a rolling pin or your hands. You'll want about a cup of fine crumbs, which will create the crunchy base for your Zombie Dirt Pudding Cups.
Step 2: Mix the Pudding
In a medium-sized mixing bowl, whisk together two cups of whole milk and the instant white chocolate pudding mix. Continue whisking for 1-2 minutes until the mixture thickens to a creamy consistency. To achieve that spooky green color, add a few drops of green food coloring and mix until you reach your desired shade, creating the perfect base for your pudding cups.
Step 3: Fold in Cool Whip
Next, take one cup of Cool Whip and gently fold it into the thickened pudding mixture. Use a spatula and carefully combine until you see no white streaks, making sure not to deflate the light and fluffy texture. This step is crucial for ensuring your Zombie Dirt Pudding Cups are creamy and enjoyable with every bite.
Step 4: Layer the Ingredients
Now it’s time to assemble your Zombie Dirt Pudding Cups! Start layering by spooning in a layer of crushed Oreo crumbs at the bottom of each serving cup. Follow this with a generous layer of the creamy pudding mixture, and repeat until your cups are filled, finishing with a layer of Oreo crumbs on top for that iconic "dirt" look.
Step 5: Chill the Pudding Cups
Place the assembled pudding cups in the refrigerator and chill for at least one hour. This chilling time helps set the pudding and enhances the overall texture of your Zombie Dirt Pudding Cups, making each layer distinct and enjoyable. You'll know they’re ready when the pudding is firm yet creamy.
Step 6: Add the Eyeballs
Once chilled, it's time for the fun part! Take one large and one small candy eyeball and press them into each Oreo half you saved earlier. Then, gently insert these decorated Oreos into the top of each pudding cup, making them look like they’re peeking out of the dirt for a spooky effect, adding character to your Halloween treat.
Step 7: Decorate
Finally, to elevate your Zombie Dirt Pudding Cups, sprinkle bone or skeleton sprinkles on top of each cup for that extra Halloween flair. This final touch adds a festive vibe and makes your spooky dessert even more eye-catching, perfect for delightful Halloween gatherings and celebrations.
Tips for the Best Zombie Dirt Pudding Cups
- Use Whole Milk: For the best consistency, stick to whole milk. Low-fat or non-dairy options can lead to a runny pudding.
- Chill Well: Allow your pudding cups to chill for at least one hour. This helps set the layers and enhances the creamy texture of the Zombie Dirt Pudding Cups.
- Layer Carefully: When layering, be gentle to maintain distinct and visually appealing layers. This really showcases the dessert’s fun design!
- Eyeball Placement: For an extra spooky touch, ensure candy eyeballs are securely pressed into the Oreo tops right before serving to keep them fresh and intact.
- Quality Ingredients Matter: High-quality Oreos and pudding mix make all the difference in flavor. Choose brands you love for the best results!
Storage Tips for Zombie Dirt Pudding Cups
Fridge: Store the assembled Zombie Dirt Pudding Cups in the refrigerator for up to 3 days. Cover with plastic wrap or a lid to keep them fresh and prevent them from absorbing any unwanted odors.
Make Ahead: You can prepare the pudding mixture and layer the cups up to 24 hours in advance. Just remember to cover them with plastic wrap before chilling to maintain their creamy texture.
Freezer: If you have leftovers, you can freeze the Zombie Dirt Pudding Cups, but be sure to do so without the candy eyeballs or sprinkles. They can be frozen for up to 1 month. Thaw in the refrigerator overnight before serving.
Reheating: There’s no need to reheat these cups, as they are best enjoyed cold and creamy straight from the fridge!
What to Serve with Zombie Dirt Pudding Cups
Elevate your spooky dessert experience with these delightful pairings that enhance the fun while tantalizing your taste buds!
-
Witch’s Brew Punch: A refreshingly spooky drink that combines citrus and soda, perfect for the Halloween spirit. The fizzy elements play against the creamy pudding cups, exciting your palate.
-
Ghostly Fruit Skewers: Colorful fruit skewers with ghost-shaped marshmallows add a nutritious touch. The fresh sweetness beautifully balances the rich, decadent flavors of the Zombie Dirt Pudding Cups.
-
Spooky Sugar Cookie Cutouts: Festively decorated cookies are perfect for a sweet contrast. Their crisp texture alongside the creamy pudding will delight both kids and adults at your Halloween gathering.
-
Mummy Dogs: Fun and whimsical, these tasty hot dogs wrapped in crescent roll dough are a crowd favorite. Their savory flavor pairs wonderfully with the sweet decadence of the pudding cups!
-
Creepy Crunchy Vegetable Platter: Include colorful carrots, cucumbers, and bell peppers, served with a spooky dip. The crisp, fresh elements offer a refreshing bite that complements the pudding's richness.
-
Pumpkin Spice Hot Chocolate: Warm up with a cozy drink that embraces fall flavors. The spicy sweetness adds an extra layer of comfort alongside the playful Zombie Dirt Pudding Cups.
-
Caramel Apple Slices: Sweet, crunchy apple slices dipped in caramel provide a delicious juxtaposition, merging seasonal flavors perfectly with your spooky dessert.
-
Candy Corn Parfaits: Layered candy corn and yogurt create a festive theme, offering a fun visual that ties in seamlessly with your Halloween atmosphere.
-
Spooky Spritzers: Light, fizzy beverages flavored with cranberry or pomegranate juice make for a delightfully festive refreshment that cleanses the palate between the rich bites of dessert.
Zombie Dirt Pudding Cups Variations
Feel free to have fun and personalize these treats to match your family's taste buds or party theme!
-
Dairy-Free: Swap out whole milk with almond or coconut milk and use a plant-based whipped topping for a dairy-free version that’s still creamy.
-
Flavor Twist: Experiment with different Oreo flavors, like peanut butter or birthday cake, for a unique spin that adds new layers of taste.
-
Chocolatey Goodness: For extra chocolate flavor, mix in cocoa powder to the pudding mixture or top with chocolate sprinkles—your dessert creation will be irresistible!
-
Fruity Fun: Add in crushed freeze-dried strawberries or blueberries between layers for a fruity surprise that balances the sweetness perfectly.
-
Layered Crunch: Add a layer of crushed nuts or granola to give your pudding cups an added crunch. The contrast in texture will delight your taste buds!
-
Spicy Kick: For adults, consider sprinkling a bit of cayenne pepper over the top before serving to surprise guests with a fun, spicy twist.
-
Edible Glitter: Boost the spook factor by adding edible glitter or shimmer dust on top—this will make your Zombie Dirt Pudding Cups sparkle and shine!
-
Gummy Worms: For an even more playful Halloween look, stick chewy gummy worms into the pudding cups to crawl their way through the “dirt.”
Each variation opens a new door to creativity, making these Zombie Dirt Pudding Cups a canvas for your culinary imagination! For more festive inspiration, don’t forget to check out our other Halloween-themed recipes or ideas for creating other delightful no-bake desserts like Jelly Witch Finger Treats.
Make Ahead Options
These Zombie Dirt Pudding Cups are perfect for busy home cooks looking to save time during Halloween festivities! You can prepare the pudding mixture and layer the cups up to 24 hours in advance, ensuring they stay fresh by covering them tightly with plastic wrap in the refrigerator. This not only saves you time but also allows the flavors to meld for a richer taste. When it’s time to serve, simply add the candy eyeballs and optional skeleton sprinkles on top just before presenting, and you’ll have a stunning, crowd-pleasing dessert that’s just as delicious as if you made it the same day!

Zombie Dirt Pudding Cups Recipe FAQs
What type of Oreos should I use for the Zombie Dirt Pudding Cups?
I recommend using Mint Oreos for that extra burst of flavor combined with the creamy white chocolate pudding. However, if you prefer a classic taste, regular Oreos work beautifully too!
How long can I store Zombie Dirt Pudding Cups in the fridge?
Store your assembled Zombie Dirt Pudding Cups in the refrigerator for up to 3 days. Just cover them with plastic wrap or a lid to keep them fresh and prevent any odor absorption.
Can I make Zombie Dirt Pudding Cups ahead of time?
Absolutely! You can prepare the pudding mixture and layer the cups up to 24 hours in advance. Just cover them with plastic wrap to maintain their creamy texture while chilling in the fridge.
How do I freeze Zombie Dirt Pudding Cups?
If you want to freeze leftovers, do so without the candy eyeballs and sprinkles. Place them in an airtight container and freeze for up to 1 month. When you're ready to enjoy them, thaw in the refrigerator overnight!
What should I do if the pudding doesn’t thicken properly?
If your pudding mixture isn't thickening after whisking for 1-2 minutes, try chilling your milk before mixing. This can help achieve a better consistency. If it still doesn't thicken, it might be due to expired pudding mix—check the expiration date!
Are there any dietary considerations for this recipe?
Yes! The Zombie Dirt Pudding Cups contain dairy and gluten, so make sure to substitute with non-dairy pudding and gluten-free cookies if anyone has allergies. Always check ingredient labels to ensure they fit your dietary needs.
Delicious Zombie Dirt Pudding Cups for a Spooky Halloween Treat
Ingredients
Equipment
Method
- Prepare the Oreo Base: Twist off one side of twelve Mint Oreos and save the cream filling. Crush the Oreos in a plastic bag until you achieve about a cup of fine crumbs.
- Mix the Pudding: Whisk together two cups of whole milk and the instant white chocolate pudding mix for 1-2 minutes until thick. Add green food coloring to achieve desired shade.
- Fold in Cool Whip: Gently fold one cup of Cool Whip into the pudding mixture until no white streaks remain.
- Layer the Ingredients: Layer crushed Oreo crumbs at the bottom of each cup, followed by pudding mixture, repeat layers, finishing with Oreos on top.
- Chill the Pudding Cups: Refrigerate the assembled cups for at least one hour to set the pudding.
- Add the Eyeballs: Press one large and one small candy eyeball into each saved Oreo half and insert into the pudding cups.
- Decorate: Sprinkle bone or skeleton sprinkles on top of each cup before serving for an extra festive touch.


Leave a Reply