
The smell of turkey, stuffing, and cranberry sauce wafting through the kitchen is enough to stir up feelings of warmth and nostalgia as Thanksgiving approaches. But what happens when the feast ends and your fridge fills with leftovers? Enter the Thanksgiving Crunchwrap: a deliciously inventive way to transform those familiar staples into fun, handheld bites. This recipe not only satisfies your cravings in under 30 minutes, but it also allows for endless variations, whether you're loading it with vegetarian veggies or opting for gluten-free tortillas. Plus, it’s a wonderful opportunity to give those holiday dishes a fresh twist—turning your leftover turkey into a crunchy delight the whole family will love. Curious how to whip up this comforting yet creative wrap? Let’s dive in!
Why Try Thanksgiving Crunchwraps?
Versatility at Its Best: You can easily swap ingredients based on what you have on hand, making this dish perfect for using up leftovers.
Crowd-Pleasing Fun: Serve these Crunchwraps at your next gathering, and watch everyone enjoy customizing their own!
Quick and Easy: Ready in under 30 minutes, it's a time-saver for busy weeknights.
Dietary Friendly: Gluten-free and dairy-free variations ensure that everyone can enjoy a hearty bite.
Flavorful Memories: This recipe keeps the spirit of Thanksgiving alive, inviting warmth and nostalgia with every crunchy mouthful! Check out how to make the ultimate side dishes to serve alongside these delightful wraps!
Thanksgiving Crunchwrap Ingredients
For the Wrap
- Large Flour Tortillas – The foundation of your Crunchwrap; consider whole wheat or gluten-free options for varied tastes.
For the Filling
- Shredded Leftover Turkey – Adds protein and that classic Thanksgiving flavor; shredded chicken makes a great substitute.
- Leftover Mashed Potatoes – Brings creaminess and texture to your wrap; any mashed variety works wonders!
- Leftover Stuffing – Gives heartiness and traditional taste; feel free to substitute with bread-based stuffing or quinoa.
- Leftover Cranberry Sauce – Adds a sweet and tangy zing; use any fruit spread or chutney if you're out.
- Leftover Green Beans – Infuses nutrients and a pop of color; swap in any leftover veggies like corn or Brussels sprouts.
- Shredded White Cheddar – Provides creamy goodness and flavor; montrey jack or gouda are tasty alternatives.
- Gravy – Perfect for dipping, enhances the savoriness of warm Crunchwraps.
Embrace this Thanksgiving Crunchwrap as your new go-to for turning leftovers into an unforgettable meal!
Step‑by‑Step Instructions for Thanksgiving Crunchwrap: Transform Leftovers into Fun Bites
Step 1: Prepare the Filling
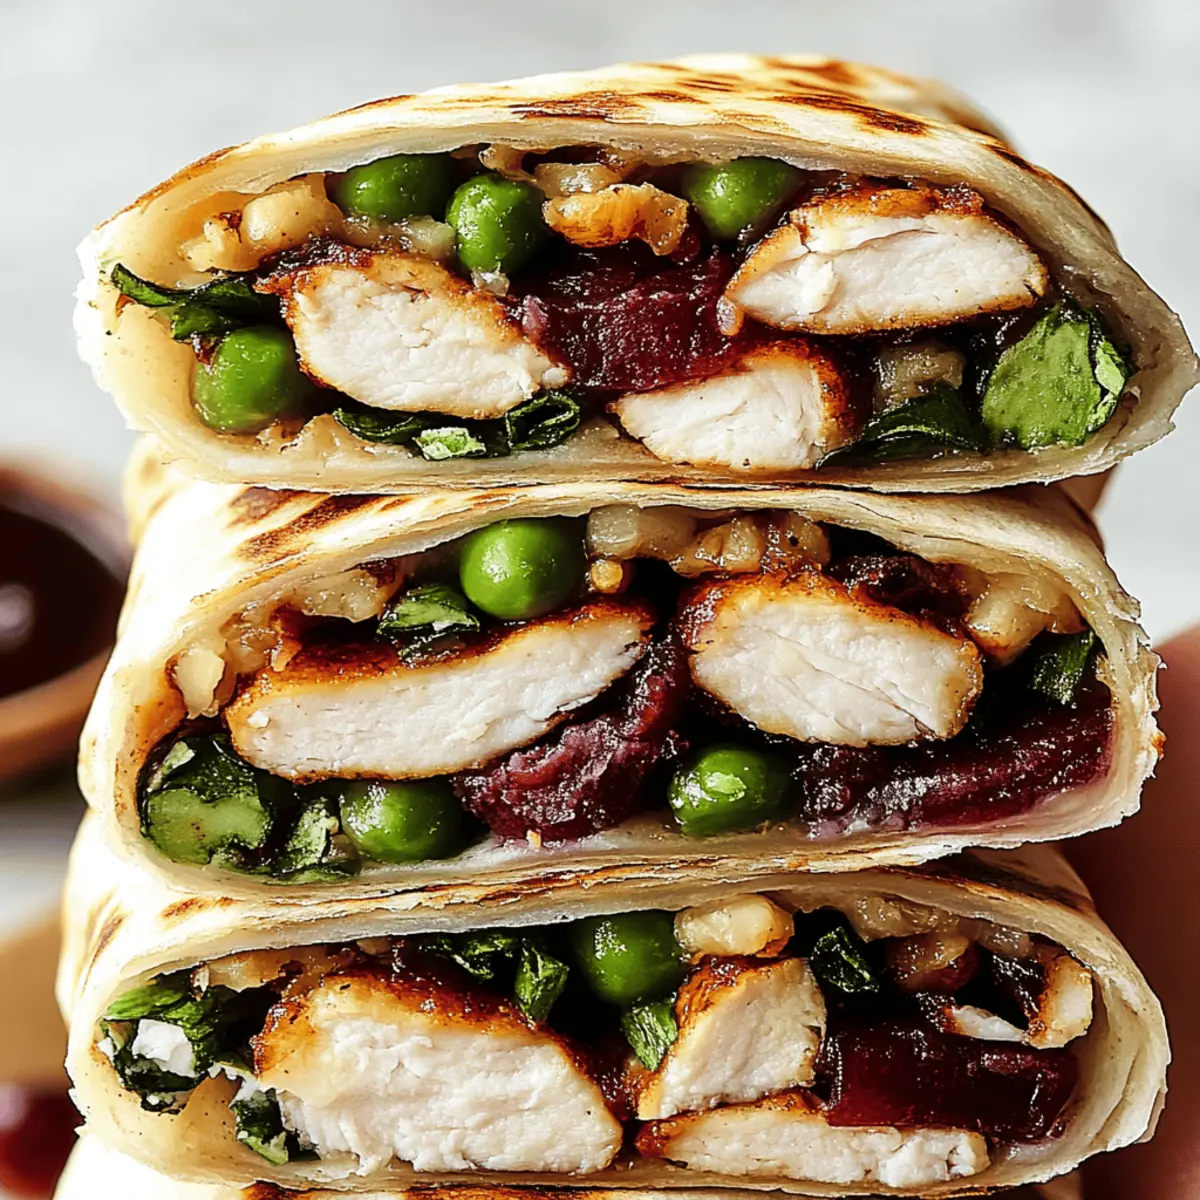
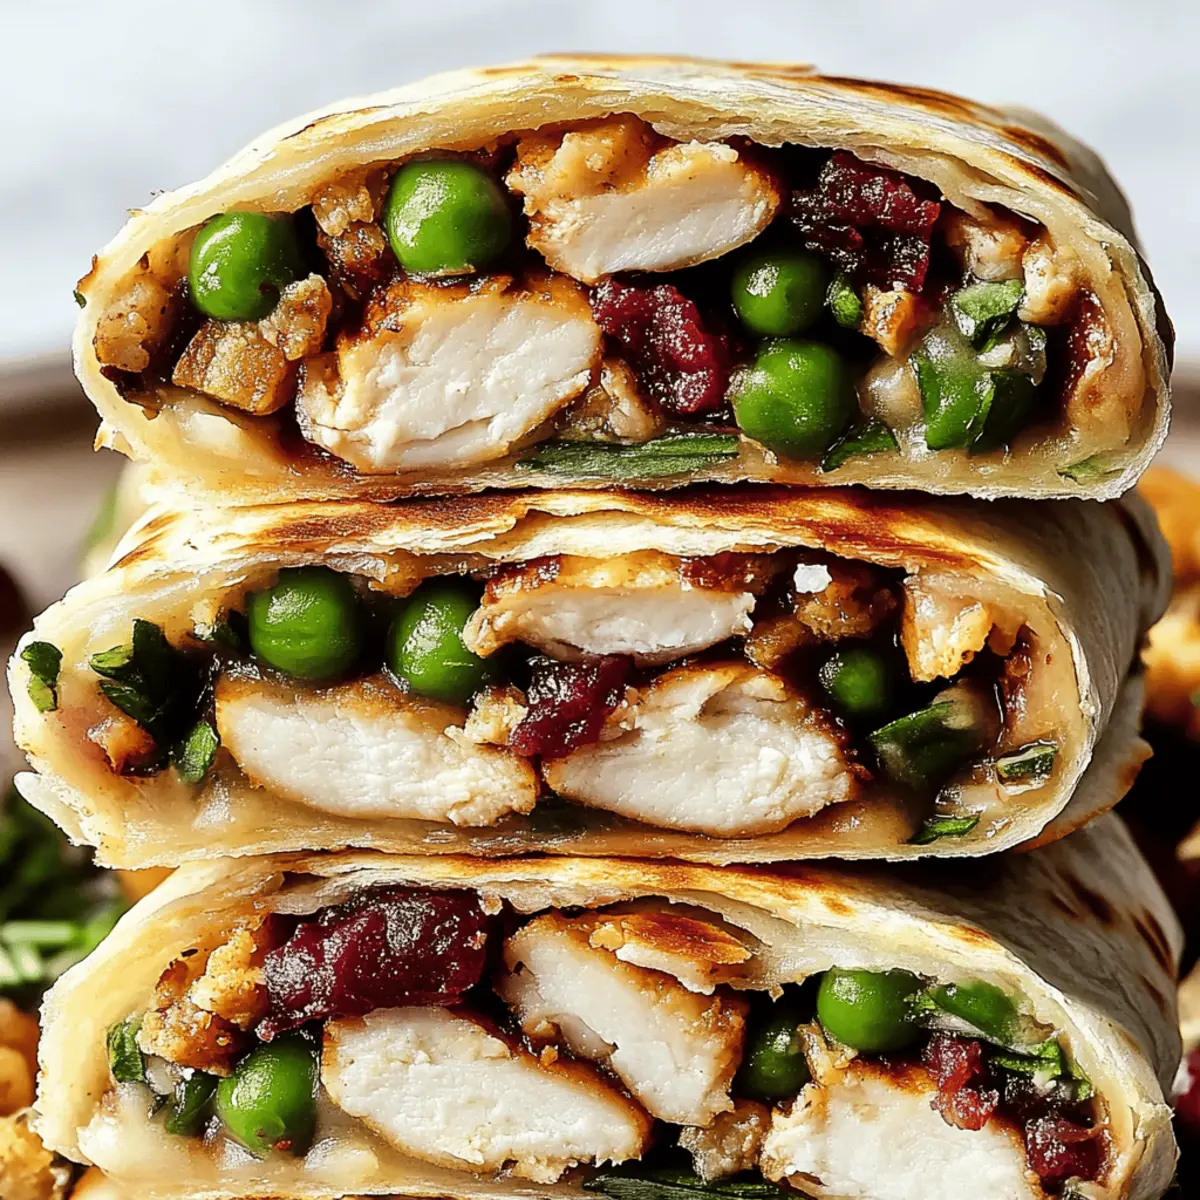
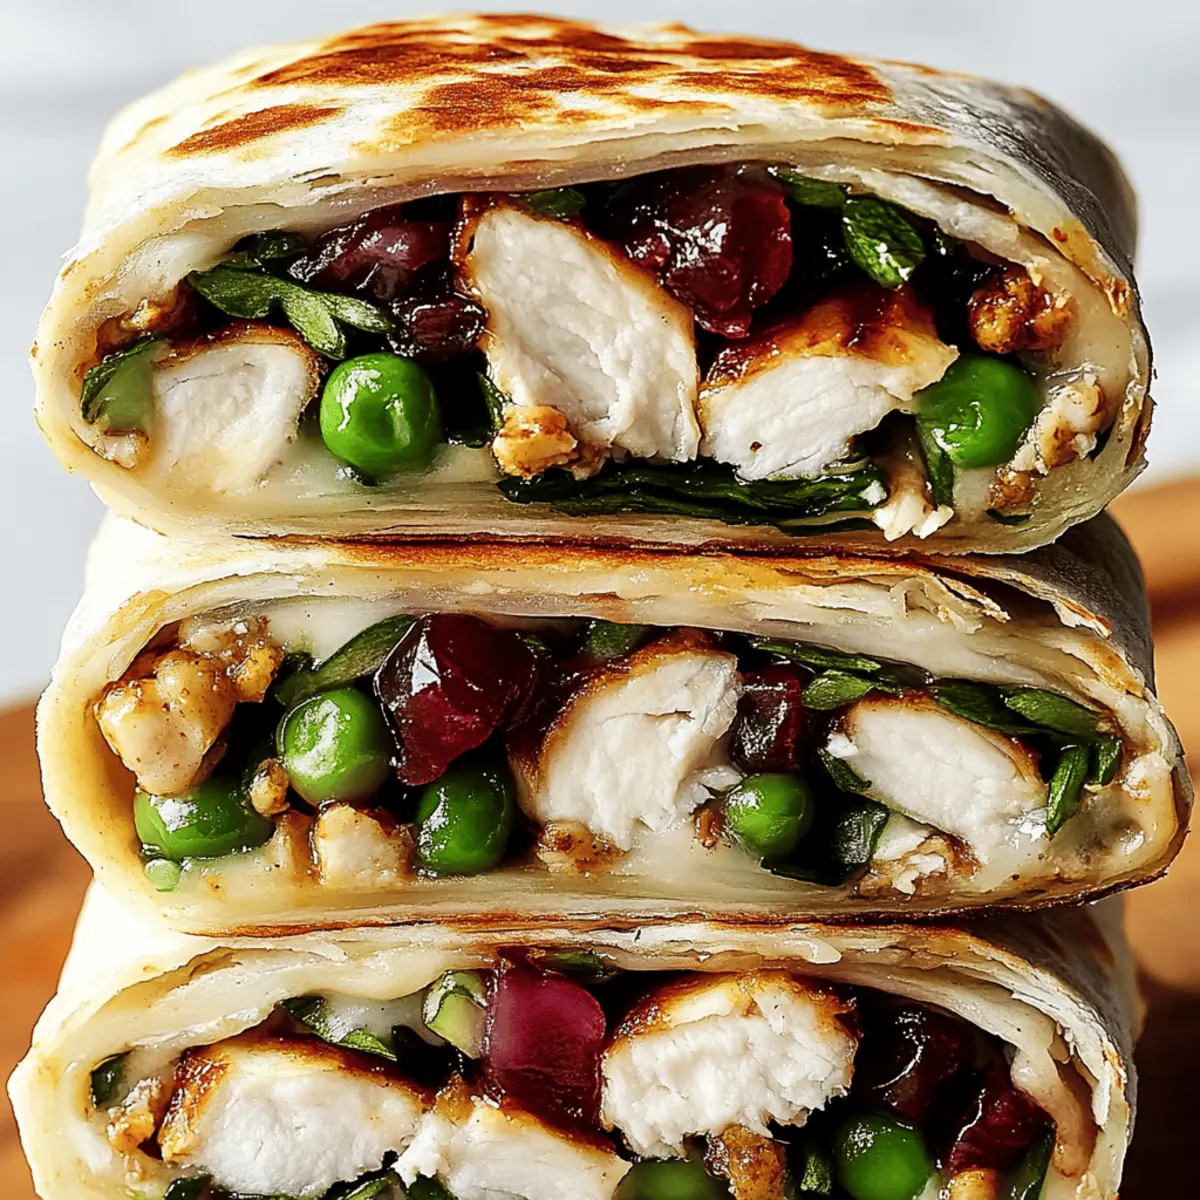
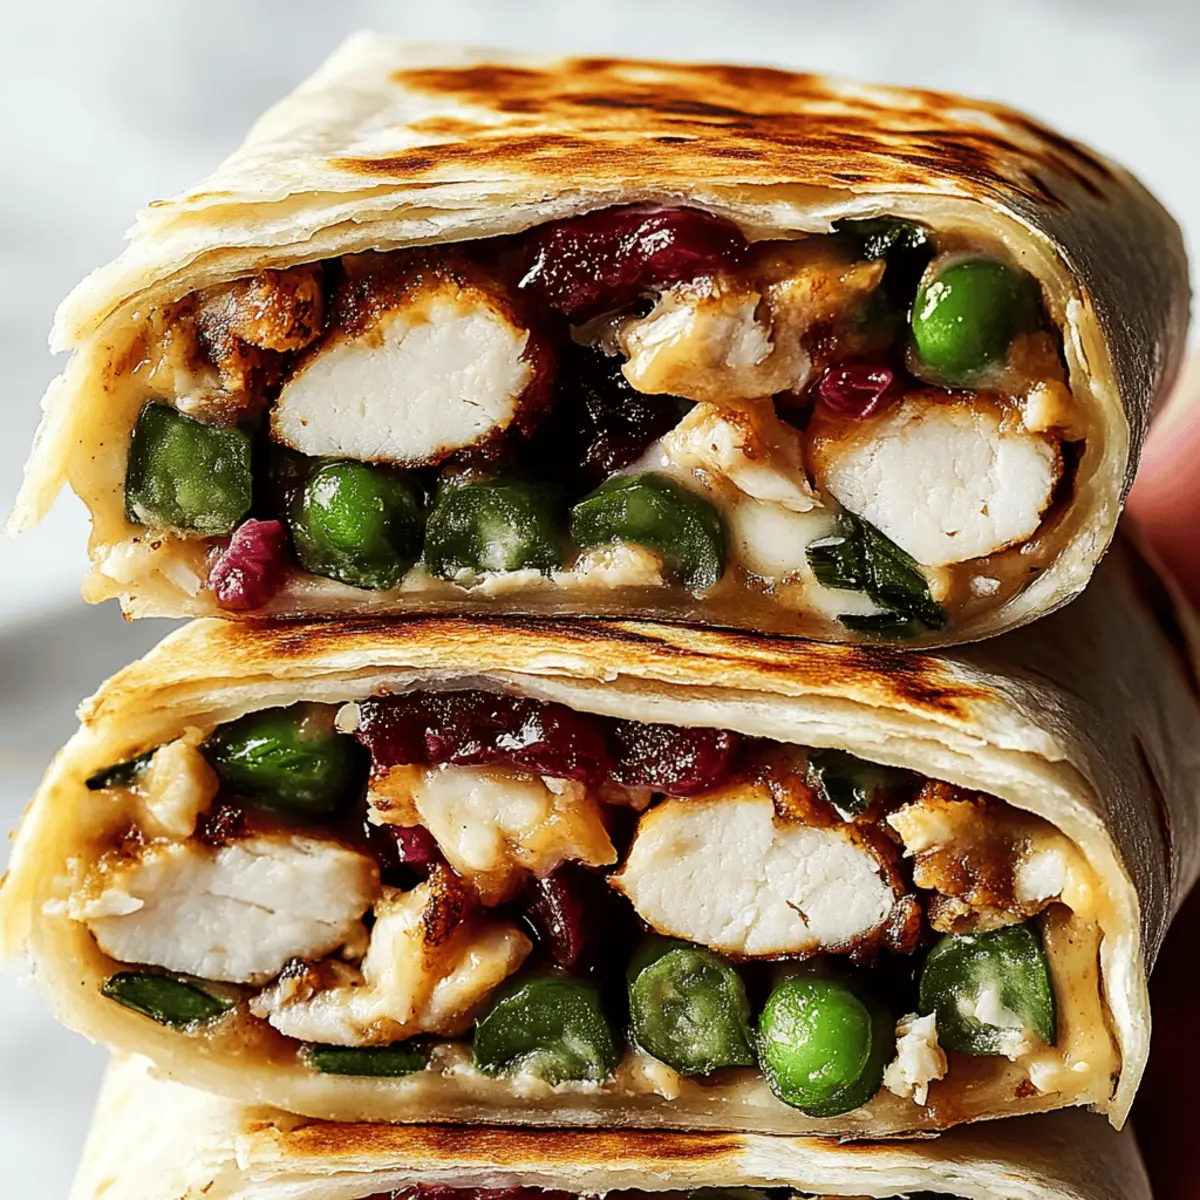
In a mixing bowl, gently combine the shredded leftover turkey, mashed potatoes, green beans, stuffing, cranberry sauce, and shredded cheddar. Mix until all ingredients are evenly distributed, creating a cohesive mixture. This flavorful filling captures all those beloved Thanksgiving tastes. Set it aside while you prepare to assemble your Thanksgiving Crunchwraps.
Step 2: Assemble the Crunchwrap
Lay a large flour tortilla flat on a clean surface. Spoon a generous portion of the filling into the center of the tortilla, leaving enough space around the edges to fold easily. Carefully bring the sides of the tortilla inward, then fold the top and bottom edges over the filling, creating a neat, sealed package. This ensures a deliciously stuffed Crunchwrap that holds together during cooking.
Step 3: Preheat the Skillet
Heat a large skillet over medium heat for about 3 minutes. If desired, lightly spray the skillet with cooking oil to enhance crispiness. The skillet should be warm enough that a drop of water sizzles upon contact. This prepares the cooking surface for the Thanksgiving Crunchwrap, ensuring it turns golden brown and crispy.
Step 4: Cook Until Golden
Place the assembled Crunchwrap seam-side down in the preheated skillet. Cook for 2-3 minutes, without moving it, until the underside is golden brown and crispy. Carefully flip the Crunchwrap using tongs or a spatula and cook for another 2-3 minutes on the other side. This will give you a beautifully browned exterior and a deliciously warm filling.
Step 5: Serve Warm
Once both sides are golden, remove the Thanksgiving Crunchwrap from the skillet and allow it to cool for a minute. Slice it in half to reveal the warm, savory filling inside. Serve with a side of warm gravy for dipping, enhancing the flavors and making this delightful hand-held meal even more enjoyable.
Thanksgiving Crunchwrap: Versatile Variations
Feel free to unleash your creativity with these crunchy bites and make them your own!
- Dairy-Free: Replace cheese with a vegan alternative like cashew cheese to maintain creaminess without dairy.
- Veggie-Packed: Swap out turkey for sautéed mixed vegetables such as bell peppers and mushrooms. This twist keeps it hearty and adds a burst of color!
- Spicy Kick: Infuse your filling with jalapeños or red pepper flakes if you're craving a little heat. These additions create a delightful zing with each bite.
- Gluten-Free: Opt for corn tortillas or lettuce wraps to enjoy this dish without gluten. This way, everyone can savor the goodness!
- Crispy Bacon: Crumble in some cooked bacon for a touch of smokiness and extra flavor. The crispy bits add a wonderful crunch that complements the wrap perfectly.
- Herb-Infused: Elevate your Crunchwrap with fresh herbs like rosemary or thyme for an aromatic twist. A little greenery can transform ordinary into extraordinary.
- Surprise Sweetness: Consider folding in sautéed apples or adding a drizzle of balsamic glaze for a sweet contrast. This unexpected flavor profile meshes beautifully with savory ingredients.
- Protein-Packed: Replace turkey with seasoned black beans or chickpeas for a hearty vegetarian version that’s as satisfying as the original!
Feel free to adjust seasonings or try out different combinations based on what you have at home. Enjoy sipping on a warm soup or serving it alongside a refreshing salad like my Simple Arugula Salad to complement your meal!
Expert Tips for Thanksgiving Crunchwraps
• Proper Filling Consistency: Ensure the filling is not too wet to prevent soggy wraps. Drain excess moisture from ingredients like mashed potatoes.
• Achieve Perfect Crispiness: Lightly spray the outside of the Crunchwrap with cooking oil before cooking for an irresistibly crispy finish.
• Watch the Heat: Monitor the cooking closely to avoid burning. Adjust the heat if needed for even browning of your Thanksgiving Crunchwrap.
• Use Fresh Tortillas: Opt for fresh, pliable tortillas for the best wrap quality. Stale tortillas can crack and jeopardize your delicious creation.
• Get Creative: Feel free to mix and match ingredients based on your leftovers and dietary needs, making this Crunchwrap as versatile as it is delicious!
What to Serve with Thanksgiving Crunchwrap?
Elevate your Thanksgiving Crunchwrap experience with delightful sides and accompaniments that enhance its comforting flavors.
- Crispy Sweet Potato Fries: These crunchy, slightly sweet fries provide a delicious contrast, adding a vibrant color and texture to your meal.
- Zesty Coleslaw: The tangy crunch of coleslaw brightens up each bite, bringing freshness and a touch of acidity to balance the richness of the wrap.
- Garlic Green Beans: Tender green beans sautéed with garlic offer a savory, earthy note that pairs beautifully with the flavors of Thanksgiving.
- Creamy Potato Salad: A cool, creamy potato salad complements the warm Crunchwrap, providing a soothing mouthfeel with every bite.
- Homemade Cranberry Sauce: Amplify the wrap's cranberry flavor by serving a side of your bright, homemade sauce for that perfect sweet-tart pairing.
- Buttery Cornbread Muffins: Soft and sweet corn muffins are perfect for scooping up any extra filling or gravy, making them a comforting companion.
- Savory Gravy Dip: Don’t forget an extra bowl of warm gravy for dipping! It enhances the wrap and brings additional flavor to each mouthful.
- Spiced Apple Cider: A warm cup of spiced apple cider brings cozy, aromatic notes that resonate beautifully with the Thanksgiving spirit of the meal.
- Pumpkin Pie Bites: For a sweet ending, serve mini pumpkin pie bites to finish your meal on a festive note, tying in all those classic Thanksgiving flavors.
Make Ahead Options
These Thanksgiving Crunchwraps are a game-changer for meal prep enthusiasts! You can prepare the filling—combining shredded leftover turkey, mashed potatoes, green beans, stuffing, cranberry sauce, and shredded cheddar—up to 3 days in advance. Store it in an airtight container in the refrigerator to keep those flavors fresh. When you're ready to serve, simply lay out your tortillas, add the filling, and fold them just before cooking for that crispy finish. Cooking them right away ensures a delightful crunch, but if you need more time, the assembled but uncooked wraps can be frozen for up to 2 months. Just thaw overnight in the fridge and cook as directed for restaurant-quality results with minimal effort!
How to Store and Freeze Thanksgiving Crunchwrap
Fridge: Store leftover Crunchwraps tightly wrapped in foil or in an airtight container for up to 3 days. This keeps them fresh and ready for snacking!
Freezer: Assembled but uncooked Crunchwraps can be frozen for up to 2 months. Just wrap them well to prevent freezer burn, and enjoy later!
Reheating: To reheat, place Crunchwraps in a skillet over medium heat. Cook for about 5-7 minutes, flipping until they are hot and crispy. Enjoy your Thanksgiving Crunchwrap with that warm, comforting flavor!
Make-Ahead: For added convenience, prep your filling ahead of time. Store it in the fridge for up to 2 days, then just assemble and cook when you're ready!
Thanksgiving Crunchwrap Recipe FAQs
How do I select ripe ingredients for my Thanksgiving Crunchwrap?
Absolutely! For the best taste, choose vegetables that are firm and vibrant in color. If using leftover green beans, ensure they are still crisp without dark spots. For mashed potatoes, aim for a creamy texture without excess water—not overly dry or runny.
How should I store leftover Thanksgiving Crunchwraps?
No worries! Store any leftover Crunchwraps tightly wrapped in foil or in an airtight container for up to 3 days in the refrigerator. This keeps them fresh and ready for snacking or a quick meal!
Can I freeze my assembled Thanksgiving Crunchwraps? How do I do it?
Yes, you can freeze them! Assemble the Crunchwraps but don’t cook them. Wrap each one tightly in plastic wrap and then in aluminum foil to prevent freezer burn. They can be frozen for up to 2 months. When ready to enjoy, just remove from the freezer and cook straight from frozen, increasing cooking time to about 5-7 minutes on each side until they are hot and crispy.
What can I do if my Crunchwraps are getting soggy?
Very! If you notice soggy wraps, check the moisture content of your filling. Be sure to drain excess liquid from any ingredients like mashed potatoes or gravy before combining. A thicker filling will help keep everything together without making the wrap damp.
Are there any dietary considerations for my Thanksgiving Crunchwrap?
Certainly! For dairy-free options, replace cheese with a vegan alternative. If anyone has gluten sensitivities, corn tortillas or even lettuce wraps can serve as an excellent substitute. Always make sure to double-check ingredient labels for allergies, especially if you’re using leftover dishes.
How long does the Thanksgiving Crunchwrap stay good in the fridge?
The more the merrier! Leftover Crunchwraps can be stored in the fridge for up to 3 days. Just make sure to wrap them well to retain their flavor and texture. If you’ve prepared your filling ahead of time, that can be stored in the fridge for up to 2 days before assembly!
Enjoy experimenting with your Thanksgiving Crunchwrap—there's so much fun to be had with leftover creativity!
Thanksgiving Crunchwrap: Fun Bites to Transform Leftovers
Ingredients
Equipment
Method
- Prepare the Filling: In a mixing bowl, gently combine the shredded leftover turkey, mashed potatoes, green beans, stuffing, cranberry sauce, and shredded cheddar. Mix until all ingredients are evenly distributed.
- Assemble the Crunchwrap: Lay a large flour tortilla flat on a clean surface. Spoon a generous portion of the filling into the center, leaving space around the edges. Fold the sides inward, then fold the top and bottom edges over the filling, creating a sealed package.
- Preheat the Skillet: Heat a large skillet over medium heat for about 3 minutes, lightly spraying with cooking oil if desired to enhance crispiness.
- Cook Until Golden: Place the Crunchwrap seam-side down in the skillet. Cook for 2-3 minutes until golden brown, then flip and cook another 2-3 minutes.
- Serve Warm: Remove the Crunchwrap from the skillet, allow to cool for a minute, slice in half, and serve with warm gravy for dipping.
Leave a Reply