
As I sift through my memories of Italian family gatherings, the cheerful chatter and the sweet scent of fresh pastries come rushing back, and at the heart of it all were the beloved cannoli. Now, imagine bringing that same joy into a delightful cookie format—meet my Cannoli Cookies! This easy recipe not only captures that creamy ricotta filling and crisp exterior we adore but also allows for customizable variations to fit every taste bud. What I love most is how quick to prepare they are, perfect for impressing friends at gatherings or indulging solo with a comforting treat. With these Cannoli Cookies, you won’t just be baking; you’ll be creating sweet moments that linger long after the last bite. Curious about how to make them uniquely yours? Let’s dive in!

Why are Cannoli Cookies so special?
Sweet nostalgia: Cannoli Cookies evoke the memory of traditional Italian gatherings, infusing your kitchen with warmth and joy.
Adaptable delights: This recipe is easily customizable, allowing you to switch up flavors or ingredients to suit your preferences.
Quick prep: In under 35 minutes, you can create mouthwatering cookies that impress any guest or provide comfort on a quiet night.
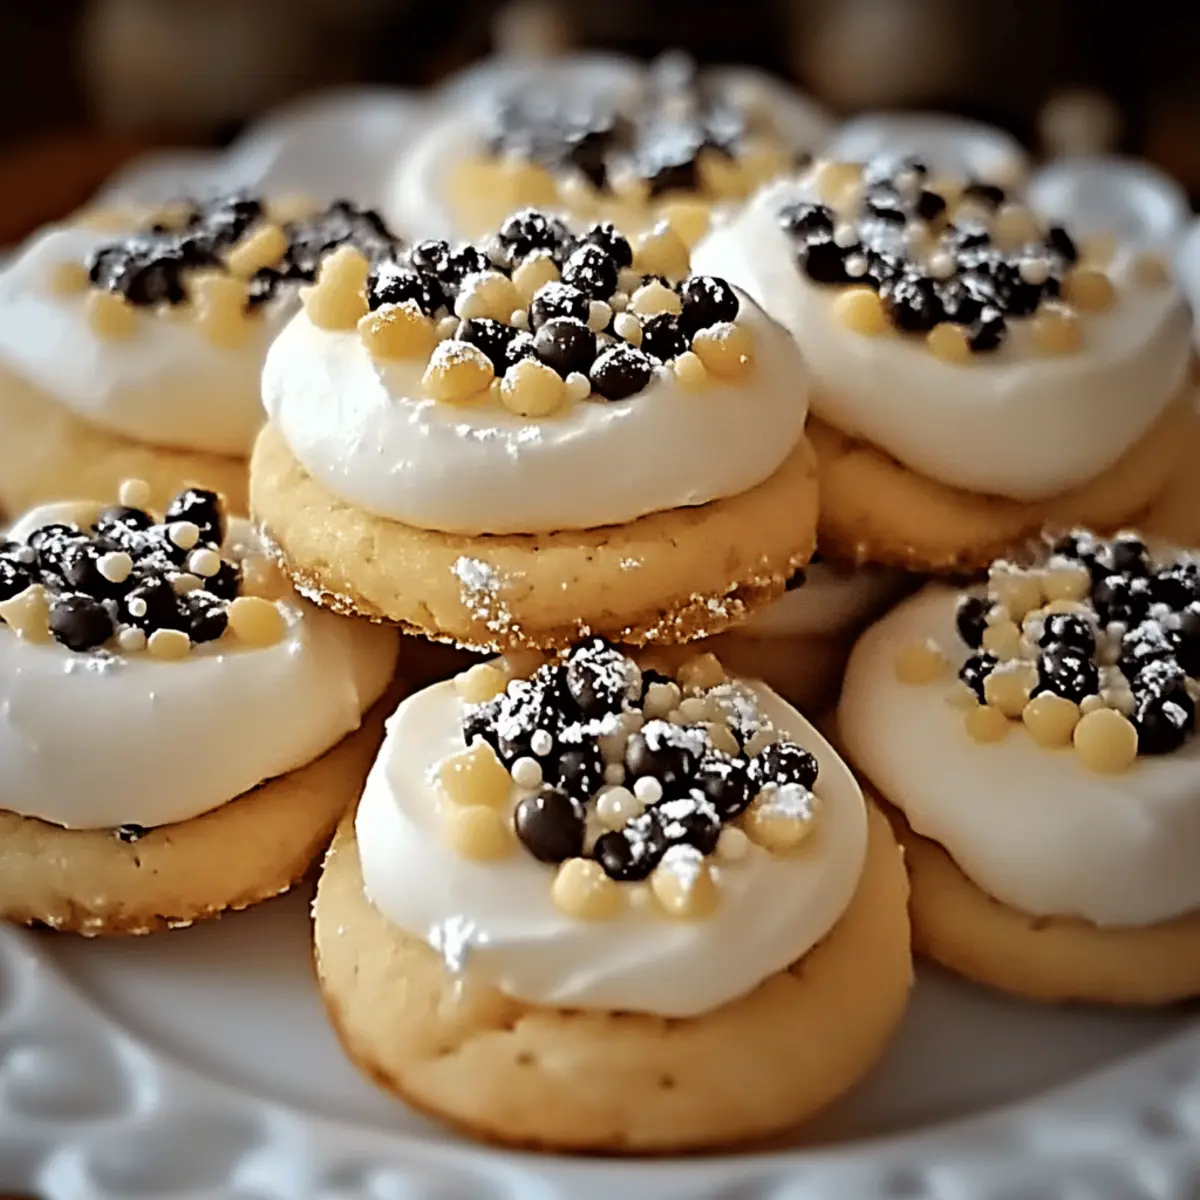
Crisp and creamy: Enjoy the perfect balance of a delightful crisp exterior and a rich, creamy ricotta filling that melts in your mouth.
Crowd-pleaser: Whether you’re sharing them at a delicious coffee break or enjoying them as a midnight snack, these Cannoli Cookies are sure to be a hit. Check out other delightful Italian dessert recipes.
Cannoli Cookies Ingredients
• To craft your own mouthwatering Cannoli Cookies, gather these essential ingredients!
For the Cookie Dough
- All-Purpose Flour – Structure is key here; feel free to substitute with gluten-free flour for a gluten-free version.
- Baking Powder – This leavening agent helps your cookies rise beautifully.
- Salt – A pinch enhances the overall flavor of the cookies.
- Unsalted Butter – Adds richness and can be swapped for margarine if you're looking for a dairy-free option.
- Granulated Sugar – Provides the sweetness; reducing the amount will decrease the overall sweetness.
- Large Eggs – These add moisture and act as a binder; for a vegan take, flaxseed meal or applesauce can be substituted.
- Vanilla Extract – Infuses delightful flavor; almond extract is a wonderful alternative if you're feeling adventurous.
For the Creamy Filling
- Ricotta Cheese – The star of the filling; whole-milk ricotta is recommended for the best texture, while part-skim offers a lower-fat alternative.
- Mini Chocolate Chips – Add sweetness and texture; feel free to swap them with chopped nuts or skip them altogether.
- Chopped Pistachios – Introduce a lovely crunch and nutty flavor; walnuts or pecans work beautifully as substitutes.
- Powdered Sugar – Use it for a light dusting before serving, if desired.
Step‑by‑Step Instructions for Cannoli Cookies
Step 1: Preheat and Prepare
Begin by preheating your oven to 375°F (190°C). While the oven heats, line two baking sheets with parchment paper to create a non-stick surface for the Cannoli Cookies. This step will ensure your cookies have a perfect, golden crust without sticking.
Step 2: Mix the Dry Ingredients
In a large mixing bowl, whisk together 2 cups of all-purpose flour, 1 teaspoon of baking powder, and ½ teaspoon of salt until well combined. This mixture serves as the foundation for your Cannoli Cookies, providing structure and flavor, so be sure to mix thoroughly with a whisk or fork.
Step 3: Cream the Butter and Sugar
In another bowl, cream together ½ cup of softened unsalted butter and ¾ cup of granulated sugar until the mixture is light and fluffy—about 3-4 minutes with an electric mixer on medium speed. The key here is to achieve a pale color that indicates enough air has been incorporated for wonderful texture.
Step 4: Add Eggs and Vanilla
Next, add 2 large eggs to the butter-sugar mixture, one at a time, mixing well after each addition to ensure everything is fully integrated. Then stir in 1 teaspoon of vanilla extract, which adds a lovely aromatic note to your Cannoli Cookies, making the batter smooth and cohesive.
Step 5: Incorporate the Ricotta
Gently fold in 1 cup of ricotta cheese, blending until the mixture is uniform and creamy. Take your time with this step—the ricotta is what gives these Cannoli Cookies their signature rich filling, so ensure there are no lumps for a smooth texture.
Step 6: Combine Wet and Dry Mixtures
Gradually add the dry ingredient mixture to the wet ingredients, mixing gently to prevent overmixing. Once combined, the dough should be moist but not overly sticky. If you find it too wet, you can sprinkle in a little extra flour to reach the desired consistency.
Step 7: Add Mix-ins
Now, fold in ½ cup of mini chocolate chips and ¼ cup of chopped pistachios until evenly distributed throughout the dough. The chocolate and pistachios will add delightful flavor and texture to your Cannoli Cookies—feel free to substitute with your favorite nuts or omit them entirely.
Step 8: Shape and Bake
Using a tablespoon, drop rounded scoops of dough onto your prepared baking sheets, spacing them about 2 inches apart to allow for spreading. Bake in the preheated oven for 12-15 minutes or until the edges are lightly golden while the centers remain soft.
Step 9: Cool and Dust
Once baked, remove the sheets from the oven and let the cookies cool on the sheets for about 5 minutes. This cooling period helps them firm up before transferring to wire racks. Once fully cooled, dust with powdered sugar for an elegant touch that enhances the Cannoli Cookies' appearance.

Cannoli Cookies Variations & Substitutions
Feel free to let your creativity soar and customize these Cannoli Cookies to suit your taste buds!
- Gluten-Free: Substitute all-purpose flour with a gluten-free blend for a delightful version everyone can enjoy.
- Dairy-Free: Swap unsalted butter with coconut oil or margarine, and use dairy-free ricotta for a creamy filling.
- Vegan: Replace eggs with ¼ cup of unsweetened applesauce or 1 tablespoon of flaxseed meal mixed with 3 tablespoons of water.
- Nut-Free: Omit the pistachios and chocolate chips or replace them with sunflower seeds for a nut-free delight.
- Spiced Up: Add a teaspoon of cinnamon or nutmeg to the dough for a warm, aromatic twist. This variation adds depth to the flavor experience.
- Citrus Burst: Grate lemon or orange zest into the dough for a refreshing citrus flavor—it's like sunshine in a cookie!
- Chocolate Lover's: Substitute mini chocolate chips with dark chocolate chunks for a rich, decadent filling that chocolate lovers will adore.
- Candy-Inspired: Incorporate crushed candy canes for a minty twist during the holidays or swap chocolate chips with caramel bits for an indulgent treat.
These variations allow for endless creativity, and you can easily mix and match to create your perfect Cannoli Cookie experience. If you're looking for more inspiration, be sure to try out other delightful Italian dessert recipes that also bring a little bit of Italian magic to your home!
Expert Tips for Cannoli Cookies
- Softened Butter: Ensure your butter is softened to room temperature, not melted. This creates the perfect texture for the cookies.
- Combine Carefully: Avoid overmixing when blending wet and dry ingredients; this keeps Cannoli Cookies tender and light.
- Chill if Sticky: If your dough feels too sticky, don’t fret! Chill it in the refrigerator for 30 minutes before shaping.
- Watch the Bake: Keep a close eye on your cookies as they bake; they should be golden at the edges but soft in the center for the best results.
- Flavor Boost: Consider adding citrus zest or spices like cinnamon to the dough for a delightful twist on traditional flavors.
Make Ahead Options
These Cannoli Cookies are perfect for busy home cooks looking to save time! You can prepare the cookie dough up to 24 hours in advance and refrigerate it—just make sure to cover it tightly to prevent drying. Additionally, the ricotta filling can be made up to 3 days ahead. When ready to bake, simply allow the dough to sit at room temperature for about 15 minutes before scooping and baking. For the best taste and texture, try to dust them with powdered sugar just before serving to keep that fresh look. By prepping ahead, you can enjoy delightful Cannoli Cookies with minimal last-minute effort!
How to Store and Freeze Cannoli Cookies
Room Temperature: Keep the Cannoli Cookies in an airtight container at room temperature for up to 5 days for optimal freshness.
Fridge: For extended preservation, refrigerate the cookies in a sealed container for up to 1 week. This helps maintain their delicious flavor and texture.
Freezer: You can freeze Cannoli Cookies for up to 3 months. Place them in a single layer on a baking sheet, freeze until solid, then transfer to a freezer-safe bag or container.
Reheating: To enjoy your cookies again, let them thaw at room temperature or microwave for a few seconds until just warm.
What to Serve with Cannoli Cookies
Imagine an inviting spread filled with flavors to elevate your delightful Cannoli Cookies experience!
- Espresso or Coffee: The rich, bold flavors complement the creamy filling perfectly, making each bite of cookie more indulgent.
- Vanilla Ice Cream: A scoop of creamy vanilla ice cream adds a cool contrast that enhances the cookies’ sweet notes.
- Fruit Salad: A fresh fruit salad brightens up the meal with its vibrant colors and natural sweetness, balancing the richness of the cookies.
- Chocolate Dipping Sauce: Drizzling warm chocolate sauce over the cookies creates a luxurious dessert experience that’s simply irresistible.
- Classic Italian Limoncello: The zesty, lemony liqueur balances the sweet flavor of the Cannoli Cookies and adds a festive touch to any gathering.
- Ricotta Cheesecake: Rich and creamy, a slice of ricotta cheesecake echoes the main ingredient, creating a harmonious dessert duo.

Cannoli Cookies Recipe FAQs
What type of ricotta cheese should I use for Cannoli Cookies?
For the best texture and flavor, I recommend using whole-milk ricotta cheese. It provides a rich creaminess that perfectly mimics the traditional cannoli filling. If you prefer a lower-fat option, part-skim ricotta works well too, but may be slightly less creamy.
How should I store Cannoli Cookies?
You can store your Cannoli Cookies in an airtight container at room temperature for up to 5 days to keep them fresh. If you want to extend their shelf life, refrigerate them for up to 1 week. Just make sure they are sealed well to avoid drying out!
Can I freeze Cannoli Cookies?
Absolutely! To freeze your Cannoli Cookies, start by placing them in a single layer on a baking sheet and freeze until solid. Once frozen, transfer them to a freezer-safe bag or container. They can be frozen for up to 3 months. When you’re ready to enjoy them, simply let them thaw at room temperature or warm them in the microwave for a few seconds.
What if my cookie dough is too sticky?
If you find your cookie dough is sticky, don’t worry! Chill the dough in the refrigerator for about 30 minutes. This will firm it up, making it easier to scoop and shape without compromising the final texture of your Cannoli Cookies.
Are there any common allergens in Cannoli Cookies?
The primary ingredients for these Cannoli Cookies include flour, dairy (butter, ricotta cheese), and eggs, which are common allergens. For a dairy-free version, consider substituting margarine for the butter and using a dairy-free ricotta alternative. Additionally, if you have nut allergies, skip the pistachios or any other nuts you might be considering.
How can I customize my Cannoli Cookies?
The beauty of Cannoli Cookies is in their adaptability! You can swap in gluten-free flour for a gluten-free version, use flaxseed meal or applesauce instead of eggs for a vegan option, and mix in different flavors like almond or citrus zest for a refreshing twist. Don't hesitate to experiment with various mix-ins like dried fruits or nuts based on your personal preferences!
Indulgent Cannoli Cookies You Can Make at Home Today
Ingredients
Equipment
Method
- Preheat your oven to 375°F (190°C) and line two baking sheets with parchment paper.
- In a large bowl, whisk together the flour, baking powder, and salt.
- Cream together the butter and sugar until light and fluffy.
- Add the eggs and vanilla to the butter-sugar mixture, mixing well after each addition.
- Gently fold in the ricotta cheese.
- Gradually add the dry ingredients to the wet ingredients.
- Fold in the mini chocolate chips and chopped pistachios.
- Drop rounded scoops of dough onto prepared baking sheets.
- Bake for 12-15 minutes, until edges are golden.
- Cool on sheets for 5 minutes before transferring to wire racks and dusting with powdered sugar.


Leave a Reply