
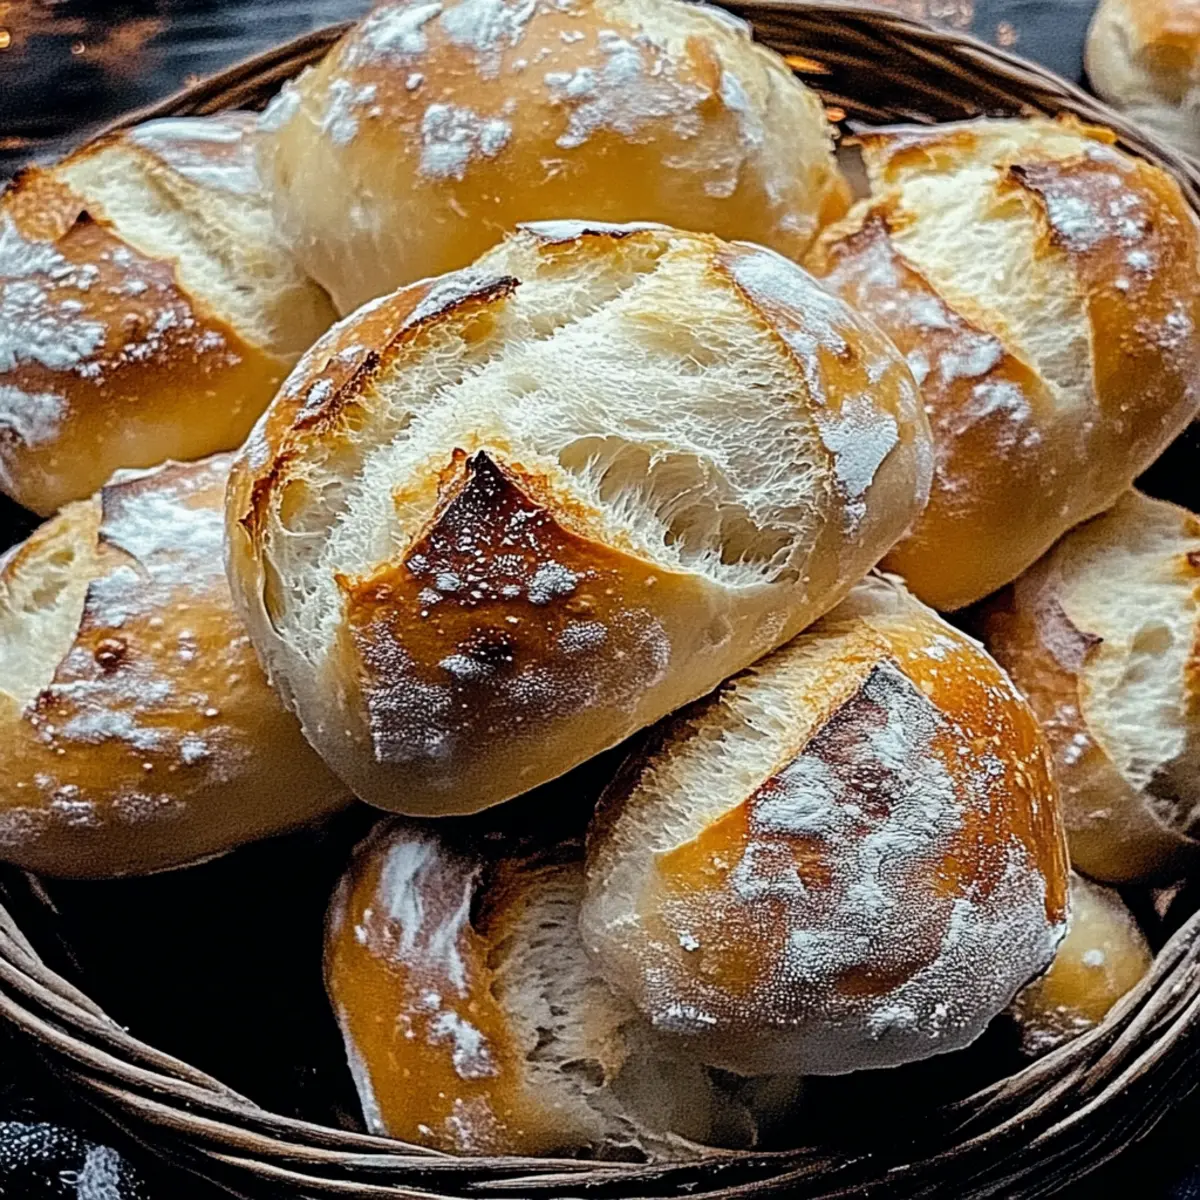
As the golden crust of freshly baked bread fills the kitchen with an irresistible aroma, I can’t help but smile. Today, I’m inviting you on a delightful journey to make Perfectly Crispy Ciabatta Bread right at home! This Italian classic is so easy to master that even beginner bakers will find themselves impressed. Not only is this ciabatta ideal for slathering with garlic herb butter or pairing with savory soups, but it also serves as a versatile base for gourmet sandwiches. With just a few simple ingredients and a little patience, you can create a warm, airy loaf that’s truly a crowd-pleaser. Are you ready to elevate your bread game and bring a slice of Italy to your table? Let’s dive into the delicious world of homemade ciabatta!
Why is Ciabatta Bread So Irresistible?
Simplicity is key: With just a handful of ingredients, you can create a delightful loaf, perfect for budding bakers and busy kitchens alike. Versatility shines through: Enjoy it fresh with soups, as a base for sandwiches, or toasted with butter. Unique textures offer the best of both worlds—crispy crust outside and a soft, airy interior. Plus, customization is a game-changer; from herb-infused to cheesy, every batch can suit your cravings. Elevate your meals with warm, homemade Ciabatta Bread that's sure to impress every guest!
Crispy Ciabatta Bread Ingredients
Get ready to create some delicious bread!
For the Dough
• All-Purpose Flour – Provides structure and texture to the bread; use high-protein bread flour for a chewier texture.
• Active Dry Yeast – Aids in the dough's rise for that airy ciabatta quality; always check for freshness!
• Warm Water (110°F / 43°C) – Activates the yeast, crucial for the rising process; ensure it’s warm but not too hot!
• Coarse Sea Salt – Enhances flavor and controls fermentation; avoid table salt for better texture.
• Olive Oil – Adds richness and flavor; drizzle a bit before baking for an extra delightful crust.
Optional Ingredient Enhancements
• Fresh Herbs (e.g., Rosemary, Thyme) – Infuse your dough with aromatic flavors; a simple way to elevate your ciabatta.
• Olives or Sun-Dried Tomatoes – Incorporate for a Mediterranean twist; both add great taste and texture.
• Parmesan or Asiago Cheese – Mix in for cheesy goodness; it deepens flavor and pairs beautifully with your ciabatta.
• Crushed Red Pepper Flakes – Add for a spicy kick; a delightful twist if you love a bit of heat!
• Vegetable Oil – A vegan substitute for olive oil; ensures you can enjoy ciabatta while catering to dietary needs.
Step‑by‑Step Instructions for Perfectly Crispy Ciabatta Bread
Step 1: Mix the Dough
In a large mixing bowl, combine 4 cups of all-purpose flour with 2¼ teaspoons of active dry yeast. Gradually pour in 1½ cups of warm water (110°F / 43°C), mixing until a shaggy dough forms. You may use a wooden spoon or your hands to blend the ingredients until they start to come together, creating a slightly sticky dough.
Step 2: Knead the Dough
Transfer the sticky dough onto a lightly floured surface and knead for approximately 10 minutes. Use the heel of your hand to push the dough away and fold it back over itself, repeating this motion until the dough is smooth and elastic. It should become less sticky and easily spring back when poked, signifying it’s ready for the next step.
Step 3: First Rise
Place the kneaded dough in a lightly oiled bowl, ensuring it’s coated to prevent sticking. Cover the bowl with a damp cloth and set it in a warm area of your kitchen. Allow the dough to rise for about 2 hours or until it has doubled in size. You’ll know it’s ready when it feels puffy and airy to the touch.
Step 4: Shape the Loaves
Once the dough has risen, gently punch it down to release excess air. Divide it into two equal portions and shape each portion into rectangular loaves on a floured surface. Use your hands to stretch the dough gently, maintaining its airy texture. This creates the base for your perfectly crispy ciabatta bread.
Step 5: Second Rise
Carefully transfer the shaped loaves to parchment-lined baking sheets. Cover them loosely with a kitchen towel and let them rise again for 1 hour. This second rise allows the dough to aerate further, making your bread light and fluffy with a wonderful texture after baking.
Step 6: Preheat and Prepare for Baking
While your loaves are rising, preheat your oven to 450°F (230°C). Once preheated, drizzle the loaves with olive oil and sprinkle with coarse sea salt to enhance flavor and create that delectable crust. The combination of oil and salt will provide your ciabatta with an inviting appearance and a crisp finish.
Step 7: Bake the Ciabatta
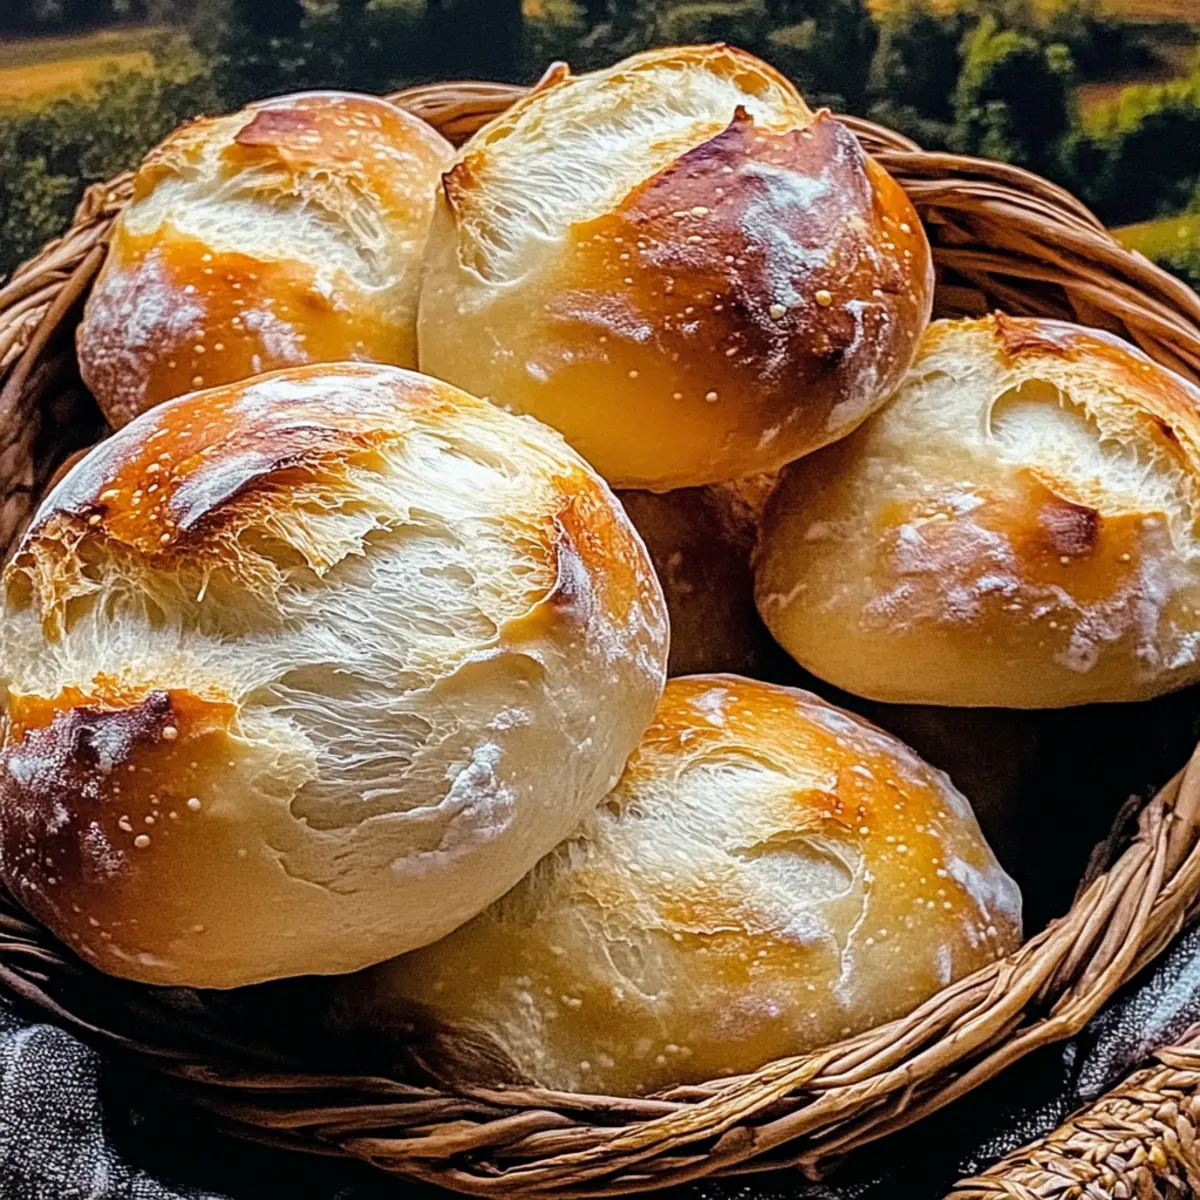
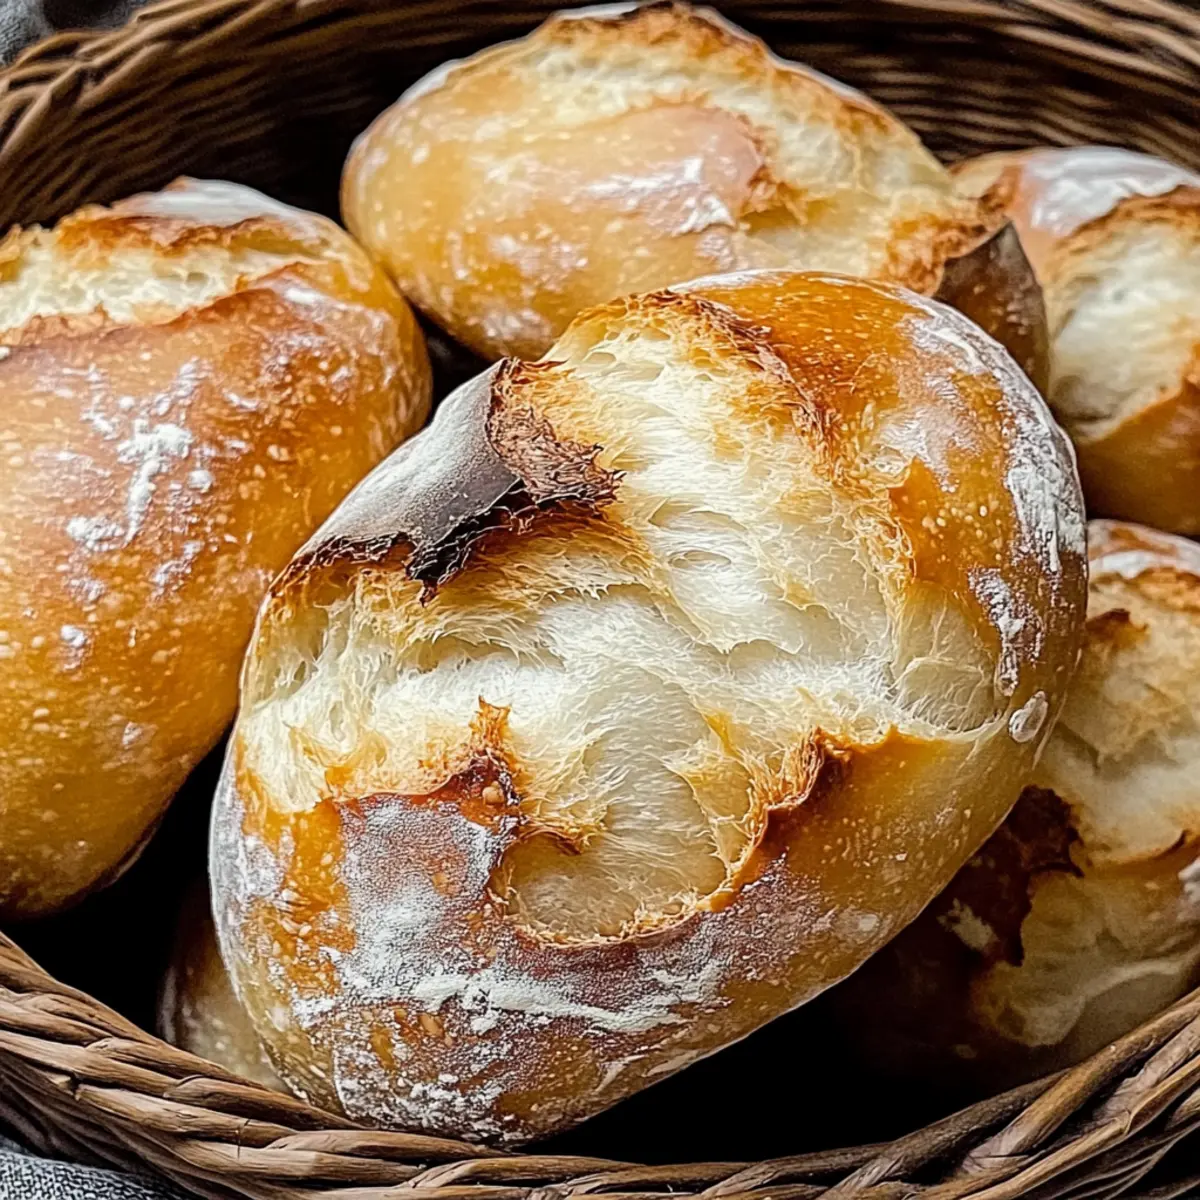
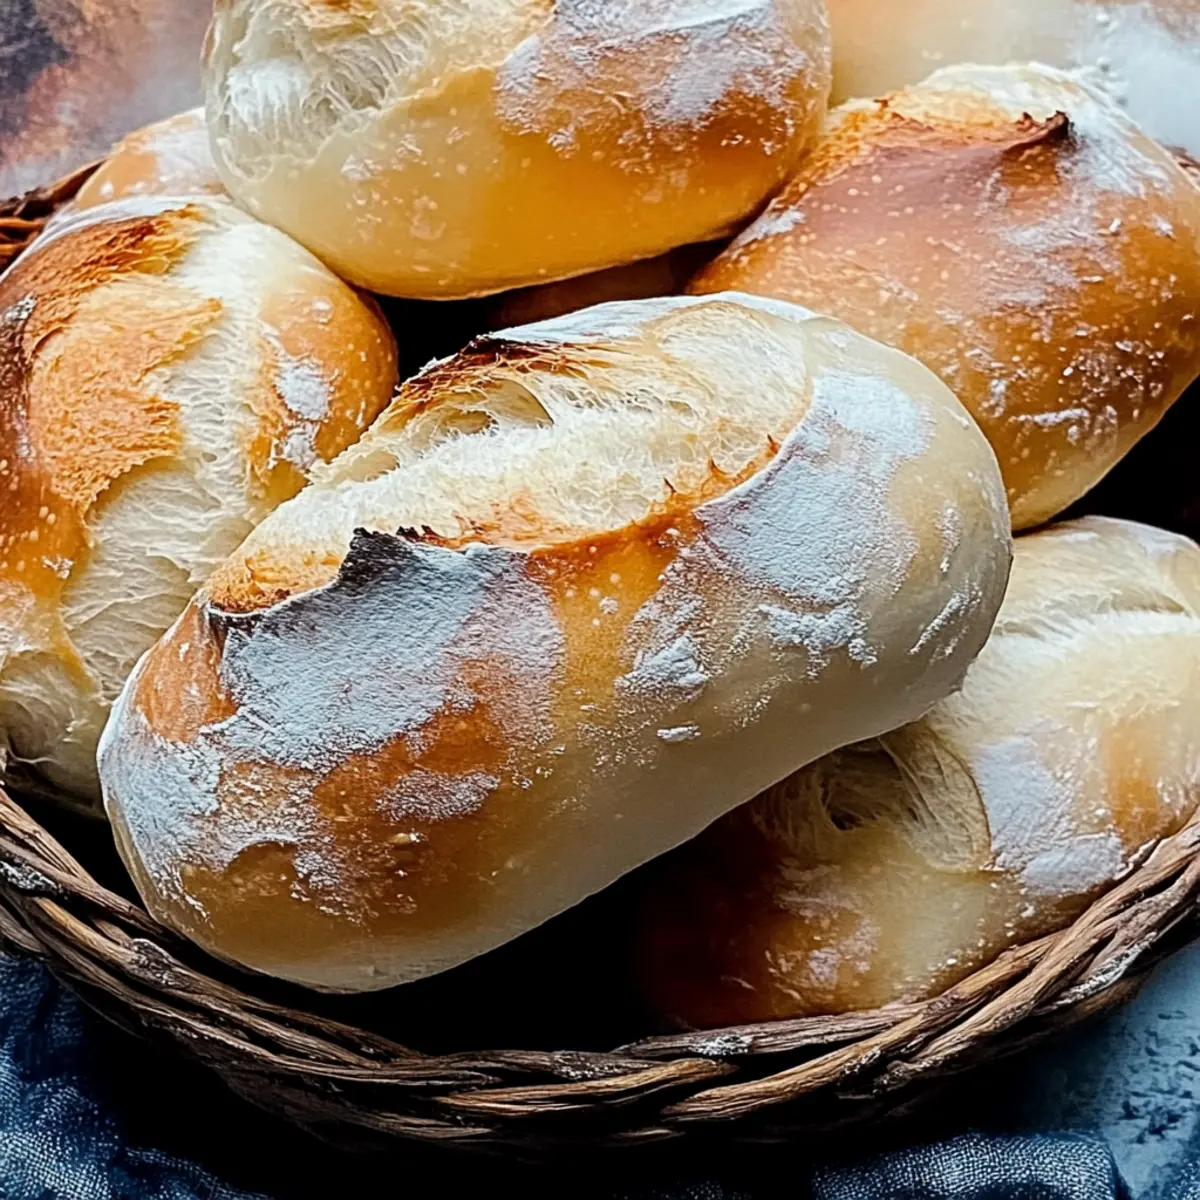
Slide the baking sheets into the preheated oven and bake for 25-30 minutes. You’ll know your perfectly crispy ciabatta bread is done when it turns golden brown and sounds hollow when you tap the bottom. Remove the loaves from the oven and allow them to cool slightly on a wire rack before slicing.
What to Serve with Perfectly Crispy Ciabatta Bread
Experience the joy of a full meal as you savor the crunchy exterior and delightful softness of this homemade bread.
-
Savory Tomato Basil Soup: The rich, tangy flavors of this classic soup contrast beautifully with the crispy ciabatta, making each bite a delight.
-
Garlic Herb Butter: A spread of this fragrant butter enhances the ciabatta’s flavors, turning it into an irresistible appetizer or side.
-
Cheese Platter: Pair with a selection of cheeses like Brie, Gouda, or sharp cheddar to create a gourmet platter that complements the rustic texture of ciabatta.
-
Roasted Vegetable Salad: Fresh, colorful veggies tossed with a zesty dressing bring a burst of flavor, which pairs beautifully with the warm, crispy bread.
-
Antipasti Board: Create a feast of cured meats, olives, and marinated vegetables, showcasing the ciabatta as a perfect vehicle for every tasty bite.
-
Herbed Olive Oil for Dipping: A simple blend of olive oil and herbs is perfect for dipping, allowing the ciabatta to shine as the ultimate accompaniment to your meal.
Make Ahead Options
These Perfectly Crispy Ciabatta Bread loaves are wonderful for meal prep! You can mix your dough and let it rise up to 24 hours in advance. Simply follow the recipe instructions up to the first rise; once the dough has doubled in size, punch it down, cover it tightly with plastic wrap, and refrigerate. To maintain optimal flavor and texture, bring the dough back to room temperature for about 30 minutes before shaping and allowing for the second rise. When you’re ready to bake, proceed with shaping your loaves, letting them rise for 1 hour, and then baking as instructed. This way, you’ll enjoy freshly baked ciabatta bread even on your busiest days!
Storage Tips for Crispy Ciabatta Bread
- Room Temperature: Store your leftover ciabatta bread in a paper bag at room temperature for up to 3 days. This helps maintain its crustiness while preventing it from becoming too moist.
- Freezer: For longer storage, wrap slices tightly in plastic wrap and place them in an airtight container for up to 3 months. This way, you’ll always have homemade crispy ciabatta bread ready to enjoy.
- Thawing: When ready to eat, thaw at room temperature or warm in the oven at 350°F (175°C) for about 10-15 minutes to restore that delightful crust and soft interior.
- Reheating: To revive ciabatta bread’s crunch, consider toasting it or placing it directly in a hot oven for a few minutes, bringing back that irresistible crispy texture!
Expert Tips for Perfectly Crispy Ciabatta Bread
- Flour Selection: Use high-protein bread flour for a chewy texture; all-purpose flour will yield a lighter ciabatta but can be less robust.
- Yeast Checks: Always confirm your active dry yeast is fresh; expired yeast can lead to flat, dense bread that doesn't rise well.
- Temperature Matters: Be mindful of water temperature—aim for 110°F (43°C) as too hot water can kill the yeast, resulting in no rise.
- Patience is Key: Don’t rush the rising times; both rises are crucial for achieving that airy, crispy ciabatta bread texture.
- Gentle Handling: Avoid over-kneading the dough; stop as soon as it becomes smooth and elastic to preserve its light, airy structure.
- Customize Your Loaf: Feel free to add herbs or other ingredients like olives—these can elevate your crispy ciabatta bread to new flavor heights!
Variations for Crispy Ciabatta Bread
Discover the endless ways you can tailor this heavenly bread to suit your tastes!
-
Herb-Infused: Add chopped fresh rosemary or thyme for a fragrant lift; the earthy aroma will elevate your ciabatta to a whole new level.
-
Mediterranean Delight: Incorporate olives or sun-dried tomatoes for a burst of flavor. This infusion pairs beautifully with oils and cheeses, making each bite an adventure.
-
Whole Wheat Version: Swap half of the all-purpose flour with whole wheat for a nutty texture; this makes the bread heartier while keeping it enjoyable for everyone.
-
Cheesy Goodness: Mix in grated Parmesan or Asiago cheese for delightful flavors. Melty cheese creates a rich taste that complements the crust perfectly.
-
Spicy Kick: Stir in crushed red pepper flakes for a touch of heat; it’ll surprise your palate and pair splendidly with rich dips or spreads!
-
Vegan Substitute: Use vegetable oil in place of olive oil. This simple swap ensures everyone can join in on the deliciousness, making your ciabatta friendly for all diets.
-
Garlic Lover's Dream: Mix minced garlic into the dough for a savory punch; perfect for those who adore garlic and want a warm loaf bursting with flavor.
-
Sweet Twist: Add a tablespoon of honey or maple syrup for a subtle sweetness. It creates a lovely contrast in flavor for a unique take on your favorite bread!
Perfectly Crispy Ciabatta Bread Recipe FAQs
What is the best way to select ripe ingredients for ciabatta bread?
Absolutely! For the best results, choose all-purpose flour or high-protein bread flour that feels fresh and has no lumps. When purchasing active dry yeast, always check the expiration date on the package; it should be active and lively, which you can often tell by gently dissolving it in warm water—if it bubbles after a few minutes, you’re good to go!
How should I store my leftover ciabatta bread?
To keep your crispy ciabatta bread fresh, place it in a paper bag at room temperature for up to 3 days. This method helps maintain its delicious crust while avoiding moisture that could make it soggy. If you want to store it longer, wrap the bread tightly in plastic wrap and place it inside an airtight container. It will last up to 3 months in the freezer!
Can I freeze ciabatta bread, and if so, how?
Yes, indeed! To freeze your perfectly crispy ciabatta bread, first let it cool completely after baking. Then, slice the bread to individual portions and wrap each slice tightly in plastic wrap. Place them in a labeled airtight container or freezer bag. For best quality, use them within 3 months. When you’re ready to enjoy some, simply thaw the slices at room temperature or warm them in a preheated oven at 350°F (175°C) for about 10-15 minutes to regain that delightful crust.
What do I do if my dough doesn’t rise properly?
If your dough fails to rise, a few things could be at play. First, ensure that your yeast is fresh; stale yeast won’t activate properly. Second, verify that your warm water is the correct temperature—too hot (above 120°F / 49°C) can kill the yeast, and too cold won’t activate it. If your dough is particularly sticky after kneading, fold in a bit more flour until it reaches a smooth, elastic texture. Finally, make sure your dough is in a warm spot while rising; temperatures around 75°F (24°C) are ideal!
Are there any dietary considerations when making ciabatta bread?
Certainly! If you or anyone you are baking for follows a vegan diet, simply substitute olive oil with vegetable oil for added richness. For those with gluten allergies, consider experimenting with gluten-free flour blends, though the texture will differ. For added flavor and variety, you can also customize your ciabatta by adding herbs or plant-based cheeses!
Irresistibly Crispy Ciabatta Bread: Bake It Perfectly at Home
Ingredients
Equipment
Method
- In a large mixing bowl, combine 4 cups of all-purpose flour with 2¼ teaspoons of active dry yeast. Gradually pour in 1½ cups of warm water, mixing until a shaggy dough forms.
- Transfer the sticky dough onto a lightly floured surface and knead for approximately 10 minutes until smooth and elastic.
- Place the kneaded dough in a lightly oiled bowl, cover, and let it rise in a warm area for about 2 hours or until doubled in size.
- Gently punch the dough down, divide it into two portions, and shape each into rectangular loaves.
- Transfer the loaves to parchment-lined baking sheets, cover with a towel, and let them rise again for 1 hour.
- Preheat your oven to 450°F (230°C). Drizzle with olive oil and sprinkle with sea salt.
- Bake for 25-30 minutes until golden brown and hollow sounding when tapped.


Leave a Reply