
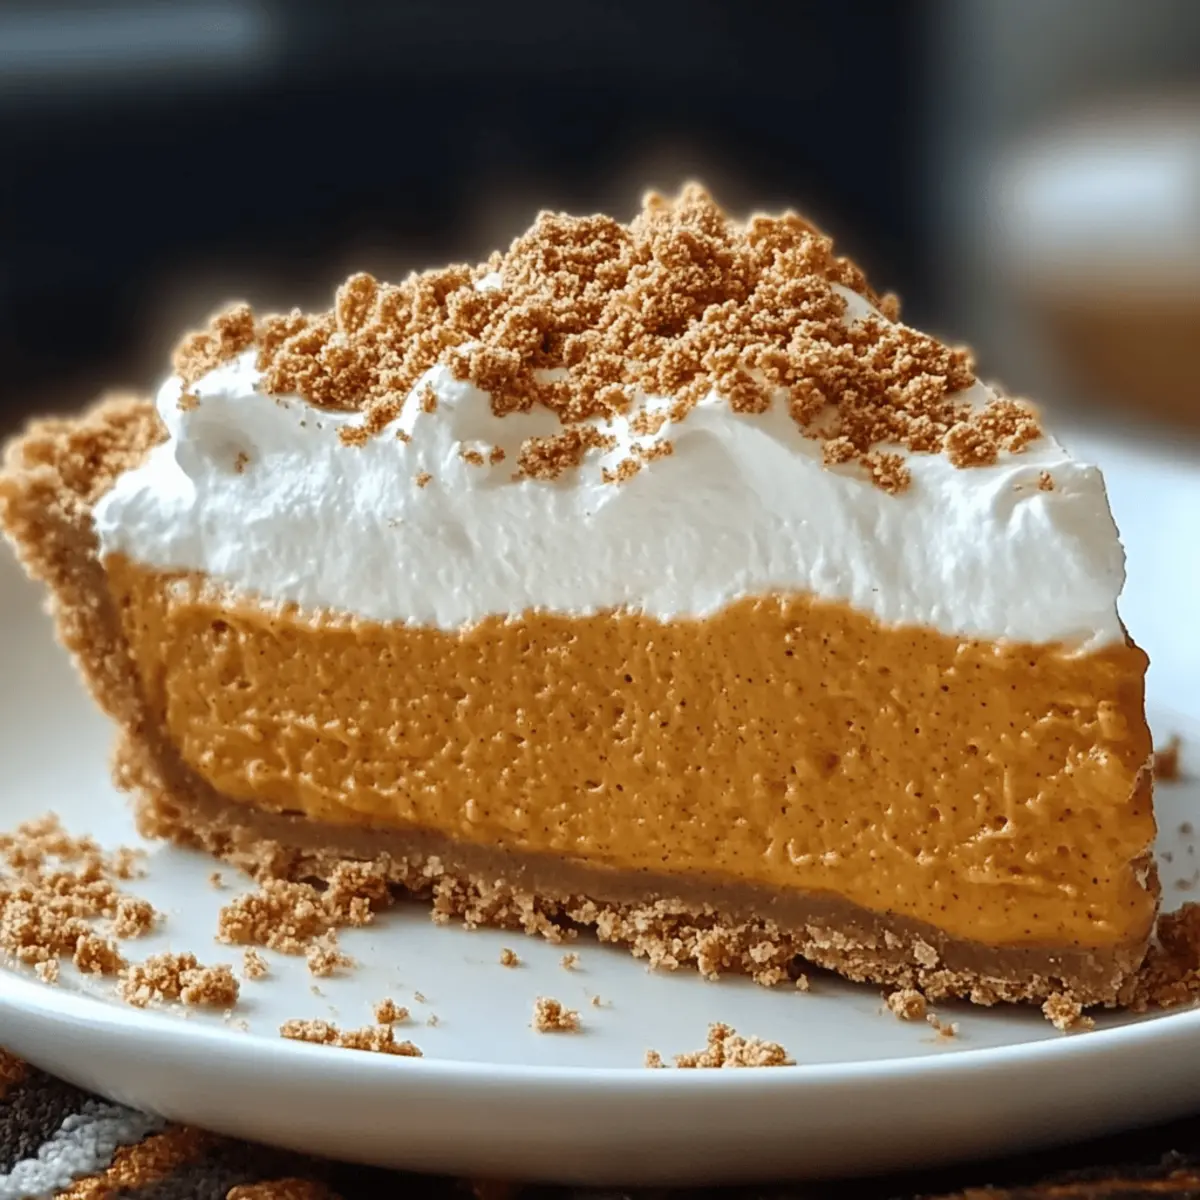
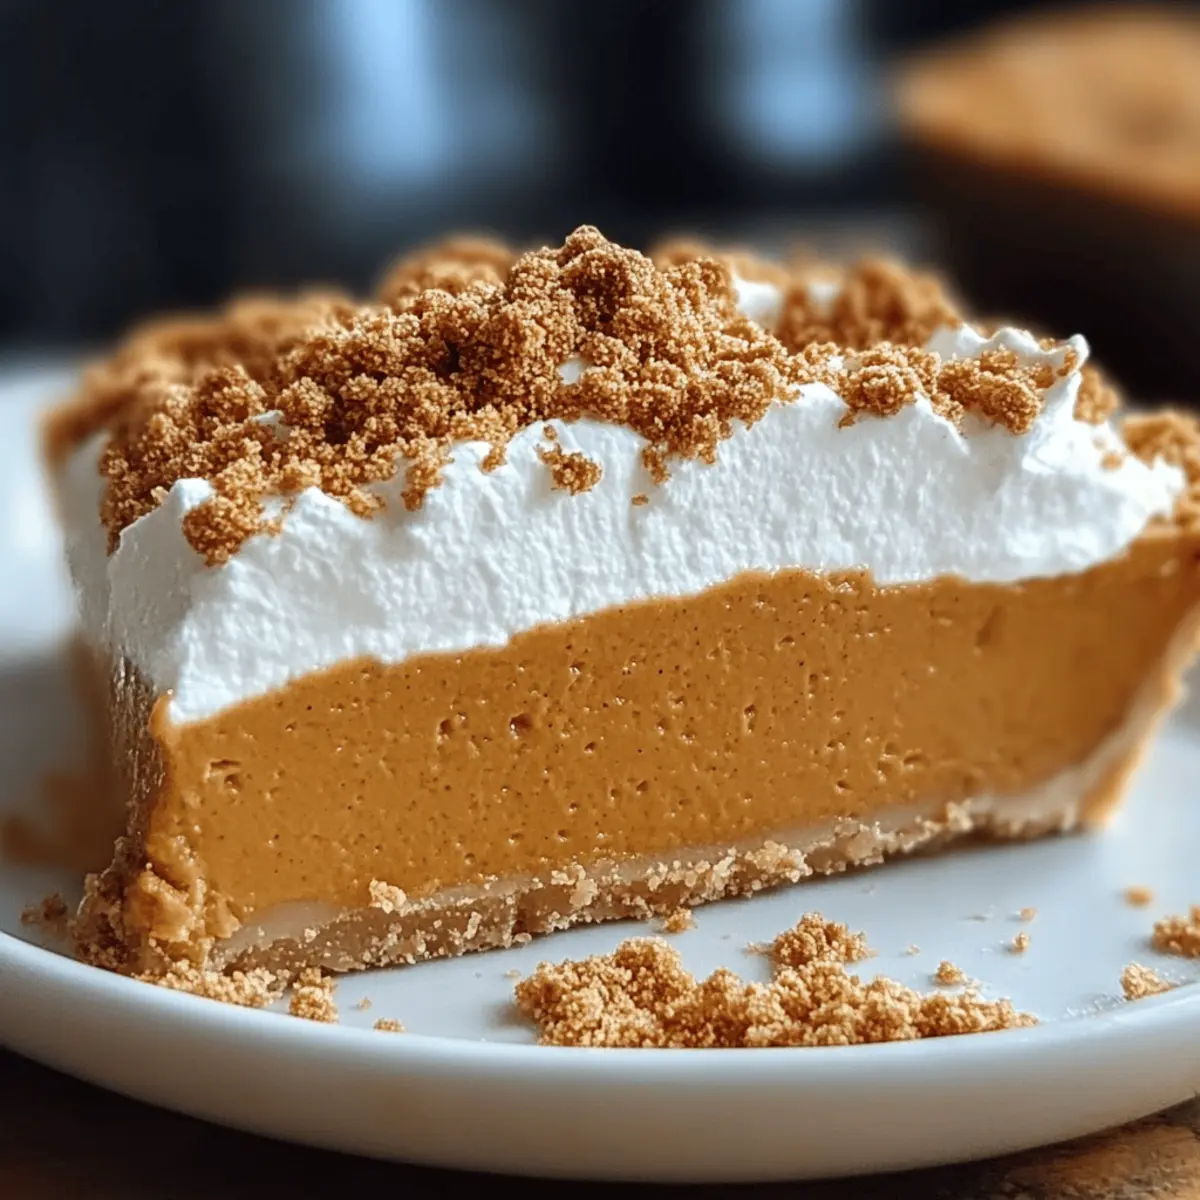
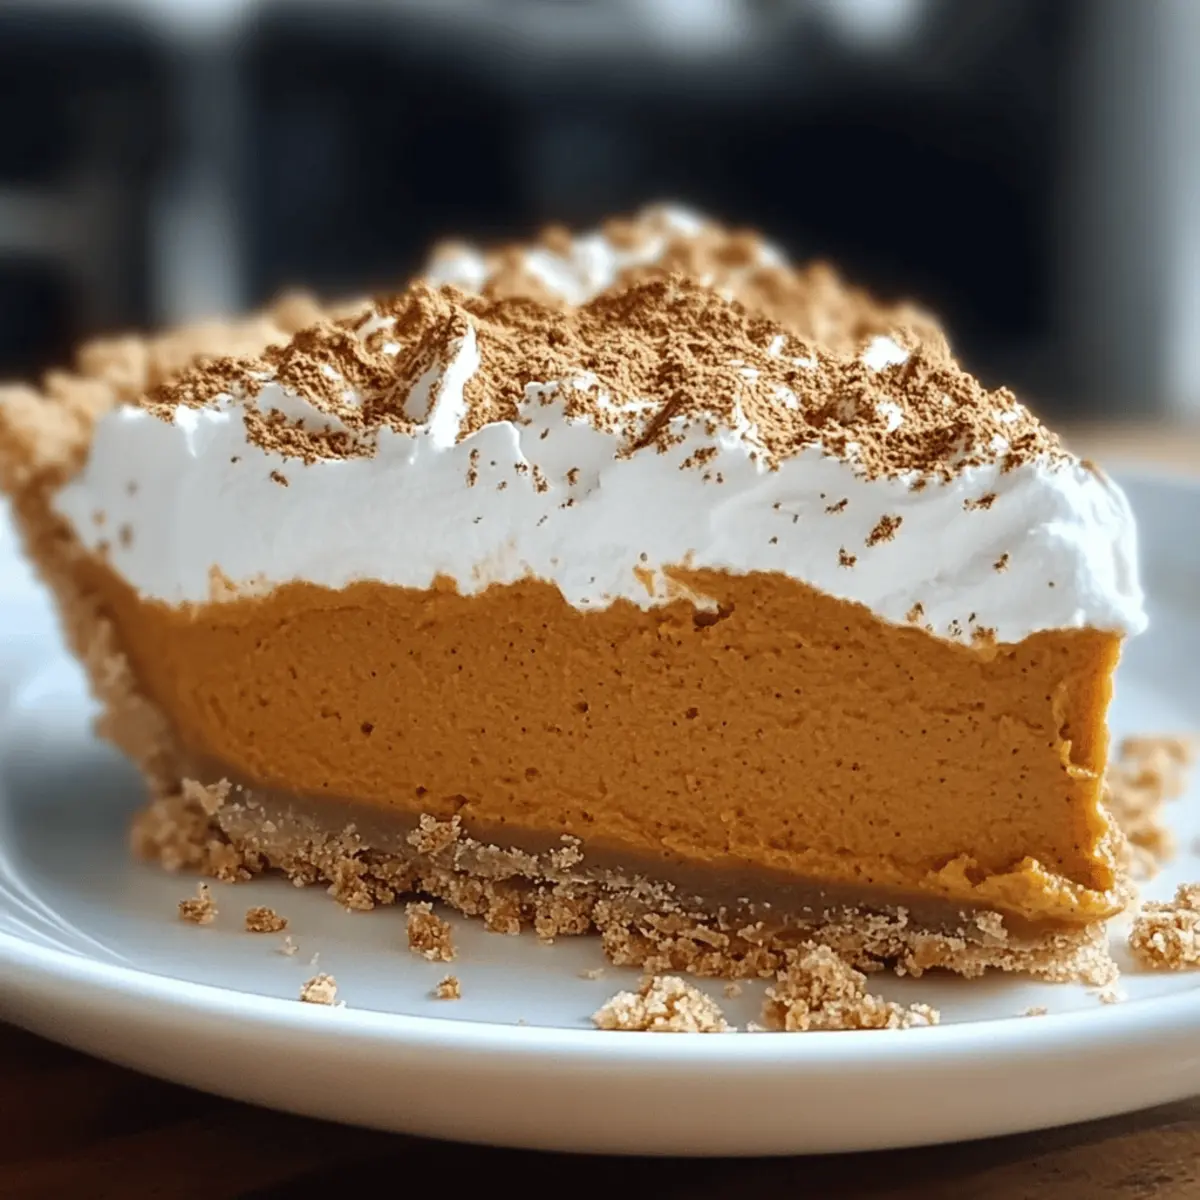
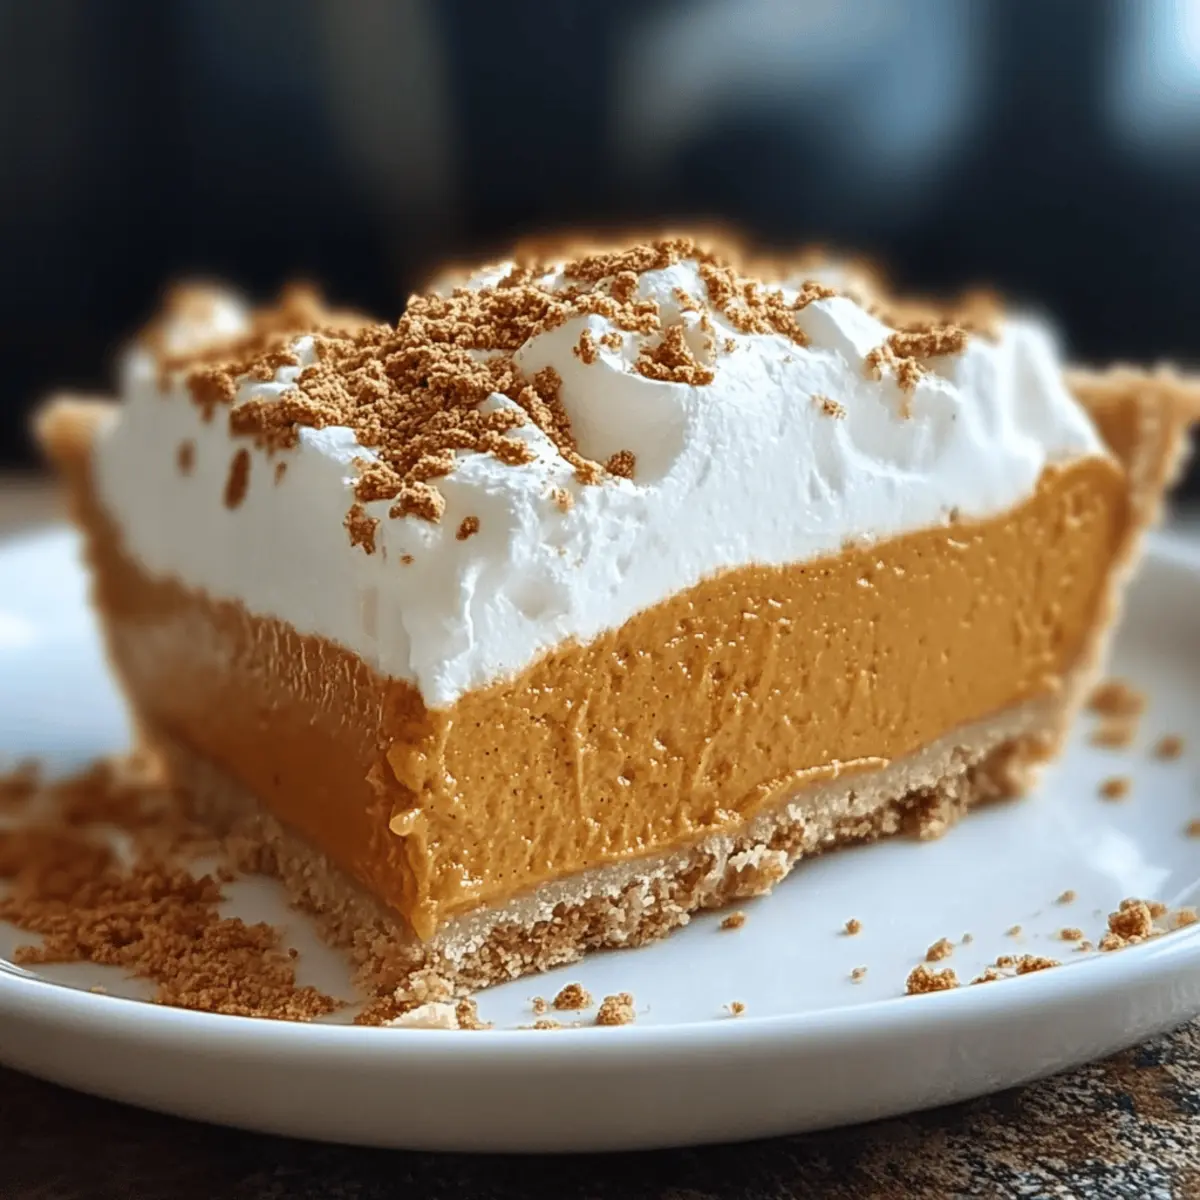
As I stood in my kitchen, surrounded by the scent of cinnamon and nutmeg, I couldn't help but think of the simple joys that come with the changing seasons. That’s when I decided to whip up this Easy No Bake Pumpkin Pie—a delightful dessert that brings the warmth of fall to your table without turning on the oven. In just 20 minutes, you can enjoy a creamy, spiced pumpkin filling nestled in a buttery graham cracker crust, making it the perfect treat for busy holidays or unexpected gatherings. Plus, it’s a crowd-pleaser that pairs wonderfully with a dollop of whipped cream! Ready to discover how to create this effortless autumn delight? Let’s dive into the recipe!
Why is No Bake Pumpkin Pie a Must-Try?
Simplicity at its finest: This recipe requires no baking, saving you time and effort in the kitchen.
Decadent flavor: Creamy pumpkin filling spiced with cinnamon and nutmeg creates an indulgent treat that embodies fall.
Versatile options: Whether you opt for a chocolate crust or add your favorite toppings, this pie caters to all tastes.
Perfect for any occasion: From Thanksgiving dinners to last-minute gatherings, it impresses everyone without the stress of baking.
Quick preparation: Whip this up in just 20 minutes—ideal for busy lifestyles!
Crowd-pleaser: It's hard to resist a slice of this creamy goodness, especially when topped with whipped cream. Enjoy the charm of homemade desserts with minimum hassle!
No Bake Pumpkin Pie Ingredients
For the Filling
- Canned Pumpkin – Provides the base flavor and texture; opt for fresh pumpkin puree if you’re feeling adventurous!
- Sugar – Sweetens the filling; remember to adjust based on the natural sweetness of your pumpkin.
- Softened Cream Cheese – Adds creaminess and richness; full-fat is best for a velvety finish.
- Cool Whip (or Whipped Cream) – Lightens the filling, making it fluffy; homemade whipped cream is a lovely substitute.
- Cinnamon – Enhances warmth and spice; consider using pumpkin spice for an extra kick.
- Pumpkin Pie Spice – Offers a delightful blend of spices; feel free to tweak it to your taste.
- Nutmeg – Complements pumpkin flavor beautifully; freshly grated nutmeg is especially aromatic.
- Instant Vanilla Pudding Mix – Thickens the filling for a sliceable texture; don’t substitute with other flavors!
- Milk – Blends the pudding mix and the pumpkin; whole or low-fat works best here.
For the Crust
- Graham Cracker Crusts – Provides a buttery base; store-bought saves time, while homemade can add extra flavor.
Dive into this No Bake Pumpkin Pie and enjoy the comforting taste of autumn in every slice!
Step‑by‑Step Instructions for Easy No Bake Pumpkin Pie
Step 1: Prepare the Filling
In a large mixing bowl, combine 1 can of pumpkin, sugar, softened cream cheese, cinnamon, pumpkin pie spice, and nutmeg. Using an electric mixer or whisk, beat the mixture on medium speed until it’s smooth and creamy, taking about 2-3 minutes. The filling should have a luscious, lump-free texture, perfect for your Easy No Bake Pumpkin Pie.
Step 2: Incorporate the Pudding
Next, add the instant vanilla pudding mix and milk to the pumpkin mixture. Whisk everything together vigorously for about 1 minute until the pudding mix is fully integrated and the mixture thickens slightly. This step is essential for achieving that delightful, sliceable filling in your No Bake Pumpkin Pie.
Step 3: Fold in the Cool Whip
Gently fold in 1 cup of Cool Whip or homemade whipped cream into the pumpkin mixture. Use a spatula to incorporate the whipped topping until no white streaks remain, ensuring a light and airy filling. This will give your pie a creamy, fluffy consistency that melts in your mouth.
Step 4: Fill the Crusts
Divide the luscious pumpkin filling evenly between two graham cracker crusts, smoothing the tops with a spatula for an even layer. Be sure to spread the filling all the way to the edges, creating a beautiful finish for your Easy No Bake Pumpkin Pie.
Step 5: Chill the Pie
Refrigerate the pies for at least 2 hours, but preferably overnight. This chilling time is crucial, as it allows the filling to set properly, making it easy to slice. When ready to serve, the filling should be firm and cool, providing the perfect contrast to the buttery crust.
Step 6: Serve and Enjoy
Once chilled, slice your Easy No Bake Pumpkin Pie and serve with a dollop of whipped cream and a sprinkle of cinnamon on top. This no-bake dessert not only looks enticing but also captures the essence of autumn in every creamy, delicious bite.
What to Serve with Easy No Bake Pumpkin Pie
Treat your friends and family to a magical fall-inspired feast with these delightful pairings!
- Cinnamon Whipped Cream: Enhances sweetness and spice; a perfect match for the creamy pumpkin filling.
- Spiced Apple Cider: Warm, aromatic, and cozy—this drink complements the pie's flavors and brings a seasonal vibe.
- Gingerbread Cookies: Adds a crunchy texture; their bold flavor harmonizes beautifully with the pie's sweetness.
- Pecan Pie: Another classic autumn dessert, featuring a contrasting texture that balances with the silky creaminess of the pumpkin pie.
- Hazelnut Coffee: A rich, nutty brew that elevates the whole experience and pairs wonderfully with the cinnamon notes.
- Roasted Brussels Sprouts: A savory side that brings a fresh crunch, making for a lovely contrast to the creamy dessert.
- Caramel Sauce: Drizzled on top or alongside, this indulgent addition complements the pumpkin pie and adds a sweet layer.
- Mixed Green Salad: Fresh greens with a light vinaigrette provide a refreshing balance to the rich flavors of the pie.
- Pumpkin Spice Latte: This beloved drink amplifies the pumpkin theme and delivers warmth in every sip!
Make Ahead Options
This Easy No Bake Pumpkin Pie is a delightful recipe for meal prep lovers! You can prepare the pumpkin filling up to 24 hours in advance—simply mix all your ingredients as directed, then store it covered in the refrigerator. This prevents any browning and keeps it fresh. You can either fill the graham cracker crusts right away or wait until just before serving to maintain crust crispness. When you’re ready to indulge, spoon the filling into the crusts, refrigerate them for at least 2 hours to set, and then top with whipped cream. This allows you to enjoy a delicious dessert with minimal last-minute effort, making your holiday entertaining effortless!
Helpful Tricks for No Bake Pumpkin Pie
-
Softened Cream Cheese: Ensure your cream cheese is at room temperature to avoid lumps in your filling, creating a smooth and creamy texture for the No Bake Pumpkin Pie.
-
Chill Time Matters: Never skip the chilling step! This allows the filling to set properly, making it easier to slice and serve while enhancing the flavors.
-
Pudding Mix Precision: Use instant vanilla pudding mix as specified; substituting with other flavors can compromise the texture and taste of your delightful pie.
-
Taste Test: Adjust the sugar based on the natural sweetness of your pumpkin. A quick taste before chilling ensures your filling is perfectly balanced.
-
Filling Consistency Check: If your filling appears runny, make sure it’s adequately chilled. You can always add a bit more pudding mix to achieve the right thickness.
No Bake Pumpkin Pie Variations
Feel free to play with these delightful twists and swaps that will elevate your No Bake Pumpkin Pie experience!
-
Chocolate Crust: Substitute the graham cracker crust with a chocolate cookie crust for a decadent flavor and a fun twist.
-
Nutty Surprise: Add chopped pecans or walnuts to the filling for a delightful crunch that contrasts beautifully with the creamy texture. Just imagine that wonderful bite as you dig into your pie!
-
Maple Sweetness: Replace the sugar with pure maple syrup to infuse a rich, earthy sweetness that pairs perfectly with pumpkin.
-
Spicy Kick: For the spice lovers, add a pinch of cayenne pepper to the filling to give your pie a warm kick that surprises the palate. It’s a bold move, but the results are worth it!
-
Vegan Option: Swap cream cheese for a plant-based alternative and use coconut whipped cream instead of Cool Whip for a creamy, vegan-friendly dessert that everyone can enjoy.
-
Flavor Fusion: Mix in a bit of orange zest for a refreshing citrus twist that brightens the flavor profile while enhancing that autumn vibe.
-
Creamy Layer: Pour a layer of melted chocolate or caramel sauce over the filling before chilling for a mouthwatering surprise that adds depth and richness.
-
Pumpkin Spice Substitution: Feel free to adjust the pumpkin pie spice and use your own mix of spices; a touch of ground ginger can enhance the warm fall flavors beautifully.
With these variations, you'll be able to create a unique No Bake Pumpkin Pie that delights every guest at your table, making it not only a recipe but also a memorable experience. Enjoy this delicious journey of flavors and textural delights!
Storage Tips for No Bake Pumpkin Pie
Fridge: Store your No Bake Pumpkin Pie in the refrigerator for up to 4 days. Cover it with plastic wrap or foil to keep it fresh and prevent absorption of any odors.
Freezer: This pie can be frozen for up to a month. Wrap it tightly in plastic wrap and then in aluminum foil to protect against freezer burn.
Reheating: If you have leftovers from the fridge, serve them chilled. If you freeze the pie, defrost it in the refrigerator overnight before serving.
Portioning: Consider slicing individual pieces before freezing, allowing for easy thawing and serving at a moment's notice!
Easy No Bake Pumpkin Pie Recipe FAQs
What type of pumpkin is best for this recipe?
Absolutely! Canned pumpkin is the go-to for convenience and consistency, providing a rich flavor and smooth texture. However, if you're feeling adventurous, you can use fresh pumpkin puree! Just make sure it's well-cooked and strained to remove excess moisture for the best results.
How should I store No Bake Pumpkin Pie?
The pie can be stored in the refrigerator for up to 4 days. Be sure to cover it with plastic wrap or foil to maintain its freshness and prevent any cross-flavors from your fridge. If you want to savor it longer, you can freeze the pie for up to a month! Just wrap it tightly in plastic wrap and then in aluminum foil to keep freezer burn at bay.
Can I freeze the No Bake Pumpkin Pie?
Yes! To freeze, let the pie chill completely in the fridge first. Then, wrap it in plastic wrap and aluminum foil to protect it from freezer burn. When you're ready to enjoy it, simply transfer it to the fridge 24 hours before serving to defrost safely.
What if my filling is too runny?
Don't worry! If your filling seems runny, it might need a little extra time to chill to set properly. Make sure you’re chilling it for at least 2 hours, but preferably overnight. If it still doesn’t firm up, you can mix in another tablespoon of instant vanilla pudding mix to help thicken it up. Just fold it in gently to maintain that fluffy consistency.
Are there any dietary considerations I should keep in mind?
Very! If you're serving this pie to guests with allergies, make sure to check if anyone has a dairy allergy, as this recipe contains cream cheese and whipped cream. For a gluten-free option, you can use gluten-free graham cracker crust or create your own crust using ground nuts and butter. It’s always best to inform your guests about the ingredients you used!
How long does the flavor improve after making it?
The flavors of your Easy No Bake Pumpkin Pie actually deepen and develop as it chills! I often find that letting it sit in the fridge overnight enhances the spices and sweetness, making it even more delicious when you serve it the next day. So, if time allows, prepare it a day ahead of your gathering!
Indulgent No Bake Pumpkin Pie That's Ready in 20 Minutes
Ingredients
Equipment
Method
- In a large mixing bowl, combine canned pumpkin, sugar, softened cream cheese, cinnamon, pumpkin pie spice, and nutmeg. Beat until smooth and creamy, about 2-3 minutes.
- Add the instant vanilla pudding mix and milk to the pumpkin mixture. Whisk until fully integrated and slightly thickened, about 1 minute.
- Gently fold in Cool Whip or homemade whipped cream into the pumpkin mixture until no white streaks remain.
- Divide the pumpkin filling evenly between the two graham cracker crusts, smoothing the tops with a spatula.
- Refrigerate the pies for at least 2 hours or overnight to allow the filling to set.
- Slice the pie and serve with whipped cream and a sprinkle of cinnamon on top.


Leave a Reply