
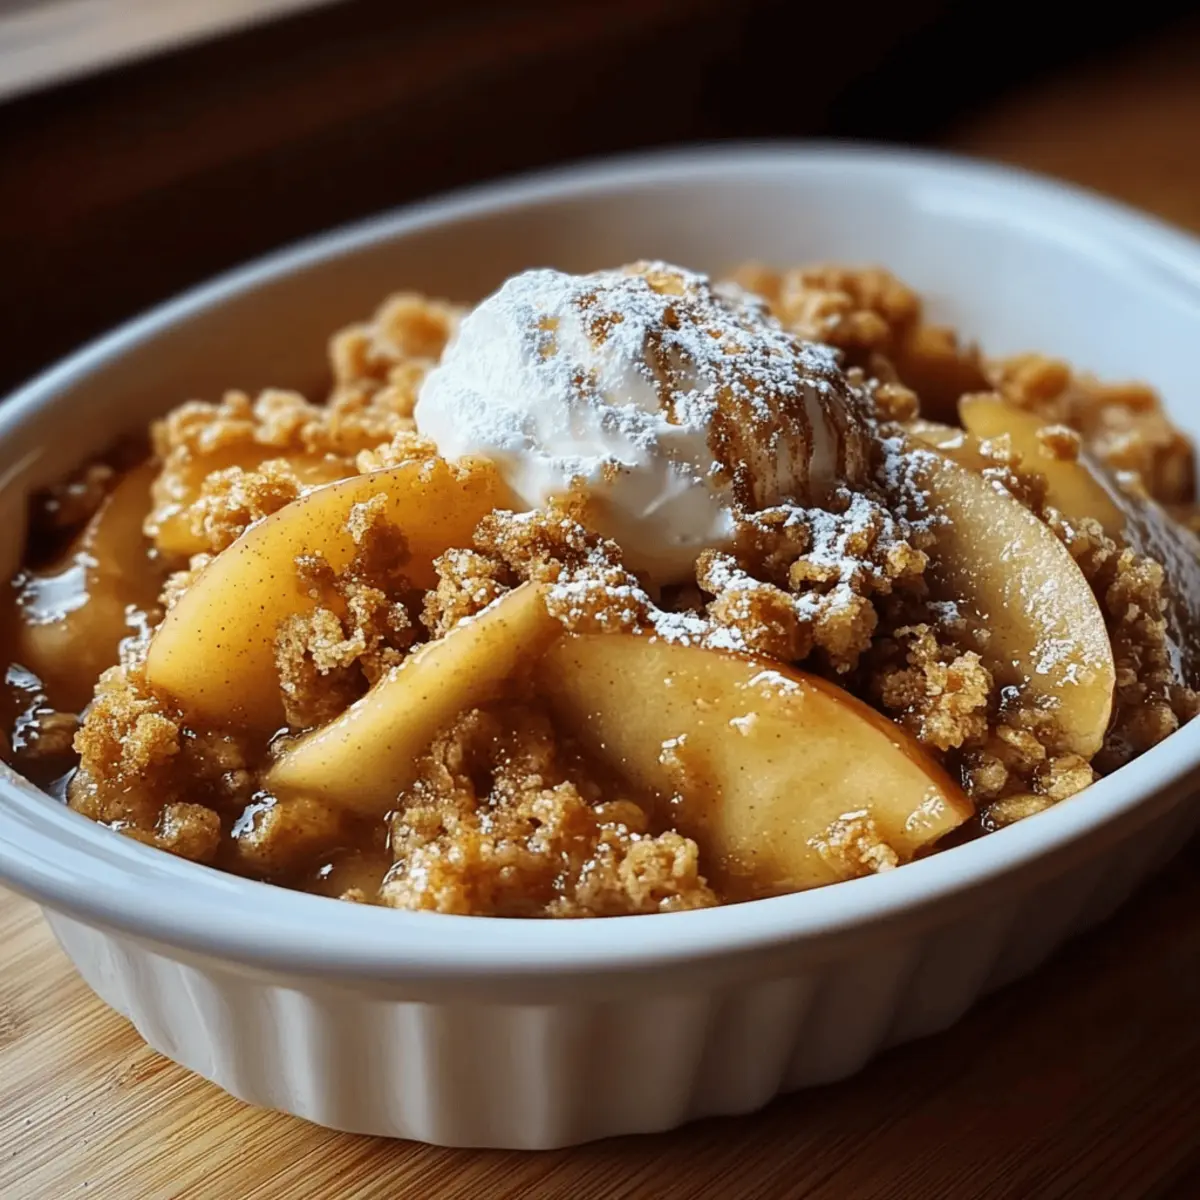
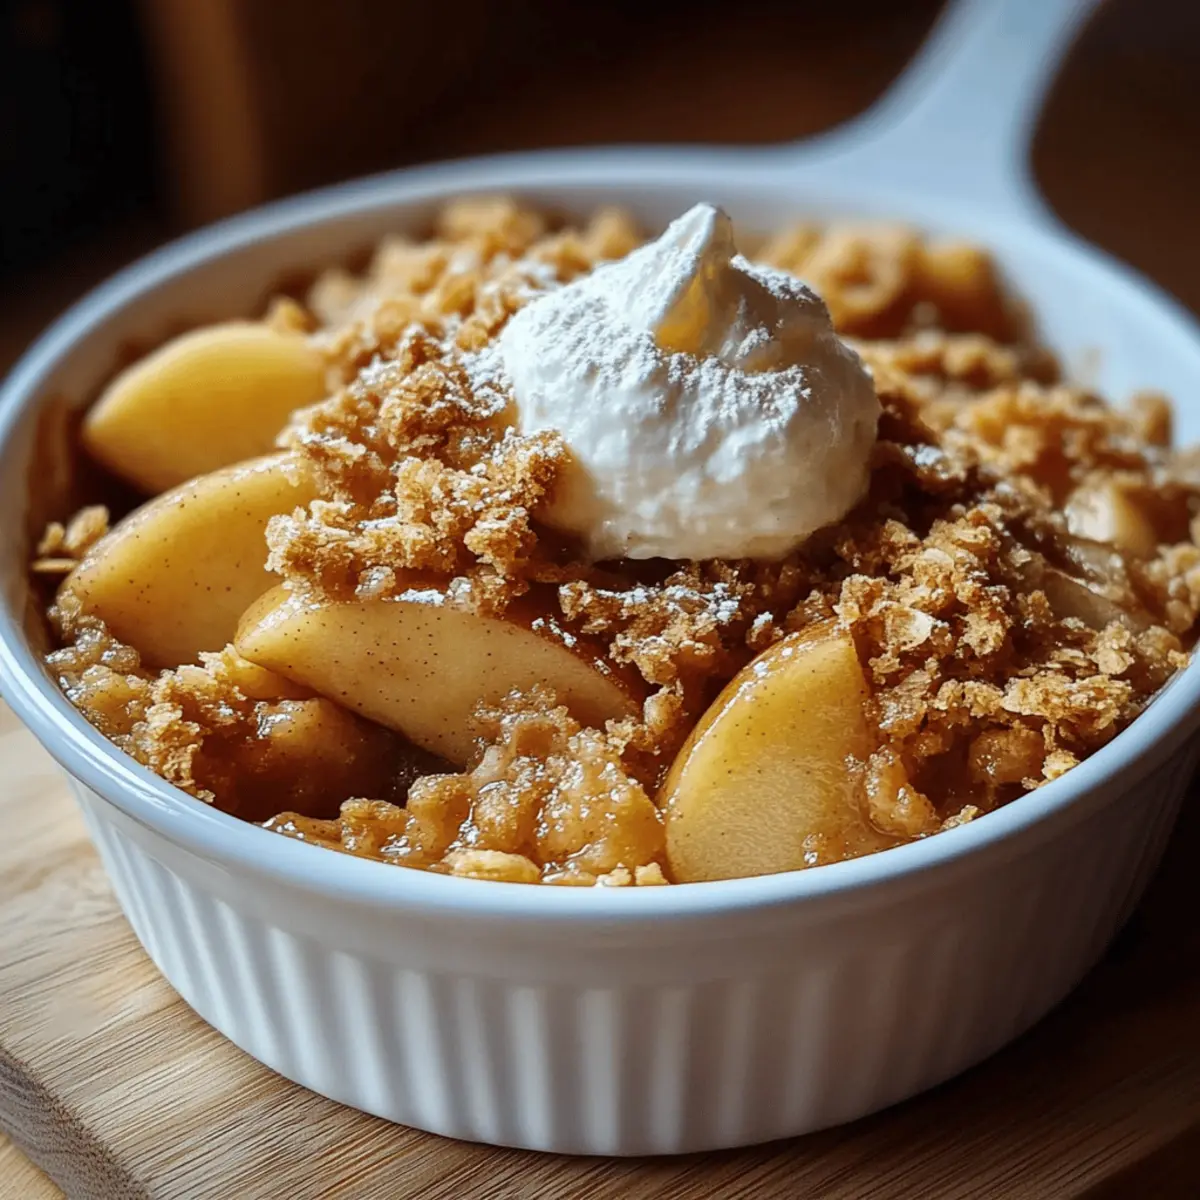
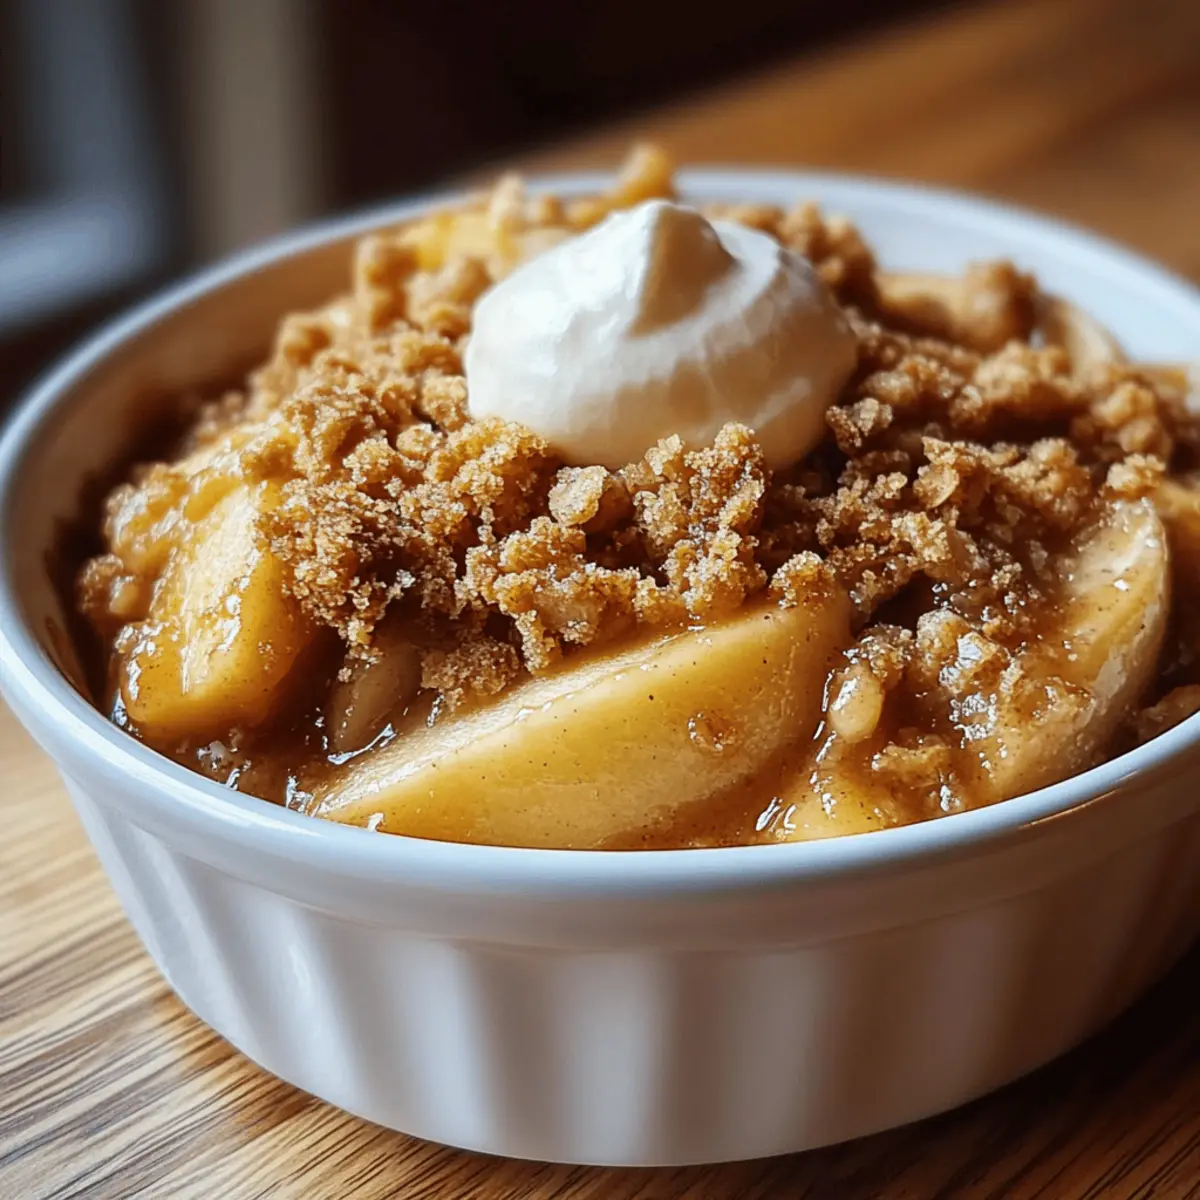
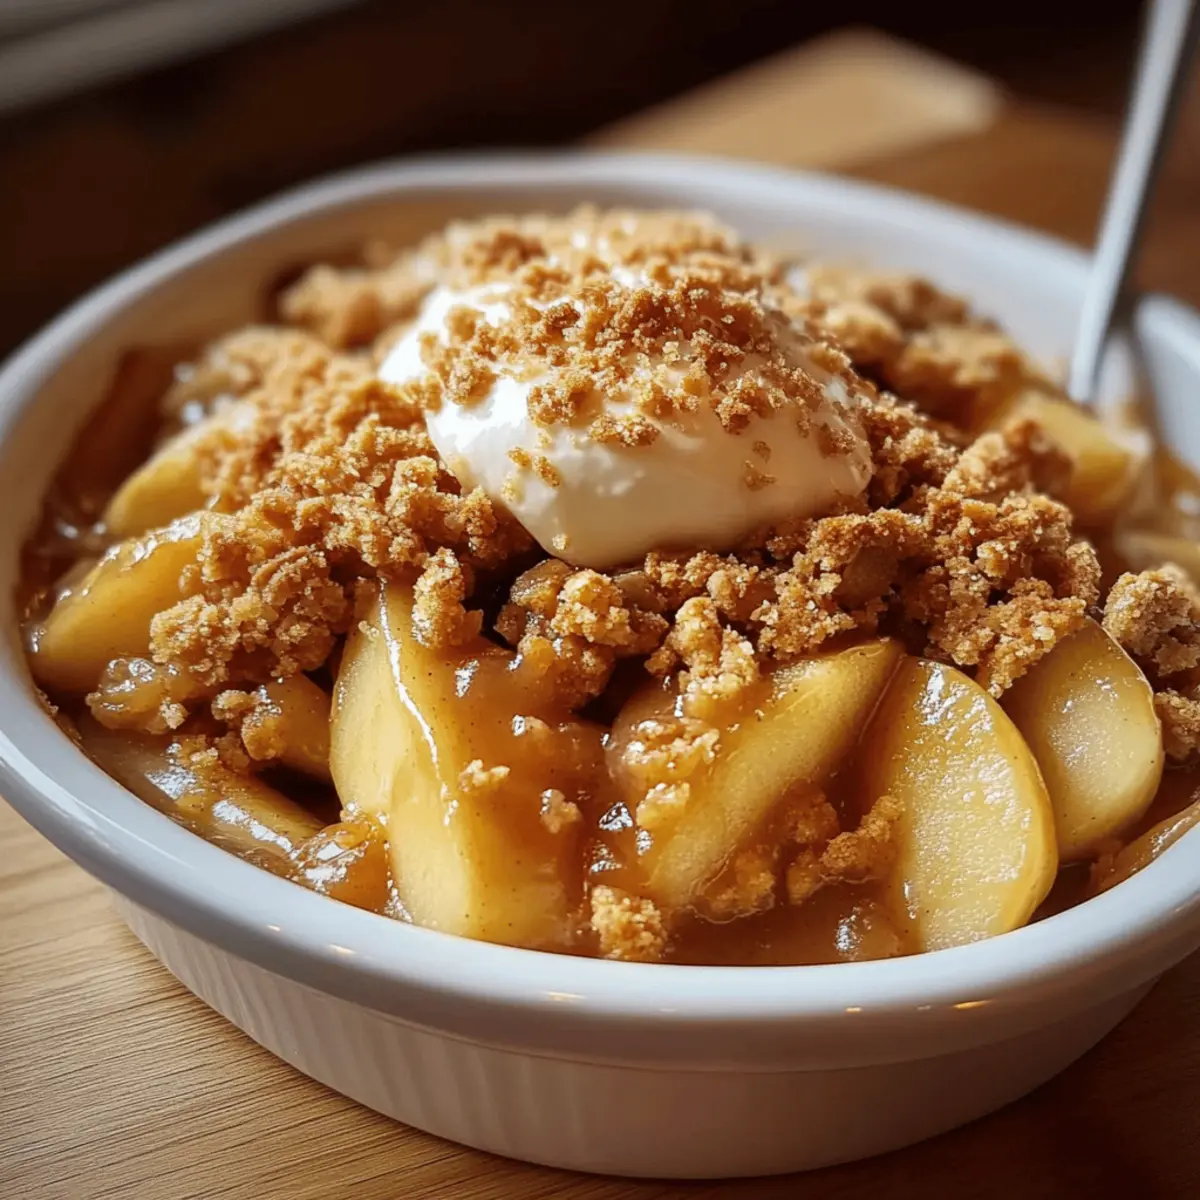
As I pulled the warm, fragrant Homemade Apple Crisp from the oven, the sweet aroma of cinnamon wafted through the kitchen, wrapping me in a cozy embrace. There’s something truly special about sharing this comfort food with loved ones, as the tender apples mingle perfectly with a golden, buttery oat topping. This easy recipe transforms simple ingredients into a nostalgic dessert that feels like a warm hug on a chilly day. Plus, it's versatile enough to delight year-round, elevating any gathering or weekday dinner with minimal fuss. Isn’t it time to treat yourself to a slice of this classic fall delight? Let’s dive into how to create this comforting dish together!
Why is Apple Crisp a Must-Try?
Comforting Warmth: This Apple Crisp is the ultimate cozy dessert, perfect for chilly evenings. Imagine a warm bowl topped with creamy ice cream, creating a delightful balance of temperatures!
Easy to Prepare: With just a few simple ingredients, you'll have this dessert in the oven in less than an hour—from start to finish.
Nostalgic Flavors: The blend of tender, spiced apples and a crunchy, buttery topping evokes childhood memories, making every bite feel like home.
Versatile Delight: Serve it as a comforting weeknight treat or impress guests at your next gathering. It pairs beautifully with other desserts like classic vanilla ice cream or even a drizzle of caramel!
Time-Saving: You can prepare this dish ahead of time and simply pop it in the oven when guests arrive. With easy storage options, you'll always have this classic on hand!
Apple Crisp Ingredients
• A delightful blend of flavors and textures awaits!
For the Filling
- Sliced Apples – Use tart varieties like Granny Smith for the best flavor.
- Brown Sugar – Light or dark brown sugar adds depth to the sweetness.
- Ground Cinnamon – Adjust according to your preference for warm spice notes.
For the Topping
- Rolled Oats – Create a chewy texture for that perfect crisp topping; avoid instant oats.
- All-Purpose Flour – Gives structure; substitute with gluten-free flour for a gluten-free version.
- Unsalted Butter – Adds richness and binds the topping ingredients; can be swapped with plant-based butter for a dairy-free option.
Remember, it’s all about balancing the sweet and tart with this Apple Crisp recipe! Enjoy your baking adventure!
Step‑by‑Step Instructions for Homemade Apple Crisp
Step 1: Preheat the Oven
Begin by preheating your oven to 350°F (175°C). This ensures that your Homemade Apple Crisp will bake evenly. While the oven heats up, take a moment to gather all your ingredients and equipment. A cozy kitchen filled with the scent of cinnamon awaits!
Step 2: Prepare the Baking Dish
Lightly grease a 9x13 inch baking dish with butter or cooking spray. This step is essential to prevent the apple crisp from sticking. Make sure to cover the surface evenly, as this will help in achieving that beautiful, golden topping later.
Step 3: Arrange the Apples
Evenly spread the sliced apples across the bottom of the greased baking dish. Ensure that the apples are distributed in a single layer for even cooking. As you layer the apples, look for that perfect tartness, especially if you’re using Granny Smith varieties, to give your Homemade Apple Crisp a delightful flavor.
Step 4: Mix the Topping Ingredients
In a mixing bowl, combine the brown sugar, rolled oats, all-purpose flour, and ground cinnamon. Stir these ingredients together until they are well blended. The mixture should have a crumbly texture that will create a delightful crunch on top of the apples.
Step 5: Add the Butter
Pour in the melted unsalted butter to the dry mixture and use a fork to mix everything together. Continue until the topping resembles coarse crumbs. This butteriness will enrich the topping, adding flavor and moisture that complements the tender apples in your Homemade Apple Crisp.
Step 6: Sprinkle the Topping
Once the topping is ready, sprinkle it evenly over the arranged apples in the baking dish. Use your fingers to break any larger clumps for an even distribution. The goal is to cover the apple layer completely with that crunchy goodness, ensuring every bite is a perfect blend of textures.
Step 7: Bake to Golden Perfection
Place the baking dish in your preheated oven and bake for 40–45 minutes. You’ll know your Homemade Apple Crisp is ready when the topping is golden brown and the apples are bubbling underneath. The aromatic scent of baked apples and cinnamon will fill your kitchen, signaling that deliciousness is on the way!
Step 8: Cool Before Serving
Once baked, remove the dish from the oven and allow it to cool slightly. This will help the filling set a bit more, making it easier to serve. Let it sit for about 10 minutes before digging in and enjoy your comforting, warm Apple Crisp, perhaps with a scoop of vanilla ice cream!
How to Store and Freeze Apple Crisp
Fridge: Store leftovers in an airtight container for up to 4 days. When you're ready to enjoy the Apple Crisp again, reheat it in the oven at 350°F (175°C) until warmed through.
Freezer: The Apple Crisp can be frozen either unbaked or baked for up to 3 months. If freezing unbaked, assemble it in a suitable dish, cover well with plastic wrap, and then foil for extra protection.
Reheating: To reheat frozen Apple Crisp, bake from frozen at 350°F (175°C) for about 50–60 minutes, or until heated through and the topping is crispy again.
Room Temperature: Allow the Apple Crisp to cool completely before storing. Do not leave it at room temperature for more than 2 hours to maintain safety and freshness.
Apple Crisp Variations & Substitutions
Feel free to get creative with your Apple Crisp—let your taste buds lead the way!
-
Gluten-Free: Substitute all-purpose flour with a 1:1 gluten-free flour blend for a deliciously inclusive dessert.
This way, everyone can enjoy the sweet, comforting flavors of your apple crisp without any worries! -
Dairy-Free: Swap unsalted butter for a plant-based butter alternative.
You’ll keep that rich, buttery flavor while accommodating lactose-free friends! -
Nutty Crunch: Add ½ cup of chopped pecans or walnuts to the topping mixture.
This will add a delightful crunch and a nutty depth that enhances the overall flavor of your crisp. -
Fruity Fusion: Mix in other fruits like berries or pears along with apples for an exciting flavor combination.
The more, the merrier! Each fruit adds its unique sweetness, creating layers of flavor in every bite. -
Spicy Twist: Incorporate a pinch of nutmeg or ginger to amp up the spice profile.
These warm spices will infuse your apple crisp with cozy autumn vibes, perfect for chilly days! -
Oat-Free: For a lighter topping, replace the oats with crushed almonds or coconut flakes.
This variation creates a different texture, bringing a unique twist to this classic recipe. -
Maple Sweetness: Substitute brown sugar with pure maple syrup for a natural sweetness.
The maple flavor beautifully complements the apples and brings a lovely warmth to your crisp. -
Heat It Up: Add a dash of cayenne pepper or some finely chopped jalapeños for a surprising kick.
This unexpected heat balances the sweetness, making your apple crisp truly unforgettable!
Experiment and make this comforting dessert yours! Remember, the best recipes are made with love and a touch of your unique flair.
What to Serve with Homemade Apple Crisp
Warm, comforting, and bursting with nostalgia, this beloved dessert invites you to create the perfect pairing for a complete meal experience.
-
Creamy Vanilla Ice Cream: The rich, smooth texture perfectly complements the warm, spiced apples, creating a delightful contrast of temperatures.
-
Fresh Whipped Cream: Light and airy, it balances the density of the apple crisp, adding a luscious creaminess that enhances each bite.
-
Caramel Sauce Drizzle: A sweet touch that adds depth, caramel elevates the flavor profile, making every spoonful even more indulgent.
-
Toasty Pecans: Sprinkle roasted pecans on top for an added crunch. Their nuttiness harmonizes beautifully with the apples and oats.
-
Crispy Bacon: The savory, salty notes from bacon create an unexpected yet delightful contrast to the sweetness of the apple crisp.
-
Spiced Chai Tea: A warm cup of spiced chai not only warms your heart but echoes the comforting cinnamon flavors in the dessert.
-
Hot Apple Cider: Sip on this spiced drink alongside your apple crisp to enhance the cozy autumn experience with every bite and sip.
-
Harvest Salad: A fresh salad with greens, apples, and nuts provides a refreshing, crisp contrast that lightens the meal without overpowering the sweetness.
-
Chocolate Drizzle: A delicate swirl of melted chocolate adds a luxurious twist, blending well with the apple crisp’s natural sweetness.
Expert Tips for the Best Apple Crisp
Choose Tart Apples: Use Granny Smith apples for the best balance of sweet and tart in your Apple Crisp. They hold their shape well while baking.
Mix-In Variations: Feel free to experiment! Adding nuts or other fruits enhances flavor and texture, making your Apple Crisp even more delightful.
Perfect Topping: Ensure your topping mixture is crumbly, not too wet. Properly mixed, it creates that coveted crunchy layer over the soft apple filling.
Serving Temperature: For an elevated dessert experience, serve warm with vanilla ice cream or whipped cream to highlight the comforting flavors.
Make-Ahead Tip: If you're preparing this dish in advance, assemble and refrigerate it unbaked for up to 24 hours. Simply pop it in the oven when ready to serve.
Storage Guidance: Store any leftovers in the fridge for up to 4 days. Reheat gently in the oven to revive the crisp topping’s texture.
Make Ahead Options
Homemade Apple Crisp is perfect for busy weeknights and meal prep enthusiasts! You can slice the apples and combine them with brown sugar and cinnamon up to 24 hours in advance, storing the mixture in the refrigerator to keep the apples fresh and prevent browning. Additionally, prepare the oat topping and refrigerate it separately for up to 3 days. When you're ready to bake, simply layer the chilled apple mixture in your greased baking dish, sprinkle the cold topping over, and pop it in the oven. This approach maintains the delicious, comforting quality of your Apple Crisp while saving you time when it matters most!
Homemade Apple Crisp Recipe FAQs
What type of apples are best for Apple Crisp?
Absolutely! For the best flavor and texture in your Apple Crisp, I recommend using tart varieties like Granny Smith. They hold their shape while baking, providing a wonderful balance against the sweetness of the brown sugar and topping. If you prefer a sweeter flavor, mixing in some Fuji or Honeycrisp apples can create a delightful blend!
How should I store leftover Apple Crisp?
Very simply! Store any leftovers in an airtight container in the fridge for up to 4 days. When you want to enjoy it again, reheat in the oven at 350°F (175°C) for about 10-15 minutes. This method helps refresh the crisp topping and maintain that comforting warmth.
Can I freeze Apple Crisp and how?
Absolutely! You can freeze your Apple Crisp both before and after baking. If freezing unbaked, assemble the dish, cover it tightly with plastic wrap and then foil, ensuring the crisp remains fresh for up to 3 months. If baked, let it cool completely, wrap it well, and freeze. To reheat, bake from frozen at 350°F (175°C) for about 50-60 minutes until heated through and the topping is crisp again.
What should I do if my topping isn’t crispy enough?
Ah, the crispy topping is the star of the show! If your topping isn’t crispy enough after baking, make sure it’s well mixed with the melted butter. Next time, try crumbling the topping into pea-sized pieces before baking, which promotes better browning and texture. You can also bake it a little longer, but keep an eye on it to avoid burning!
Are there any dietary considerations for this recipe?
Yes! If you or someone you're serving has dietary restrictions, you can easily adjust this Apple Crisp recipe. Use gluten-free flour to make it gluten-free and substitute the unsalted butter with plant-based butter to cater to dairy-free diets. Just be sure to check all packaging for potential allergens if you're accommodating specific sensitivities.
How can I enhance the flavor of my Apple Crisp?
Mixing in additional spices like nutmeg or ginger can truly elevate the flavor profile of your Apple Crisp. You can also experiment by adding in chopped nuts, or mixing in other fruits such as blueberries or pears for a delightful twist! The more the merrier—get creative with your ingredients!
Irresistibly Cozy Apple Crisp: Easy Comfort for Everyone
Ingredients
Equipment
Method
- Preheat your oven to 350°F (175°C).
- Lightly grease a 9x13 inch baking dish with butter or cooking spray.
- Evenly spread the sliced apples across the bottom of the greased baking dish.
- In a mixing bowl, combine the brown sugar, rolled oats, all-purpose flour, and ground cinnamon.
- Pour in the melted unsalted butter to the dry mixture and mix until the topping resembles coarse crumbs.
- Sprinkle the topping evenly over the arranged apples.
- Place the baking dish in your preheated oven and bake for 40–45 minutes.
- Remove the dish from the oven and allow it to cool slightly before serving.


Leave a Reply