
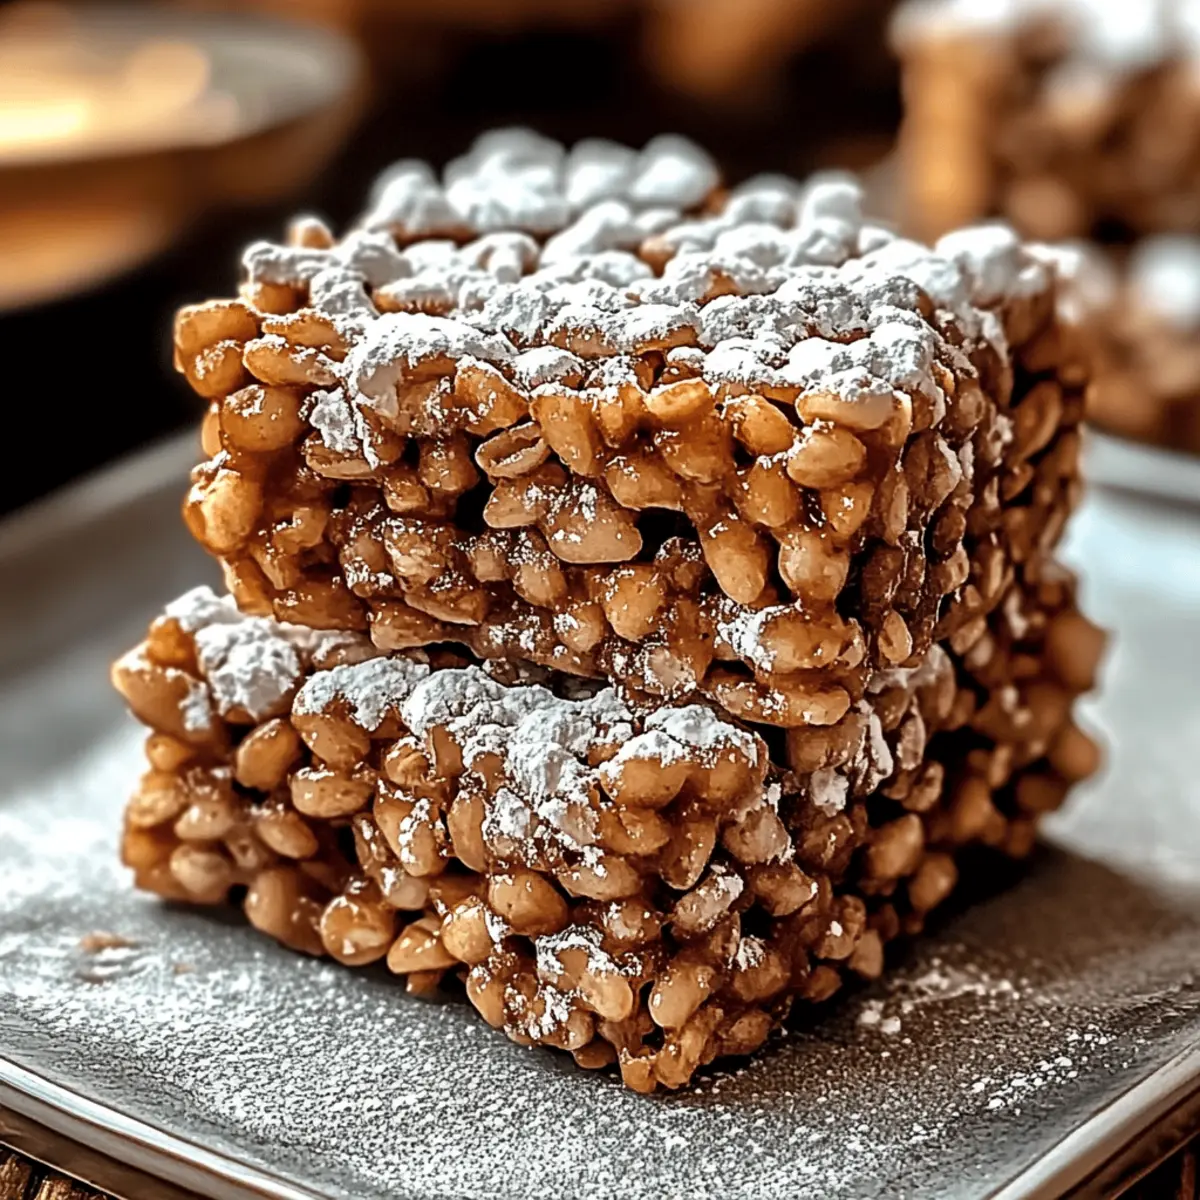
As I stood in my kitchen, the sweet scent of melting chocolate wafting through the air reminded me of carefree childhood afternoons. There’s something truly special about no-bake desserts, especially when they come together as effortlessly as these Muddy Buddy Rice Krispies. This recipe combines crunchy Rice Krispies with creamy peanut butter and rich, melty chocolate to create a delightful treat that both kids and adults adore. The best part? You can customize this to fit your taste buds, whether that means swapping in nut-free options or adding your favorite mix-ins. These irresistible bites are not only a quick and easy solution for satisfying that sweet tooth, but they also make perfect party snacks that will have everyone reaching for more. So, are you ready to whip up a batch of these nostalgic goodies that might just become your new go-to?

Why are Muddy Buddy Rice Krispies a hit?
Nostalgic flavors awaken childhood memories with every bite, making these treats a beloved classic. Customizable options abound; you can easily switch up nut butters and mix-ins to suit your preferences. Quick and easy to whip up, these no-bake sweets save you time while delivering satisfaction. They’re perfect for parties, gatherings, or a simple afternoon snack — just offer them alongside coffee for a treat that delights. Plus, they store well, making them a fantastic make-ahead option for busy days!
Muddy Buddy Rice Krispies Ingredients
For the Base
• Rice Krispies – Provides the essential crunch and structure; consider using Rice Chex or Corn Chex for a different texture.
• Chocolate Chips – Adds a rich sweetness; feel free to experiment with dark, milk, or even white chocolate for variations.
• Peanut Butter – The creamy binding agent; swap in sunflower seed butter for a delightful nut-free option.
For Coating
• Powdered Sugar – Sweetens the mixture and prevents sticking; ensure to shake in a zip-top bag for even coating.
• Vanilla Extract – Enhances overall flavor and aroma; it's optional, but I recommend it for an extra depth of taste!
For Customizations
• Nut Butter Variations – Try almond or cashew butter for a unique twist that suits your cravings.
• Chocolate Swaps – You can replace chocolate chips with flavored chocolates or caramel chips for an exciting flavor change.
• Fun Mix-Ins – Add sprinkles or mini marshmallows for bursts of color and sweetness; they're fun surprises in every bite!
Whether you prefer classic flavors or want to get creative, these Muddy Buddy Rice Krispies ingredients provide a foundation for countless delicious combinations!
Step‑by‑Step Instructions for Muddy Buddy Rice Krispies
Step 1: Melt the Chocolate and Peanut Butter
In a microwave-safe bowl, combine equal parts chocolate chips and peanut butter. Heat in the microwave for 30-second increments, stirring after each until you achieve a smooth, creamy consistency—this should take about 1 to 2 minutes in total. Make sure the mixture is well-blended to ensure a delightful coating for your Muddy Buddy Rice Krispies.
Step 2: Combine the Rice Krispies
Remove the melted chocolate-peanut butter mixture from the microwave and stir in Rice Krispies until they are fully coated. Use a spatula for even distribution, ensuring all the cereal is covered in that luscious chocolate blend. This step is essential for achieving that irresistible crunch that makes these treats so enjoyable.
Step 3: Let the Mixture Cool
Allow the mixed ingredients to cool for about 10 minutes at room temperature. This cooling period helps to prevent clumping when you add the powdered sugar later. Keep an eye on the mixture, and you'll notice it becoming less sticky and easier to handle, making your Muddy Buddy Rice Krispies even more delightful.
Step 4: Coat with Powdered Sugar
Transfer the cooled mixture into a large zip-top bag, adding a generous amount of powdered sugar. Seal the bag tightly, ensuring no air escapes, and shake vigorously until the mixture is evenly coated. This final touch adds sweetness and prevents sticking, giving your Muddy Buddy Rice Krispies that perfect sugary finish.
Step 5: Shape and Chill
Spread the coated mixture onto a lined baking sheet or a large bowl in an even layer. Press it down gently to compress it slightly, then chill in the refrigerator for at least 30 minutes. This chilling time allows the chocolate to set properly, ensuring your treats hold their shape and making them easier to cut or break into clusters.
Step 6: Cut and Serve
Once set, remove your Muddy Buddy Rice Krispies from the refrigerator. Break them into clusters or cut them into squares using a sharp knife. These delightful treats are now ready to be served, making for perfect bites of nostalgia that will charm everyone who tries them!
Expert Tips for Muddy Buddy Rice Krispies
- Cool First: Allow the mixture to cool for about 10 minutes before adding powdered sugar. This prevents clumping and ensures a smooth coating.
- Nut-Free Options: If nut allergies are a concern, replace peanut butter with sunflower seed butter or tahini for just as delicious Muddy Buddy Rice Krispies.
- Seal Tight: When shaking in powdered sugar, make sure to seal the zip-top bag tightly. This prevents spills and guarantees an even coat.
- Mix-In Variety: Experiment with different mix-ins like mini marshmallows or crushed pretzels. This adds fun texture and flavor to your treats!
- Flavor Swap: Try using flavored chocolate chips or caramel chips to switch things up and create unique variations of Muddy Buddy Rice Krispies.
Make Ahead Options
Muddy Buddy Rice Krispies are perfect for meal prep, making them a delightful treat to have on hand for those busy days! You can prepare the mixture up to 24 hours in advance by melting the chocolate and peanut butter, then combining it with the Rice Krispies. After cooling for about 10 minutes, transfer the mixture to a large zip-top bag with powdered sugar, seal it, and refrigerate. This keeps the mixture fresh and prevents sticking. When you're ready to serve, simply chill it for at least 30 minutes to set, then break into clusters or cut into squares. With these easy prep steps, you'll enjoy the same delicious flavors with minimal effort!
How to Store and Freeze Muddy Buddy Rice Krispies
Room Temperature: Store your Muddy Buddy Rice Krispies in an airtight container at room temperature for up to 3 days. They’ll remain crunchy and delightful!
Fridge: If you're planning to enjoy them longer, keep the treats in the fridge for up to 1 week. This helps maintain their freshness and prevents any melty chocolate mishaps.
Freezer: For longer storage, these snacks freeze beautifully for up to 2 months. Layer your clusters between parchment paper in a freezer-safe bag to prevent sticking.
Reheating: There's no need to reheat these no-bake goodies; simply remove them from the fridge or freezer and enjoy the sweet crunch as is!
What to Serve with Muddy Buddy Rice Krispies?
Create the perfect snack experience with these delightful accompaniments that elevate your Muddy Buddy Rice Krispies to new heights.
- Cold Milk: The classic pairing enhances sweetness while providing a refreshing contrast that balances the rich, chocolatey bites.
- Fruit Skewers: Bright, juicy fruits like strawberries or bananas add a burst of freshness that beautifully complements the crunch of the Rice Krispies.
- Creamy Yogurt: Silky yogurt adds a creamy texture and subtle tang, providing a delightful contrast to the sweet, sugary clusters.
Imagine a table adorned with these treats, where the cold milk’s chill mingles with the aroma of fresh fruit, inviting everyone to indulge in something sweet yet balanced!
- Coffee: The bold flavors of coffee create a delightful contrast, cutting through the sweetness while enhancing the rich notes of the chocolate.
- Mini Dessert Cups: Serve Muddy Buddy Rice Krispies in individual cups with whipped cream for a fun, party-friendly presentation that everyone will love!
- Chocolate Dipped Pretzels: Salty meets sweet in this addictive snack that pairs perfectly with the flavors of your Muddy Buddy Rice Krispies, offering an exciting crunch.
Muddy Buddy Rice Krispies: Endless Customization
Feel free to get creative with your Muddy Buddy Rice Krispies, adding flavors and textures that inspire your taste buds!
- Nut-Free: Swap peanut butter with sunflower seed butter, perfect for those with nut allergies.
- Chocolate Variety: Experiment with dark, milk, or even white chocolate for a sweeter base.
- Add Crunch: Toss in crushed pretzels for extra crunch—a delightful texture contrast!
- Flavor Boost: Use flavored chocolate chips, like caramel or cookies and cream, for a sweet twist.
- Sweet Sprinkles: Mix in colorful sprinkles for a fun and visually appealing snack.
- Mini Marshmallows: Add mini marshmallows to the mix for burst of sweetness and gooeyness.
- Savory Touch: Incorporate a dash of sea salt to enhance the sweetness; it’s a beautiful balance.
- Cocoa Kick: For extra chocolatey goodness, sprinkle some cocoa powder into the mix before coating.
Looking for a way to make your treats even more delightful? Pair them with a glass of cold milk or some fresh fruit skewers for a satisfying snack experience!
Muddy Buddy Rice Krispies Recipe FAQs
How do I select the best chocolate chips for my Muddy Buddy Rice Krispies?
Absolutely! Choose high-quality chocolate chips for the best flavor. Dark chocolate adds a rich contrast to the sweetness, while milk chocolate is perfect for a classic treat. White chocolate provides a sweeter taste, so choose based on your personal preference. If you're feeling adventurous, experiment with flavored chocolate chips like caramel or mint for a unique twist!
What’s the best way to store Muddy Buddy Rice Krispies?
To store your Muddy Buddy Rice Krispies, keep them in an airtight container at room temperature for up to 3 days, which will keep them crunchy and fresh. For longer storage, place them in the refrigerator for up to 1 week. This not only helps maintain their texture but also prevents the chocolate from melting on warm days!
Can I freeze Muddy Buddy Rice Krispies?
Very! Freezing is a great option if you want to make a large batch in advance. To freeze, layer the clusters between parchment paper in a freezer-safe bag or container to prevent sticking. They can last for up to 2 months in the freezer. When you're ready to enjoy them, simply let them thaw at room temperature for a few minutes before diving into that sweet crunch!
What if my Muddy Buddy Rice Krispies turned out too sticky?
If you've found your treats are too sticky, it may be due to either the mixture being too warm when coated with powdered sugar or not enough sugar being used. To troubleshoot, allow the mixture to cool for at least 10 minutes before adding the sugar, and ensure you're using enough powdered sugar to coat everything evenly. If they’re still sticky after chilling, don’t worry—just dust with a bit more powdered sugar before serving!
Are Muddy Buddy Rice Krispies safe for people with nut allergies?
Yes! To make Muddy Buddy Rice Krispies suitable for those with nut allergies, simply swap out peanut butter for sunflower seed butter or tahini. Both options give a creamy texture without the risk of nuts. Always check packaging to ensure that your alternative ingredients are processed in nut-free facilities if allergies are severe. Enjoy the fun of customizing your treats without worry!
Muddy Buddy Rice Krispies: The Best No-Bake Treats Ever
Ingredients
Equipment
Method
- Melt the Chocolate and Peanut Butter: In a microwave-safe bowl, combine equal parts chocolate chips and peanut butter. Heat in the microwave for 30-second increments, stirring after each until smooth, about 1 to 2 minutes total.
- Combine the Rice Krispies: Stir in Rice Krispies until fully coated. Use a spatula for even distribution.
- Let the Mixture Cool: Allow the mixture to cool for about 10 minutes at room temperature.
- Coat with Powdered Sugar: Transfer to a zip-top bag, add powdered sugar, seal tightly, and shake until evenly coated.
- Shape and Chill: Spread the mixture on a lined baking sheet and chill in the refrigerator for at least 30 minutes.
- Cut and Serve: Break into clusters or cut into squares and serve.


Leave a Reply